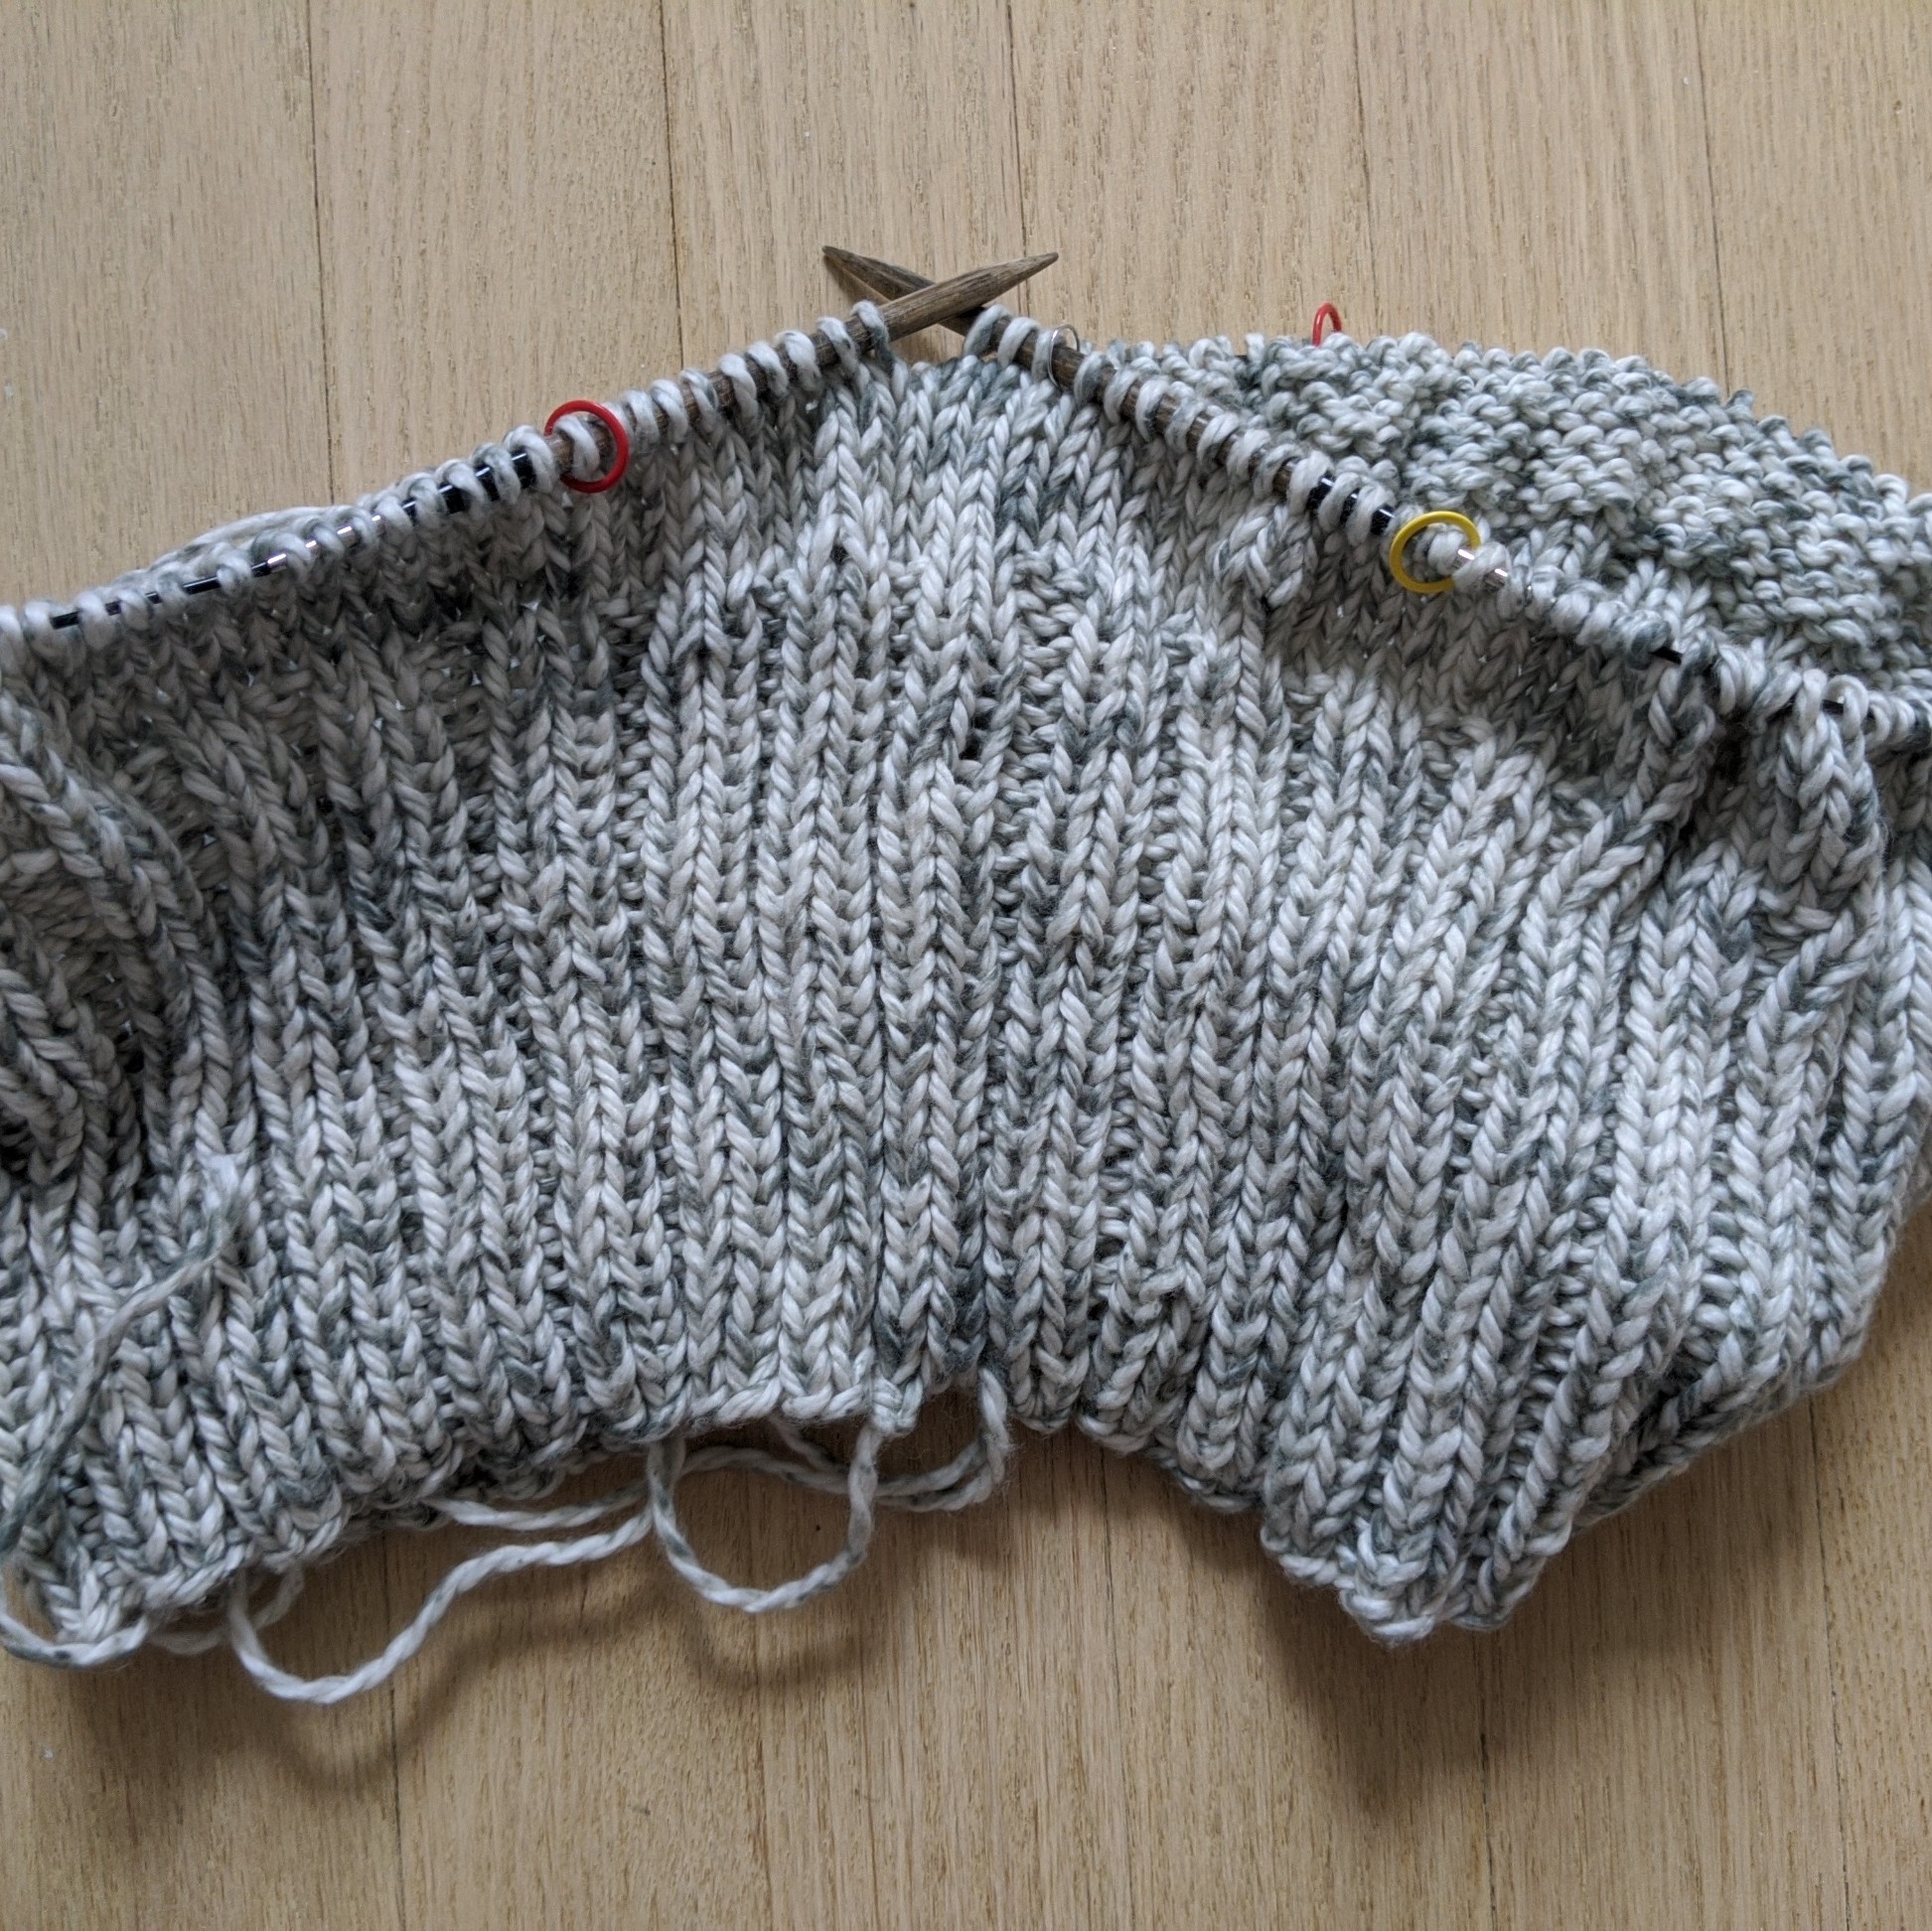
Congratulations! You’ve made it through your 5″ of ribbing, and are now ready to start on the main body of the sweater in gloriously fast stockinette stitch.
The body of the sweater contains some simple increases spaced around what will become the front and the back of the top. These help shape the garment. If this is your first time doing these increases, we have some great resources available.
Danielle has a great video showing the techniques for this part of the KAL that you can watch on YouTube!

Beth’s Tips:
Color code your stitch markers!
When placing the markers in the setup, using different colors can help you keep track of where you are. Since the increase pattern repeats twice around, I placed my stitch markers like this:
Beginning of Round = Blue
Red = M1R
Yellow = M1L
The beginning of round marker is already in place, so on the setup row, I used a red marker, then a yellow, then a red, then a yellow.
Now as I’m knitting the increase rounds, I know when I get to the red marker, I’m doing the M1R and when I get to a yellow marker, I’m doing a M1L. When I’m back at blue, I’ve finished an increase round. I use the Cocoknits Colorful Stitch Markers because they slide easily, and come in six different colors. I chose my colors based on mnemonic devices (red = right, blue=beginning)
Know Thy Increases!
This top uses the popular Make 1 Right (M1R) and Make 1 Left (M1L) increases. These increases create a stitch that leans in the direction of the increase, so that they are mirrored on opposite sides of the piece. This is a more invisible increase than a Knit Front and Back (KFB.)
Both a M1R and a M1L are created in the same way – it’s just the direction of the actions that change. In both of these, you pick up the bar between stitches with the left needle. Then you knit into it, creating a new stitch between existing stitches.
For a M1L, you pick up the bar from the front, and knit into the back of the stitch when it is on the needle.
For a M1R, you pick up the bar from the back, and knit into the front of the stitch when it is on the needle.
In both cases, the new stitch should twist close, and not leave a hole. If you have a hole, you probably knit into the stitch the wrong direction.
Here’s my easy way to remember which is which:
R=Rear. So for a M1R, you pick up from the back.
Then you always knit from the opposite direction. So if you pick up from the back, you knit into the front. For a M1L, reverse it!
A demonstration of these increases in included in the video.
We also have an amazing tool that you can clip onto your project bag for quick reference: The Katrinkles Make 1 Right and Left Mini Tool.
Onto the Next Skein!
Needing a new skein of yarn to keep your project going is a gratifying sign of progress! Because we’re working with a thick cotton yarn, I recommend joining a new skein under the arms whenever possible. The beginning of the round marker is in the middle of the underarm, so that is a great reference. Now that you have your stitch markers in, the other underarm is between your second and third increase marker, directly across from the Beginning of Round Marker.
You can watch this in action in this video.
Keep on Knitting Along
Now it’s time for a long section of relaxing stockinette stitch in the round. Knit on confidently, and don’t forget to share your progress with us in our Ravelry forum or on Instagram using #sevensisterskalwithfs

