We’ve been working in the round up to this point in the KAL. Now we’ll be working back and forth on the back separately. This will allow us to shape the armholes for a great fit.
Measuring the Body
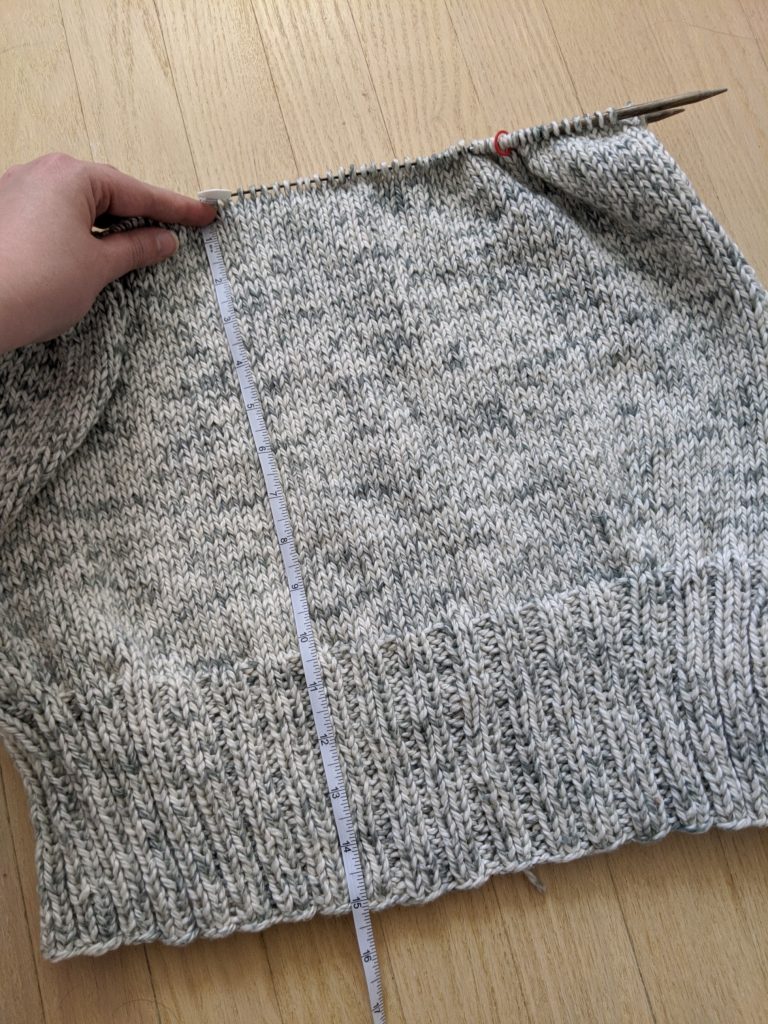
You’ll begin this part when your top measures 15″ from the cast on edge (so 5″ of ribbing and 10″ of stockinette.) For an accurate measurement, lay your piece of a flat surface. Don’t stretch or pull on it to make it longer! Then use a tape measure to check your length.
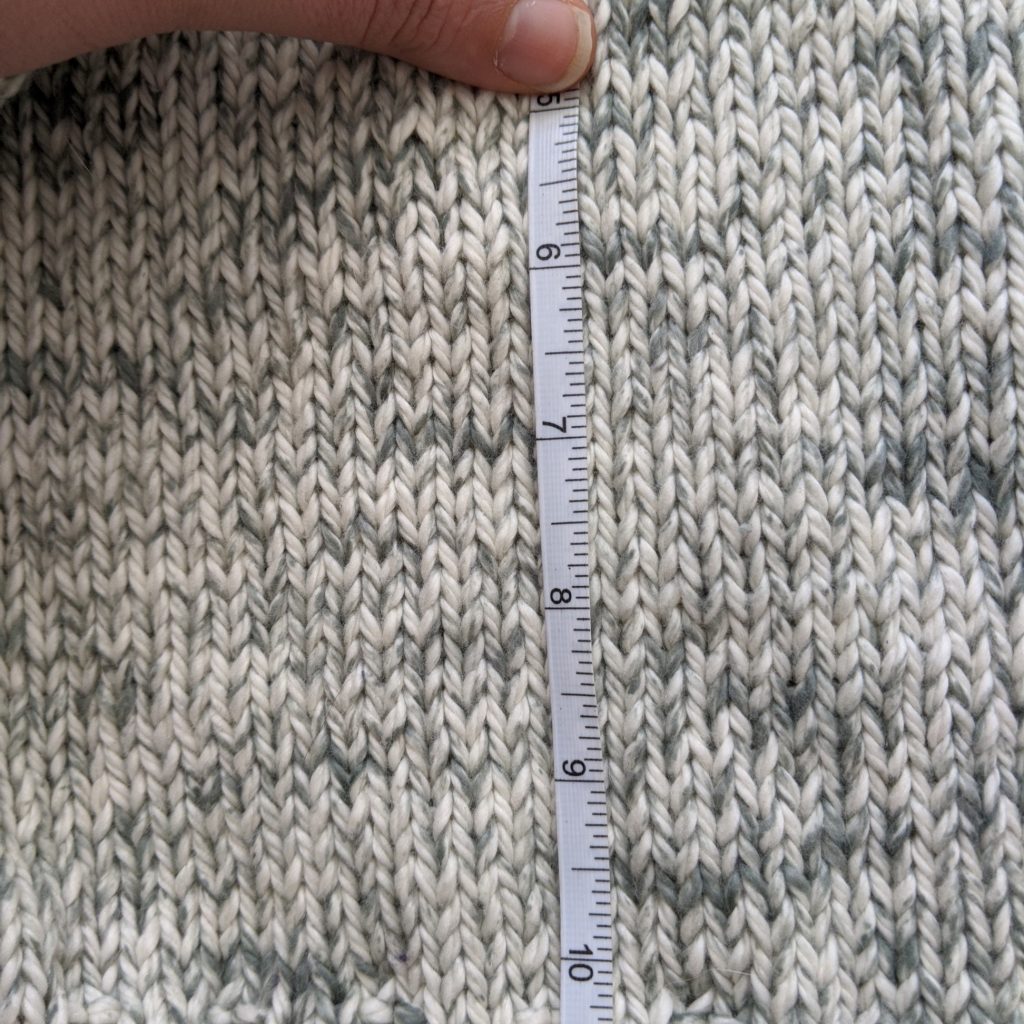
I like to make sure I’m measuring in a straight line by lining up the tape measure even with a column of stitches.
Separating the Front and Back
The pattern now instructs you to put the last (number according to size) stitches you worked on hold for the back. You can use a stitch holder, or a tapestry needle and scrap yarn for this. If using scrap yarn, a smooth yarn in a highly contrasting color will make it easier when you return these stitches to the needle to work the back.
Remove the beginning of round marker, and slip stitches from the right needle onto your stitch holder or scrap yarn.
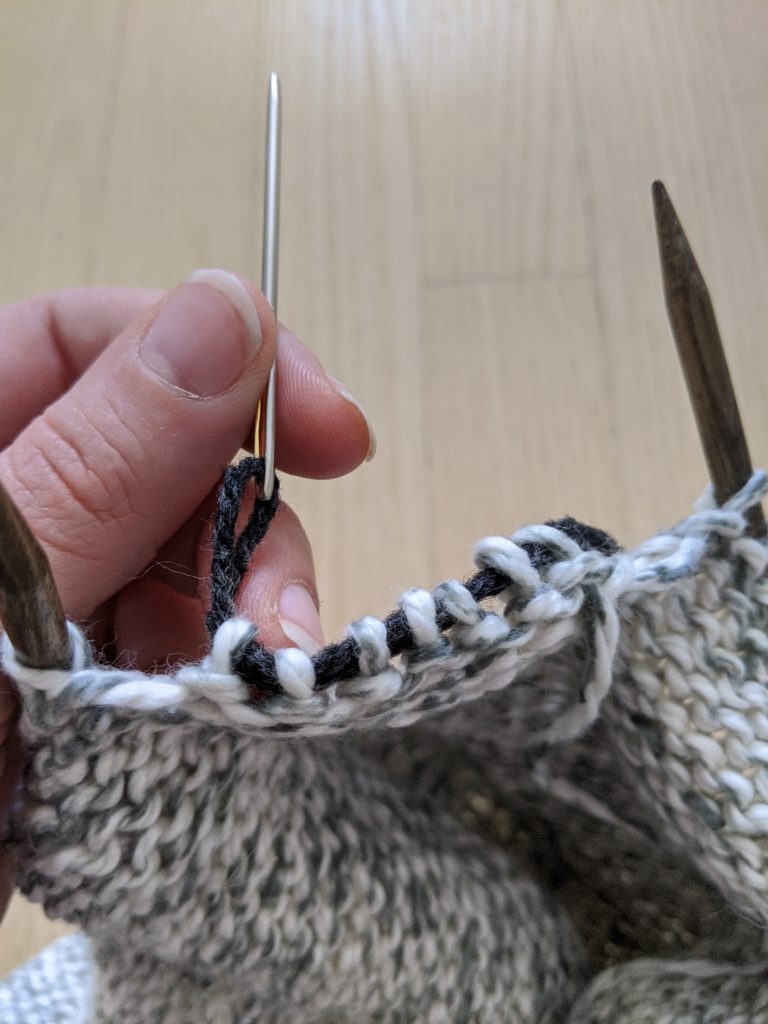
Danielle has a great video demonstrating this technique on YouTube. She’s using a Clover Stitch Holder that you can purchase by contacting the shop. If you’re using scrap yarn, I recommend tying the two ends in a knot so that they don’t slide out as you’re working.
This is a great time to double check that you have the correct number of stitches on the front and back. Your front and back totals should match.
Shaping the Armholes
The working yarn is coming from your first stitch on the holder. Now you’re going to bind off the number of stitches for your size in the pattern. When binding off stitches, you count the number of times you pass a stitch over and off the needle. You’ll be left with one stitch on your right needle. Remember – we’re now knitting flat, so you’ll be knitting on the right side (RS) and purling on the wrong side (WS.)
You’ll bind off these stitches at the beginning of two rows – so once on the RS and once on the WS.
Now you’re back on the RS and ready to start the shaping rounds. You’ll be decreasing at each edge on the RS rows.
At the beginning of the row, you knit one and then decrease using a Knit Two Together Through the Back Loop (K2tog tbl) Despite its long name, it’s worked just like it sounds. Insert your right needle into the back of the next two stitches on the left needle, and then knit them together.
At the end of the row, you’ll be doing a simple Knit Tow Together (K2tog), then a K1. This creates a clean edge for the armholes later. Slide your right needle into the second then first stitch on the left needle as if to knit, and pull your yarn through both loops.
Each time on the WS, simply purl across.
These decreases create a slope curving up to the shoulders of the garment.
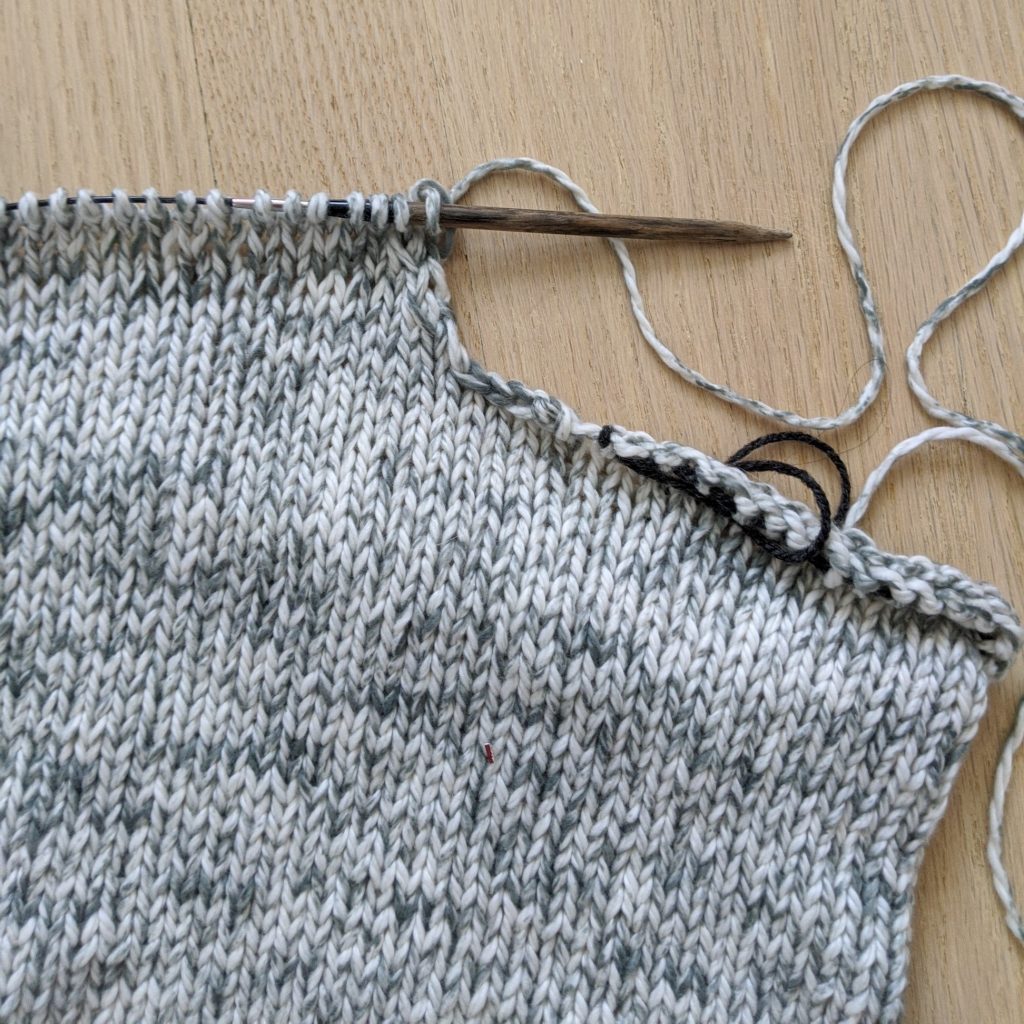
You’ll do these decreases five more times (for a total of six times, or 12 rows.) The final stitch count is listed in the pattern.
Now you get to simply knit and purl across until you reach the armhole measurement indicated in the pattern.
Measuring the Armholes
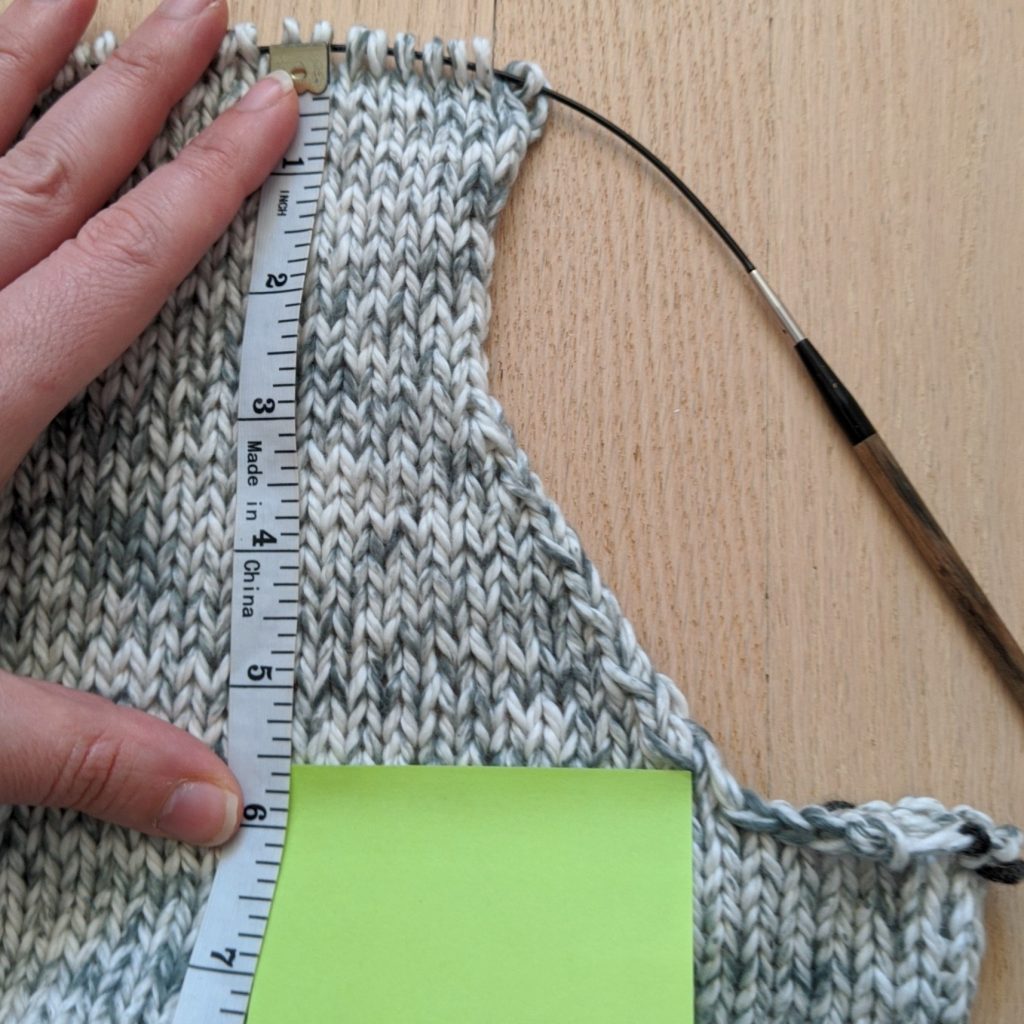
Since the armhole is creating a slope, when it comes time to measure, I like to put a piece of paper, or anything else with a straight edge, to help get an accurate measurement from the start of the armhole to the top of the knitting.
We love all the progress we’re seeing on your Seven Sister’s Tops, and all the support that is happening in our Ravelry Forum!
