There is still one week until the Seven Sisters KAL with Blue Sky Fibers kicks off, and we know many of you are excited to join in. Between now and the official start date of April 1 is the perfect time to swatch for this project! A swatch is useful in determining what needle you should use to get pattern gauge with your chosen yarn, and an opportunity to familiarize yourself with your yarn. An hour of swatching can save you weeks of knitting a garment that is ultimately the wrong size, or that changes dramatically with blocking. It may seem tedious, but finding the right combo of yarn plus needles plus knitter lets you enjoy the rest of KAL worry-free.
Quick Swatch Instructions:
The gauge for the Seven Sisters top is 15 stitches and 19 rows = 4 inches in stockinette stitch on larger needles (recommended: size 10)
This top is knit both in the round and back and forth, so you can do your swatch either way, or both ways. A swatch knit back and forth (knit on one side, purl on the other)may be more useful, since most of us have some tension difference between our knit stitches and purl stitches.
- Cast on 25 stitches (this will give you extra stitches for the border and to measure accurately)
- Knit garter stitch for three rows
- Knit 3 stitches, place stitch marker, knit to last 3 stitches, place marker, knit 3 stitches. (These 3 stitches on each side will create a garter stitch border that will help your stitch lay flat to measure the gauge.)
- Wrong Side rows: Knit 3 border stitches, purl to final 3 stitches, knit 3 border stitches.
- Right Side rows: Knit all stitches.
- Continue for 22 total rows.
- Knit garter stitch for three rows.
- Bind off.
- Measure and note your pre-blocked stitch and row gauge.
- Block your swatch, and lay flat to dry.
- Measure and note your blocked gauge.
If your swatch matches the pattern gauge, congratulations! You’re ready to knit your top.
If not, no worries! You can make the following adjustments:
- If your swatch is too loose (you have less stitches in 4 inches) go down in needle size to a smaller needle.
- If your swatch is too tight (you have more stitches in 4 inches) go up in needle size to a larger needle.
Beth’s Swatch
I’ll be knitting this top along with you during the KAL, so if you want to read more about my swatch journey, continue on!
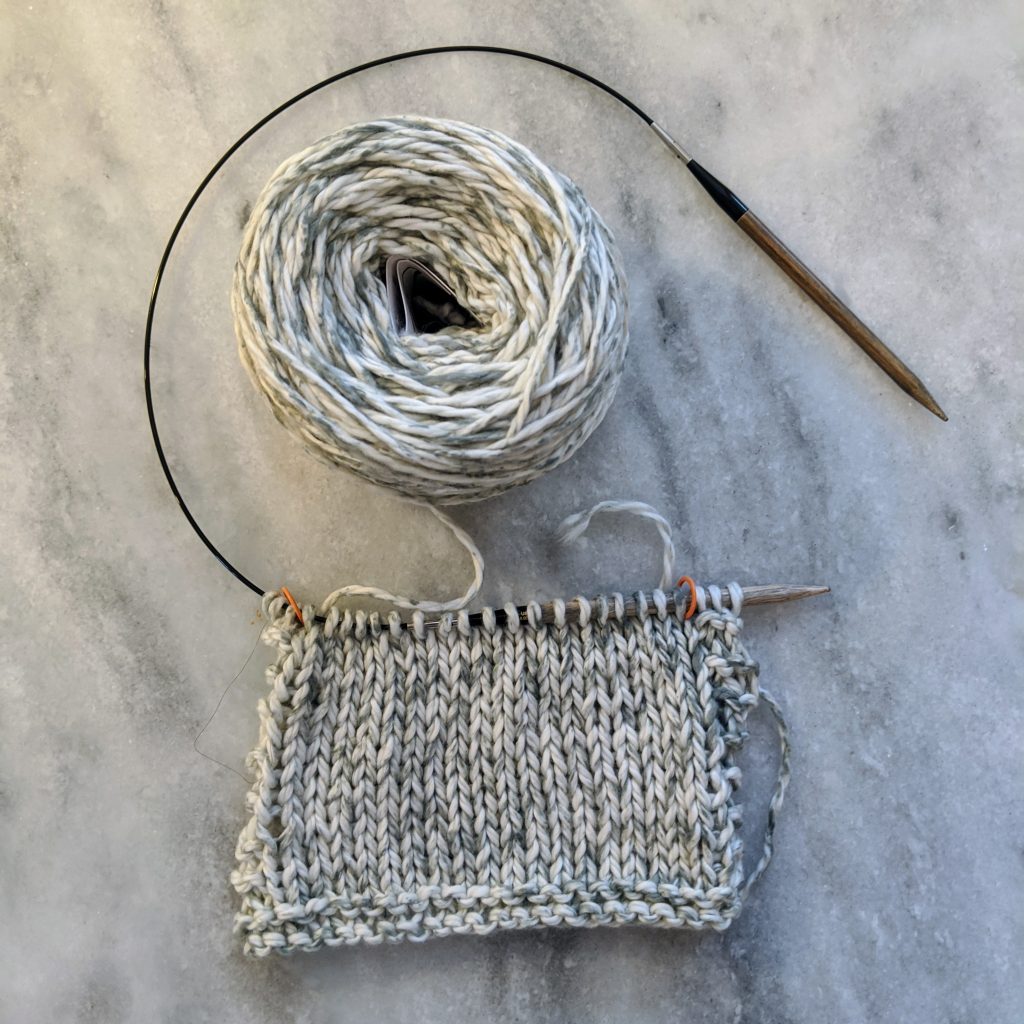
I’ll admit, I used to be a lazy (aka non-existent) swatch-er. I’d just cast on with the recommended needles and go. But after more than one disaster, I’ve learned to embrace swatching as the precursor to great garment knitting. As a result, my time spent actually knitting the garment is relaxing — no more “does this look too big” moments halfway through, no more ripping out and restarting.
Since this will be my first time knitting a garment with the Blue Sky Printed Organic Cotton, I decided to swatch both in the round and flat in one super swatch. I’ve had issues with loose purl stitches becoming very obvious in cotton yarns, so I wanted to make sure there wasn’t a huge discrepancy between my flat gauge and in the round gauge.
Knitting the Swatch
To swatch in the round, you’ll need to do your swatch on circular needles. Each time you reach the end of the row, you slide the knitting to the other and, and carry the yarn in a long float across the back. You’re always working on the right side and knitting every stitch, just like when knitting in the round. Here’s what the back of the swatch will look like:
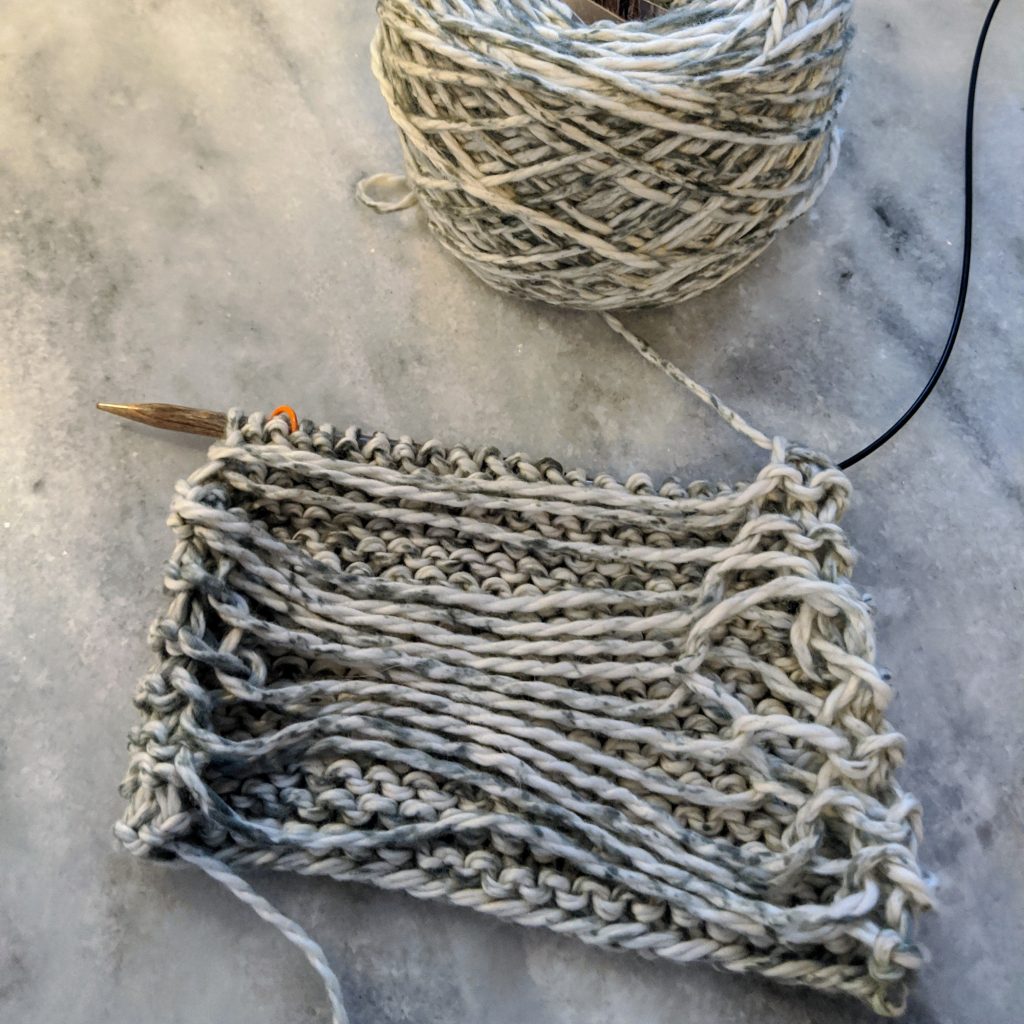
I knit this swatch for 22 rows, then continued on to my flat gauge swatch by simply knitting back and forth. My helpful hints:
- Use stitch markers to mark off the garter stitch border.
- Put a row of purl bumps on the right side equal to the needle number you used for future reference.
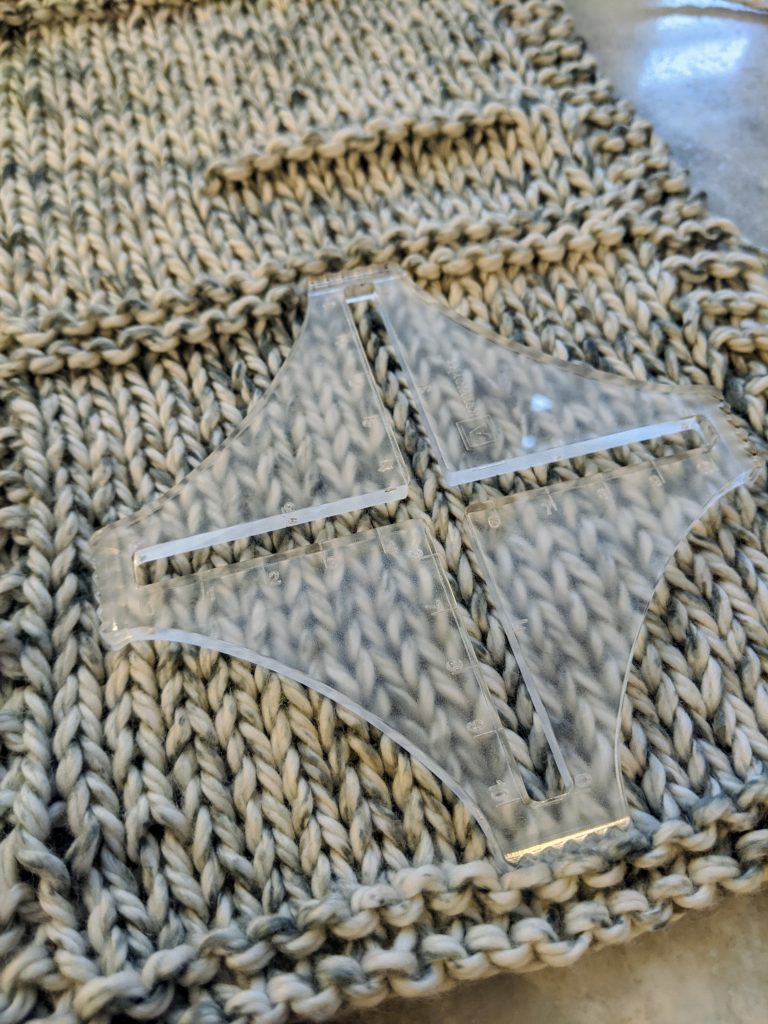
After I finished my mega swatch, it was time to measure. I like to use the Akerworks gauge swatch, because it makes it easy to count. It’s important to note your gauge pre-blocking for reference. I like to do this by starting a Ravelry project page for the project and adding it to the notes, for easy reference. I also write it on an index card I attach to the completed swatch.
Blocking the Swatch
You should block your swatch how you plan to block and wash your final garment. Since the Blue Sky Printed Organic Cotton is handwash, I filled a basin with Soak wool wash and cool water, let it soak, and then lay it flat to dry.
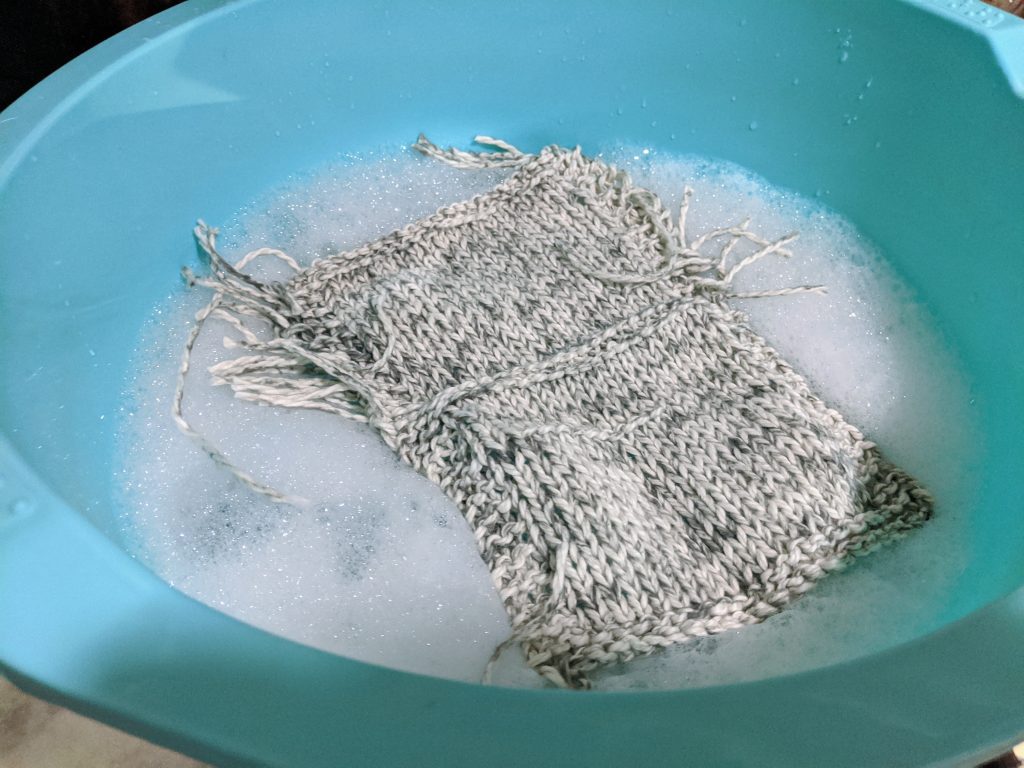
My pre-blocked gauge was spot-on: 15 stitches to 4 inches. However, the swatch grew when blocked, and my gauge ended up being 14 stitches to 4 inches — too loose! And that’s why blocking your swatch is an important step. Had I not, I would have ended up with a top that would be way too big the first time it got wet.
Knitting the Swatch Again
I went down to a size 9 needle and cast on a new swatch. I only knit flat, since my first swatch didn’t show any difference between my in the round gauge and flat gauge. My pre-blocking gauge was 15.75 stitches to 4 inches, my blocked gauge was perfect – 15 stitches to 4 inches. My row gauge is 20 stitches instead of 19, but the pattern is mostly knit to measurement, not exact rows.
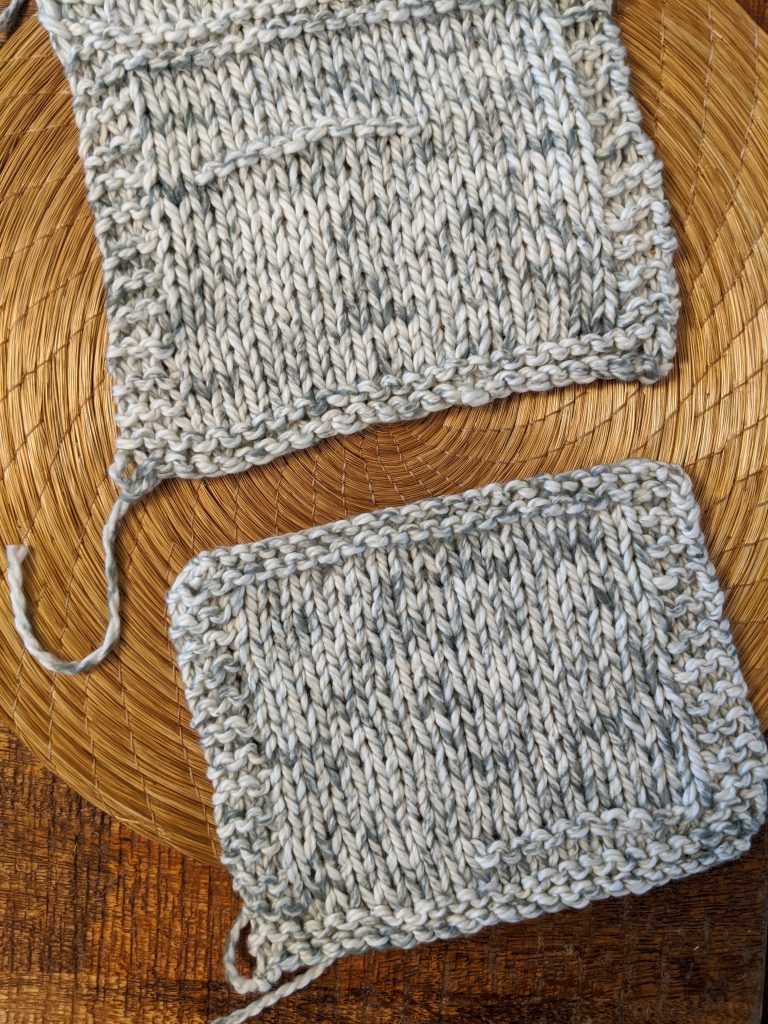
I like to save my finished swatches for future reference. But since these are organic cotton, your swatch could also make a nice face cloth!
So now I can get my needles ready for a relaxing project, with no anxiety about the finished size. See, all that swatching is worth it!
