
When I teach Yipes Stripes at fibre space, there’s one technique we never get around to doing: simple slipped-stitch blocks. I talk workshop participants through the process, but that’s not the same as hands-on experience. I think the second-best thing to hands-on experience is a photo tutorial. In this post, I’ll demonstrate the slipped-stitch pattern from the Yipes Stripes cowl. This is a supereasy use of slipped stitches. For more advanced techniques, come to my Mosaic Knitting workshop on October 4.
And if you’re interested in Yipes Stripes, there’s a workshop coming up on November 22!
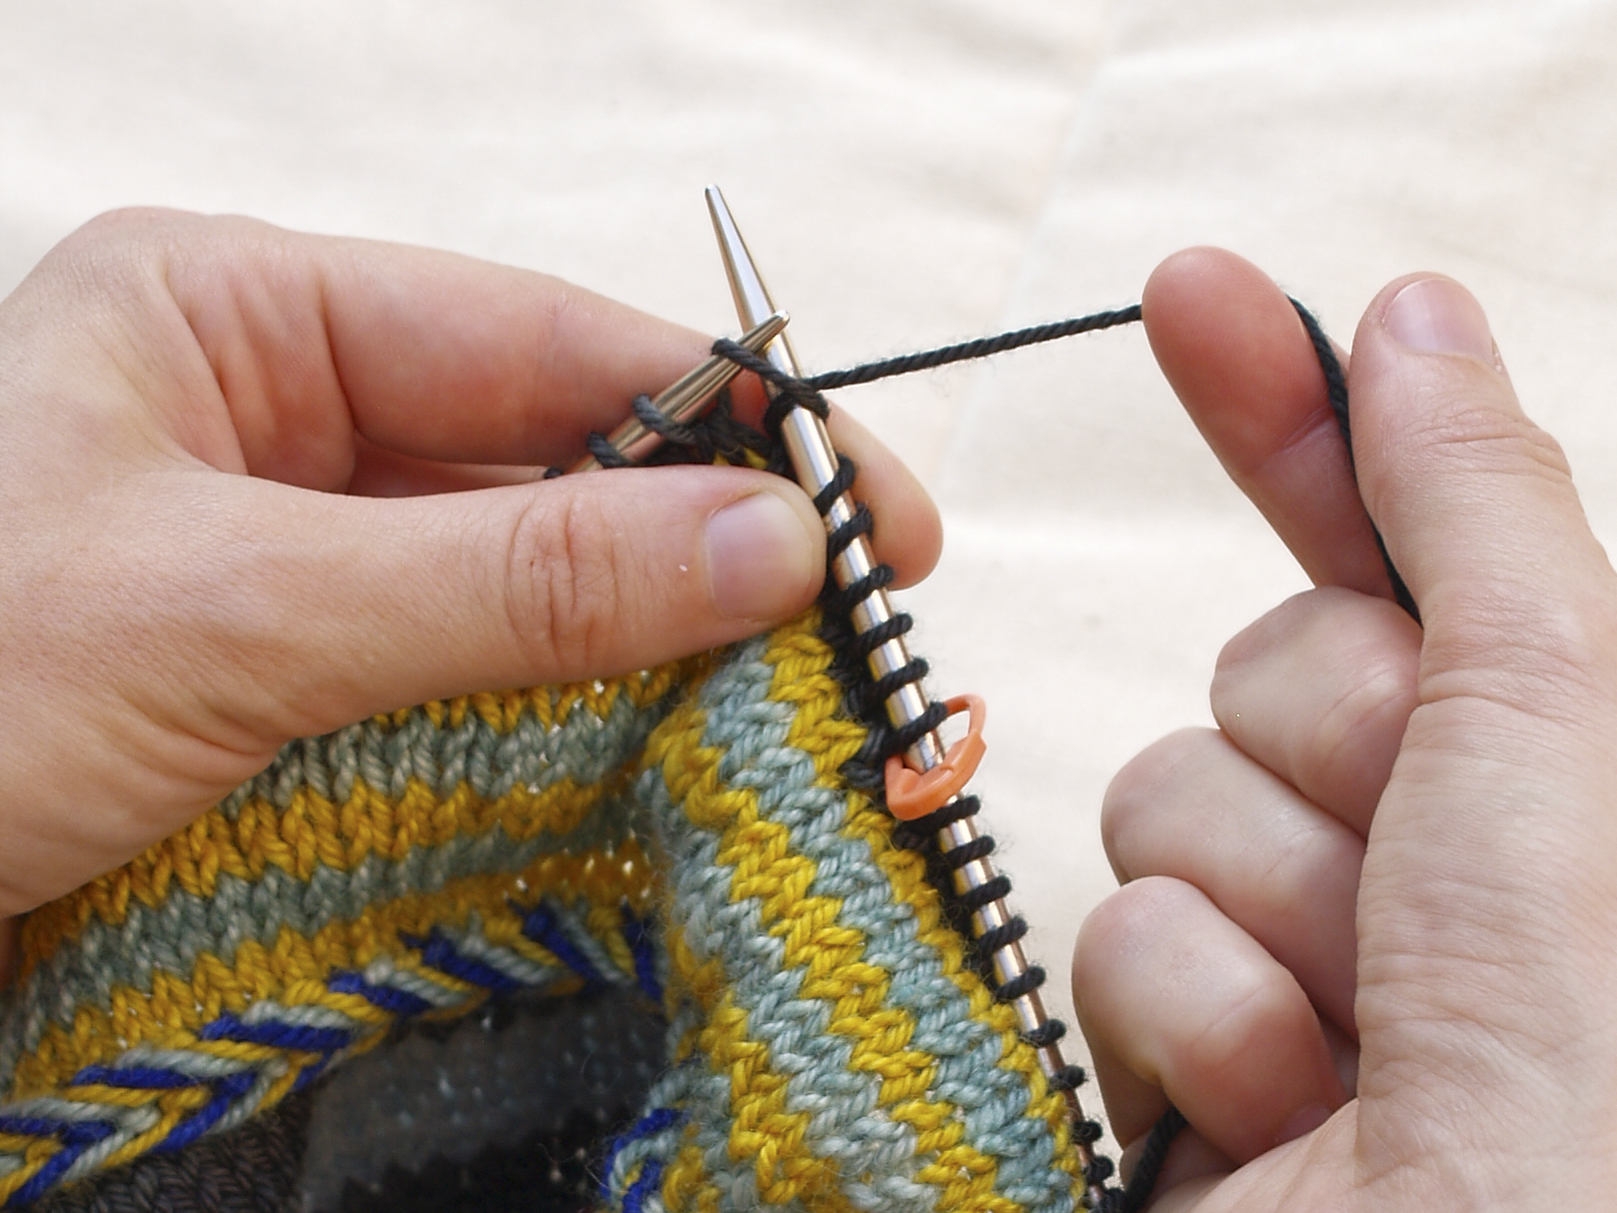
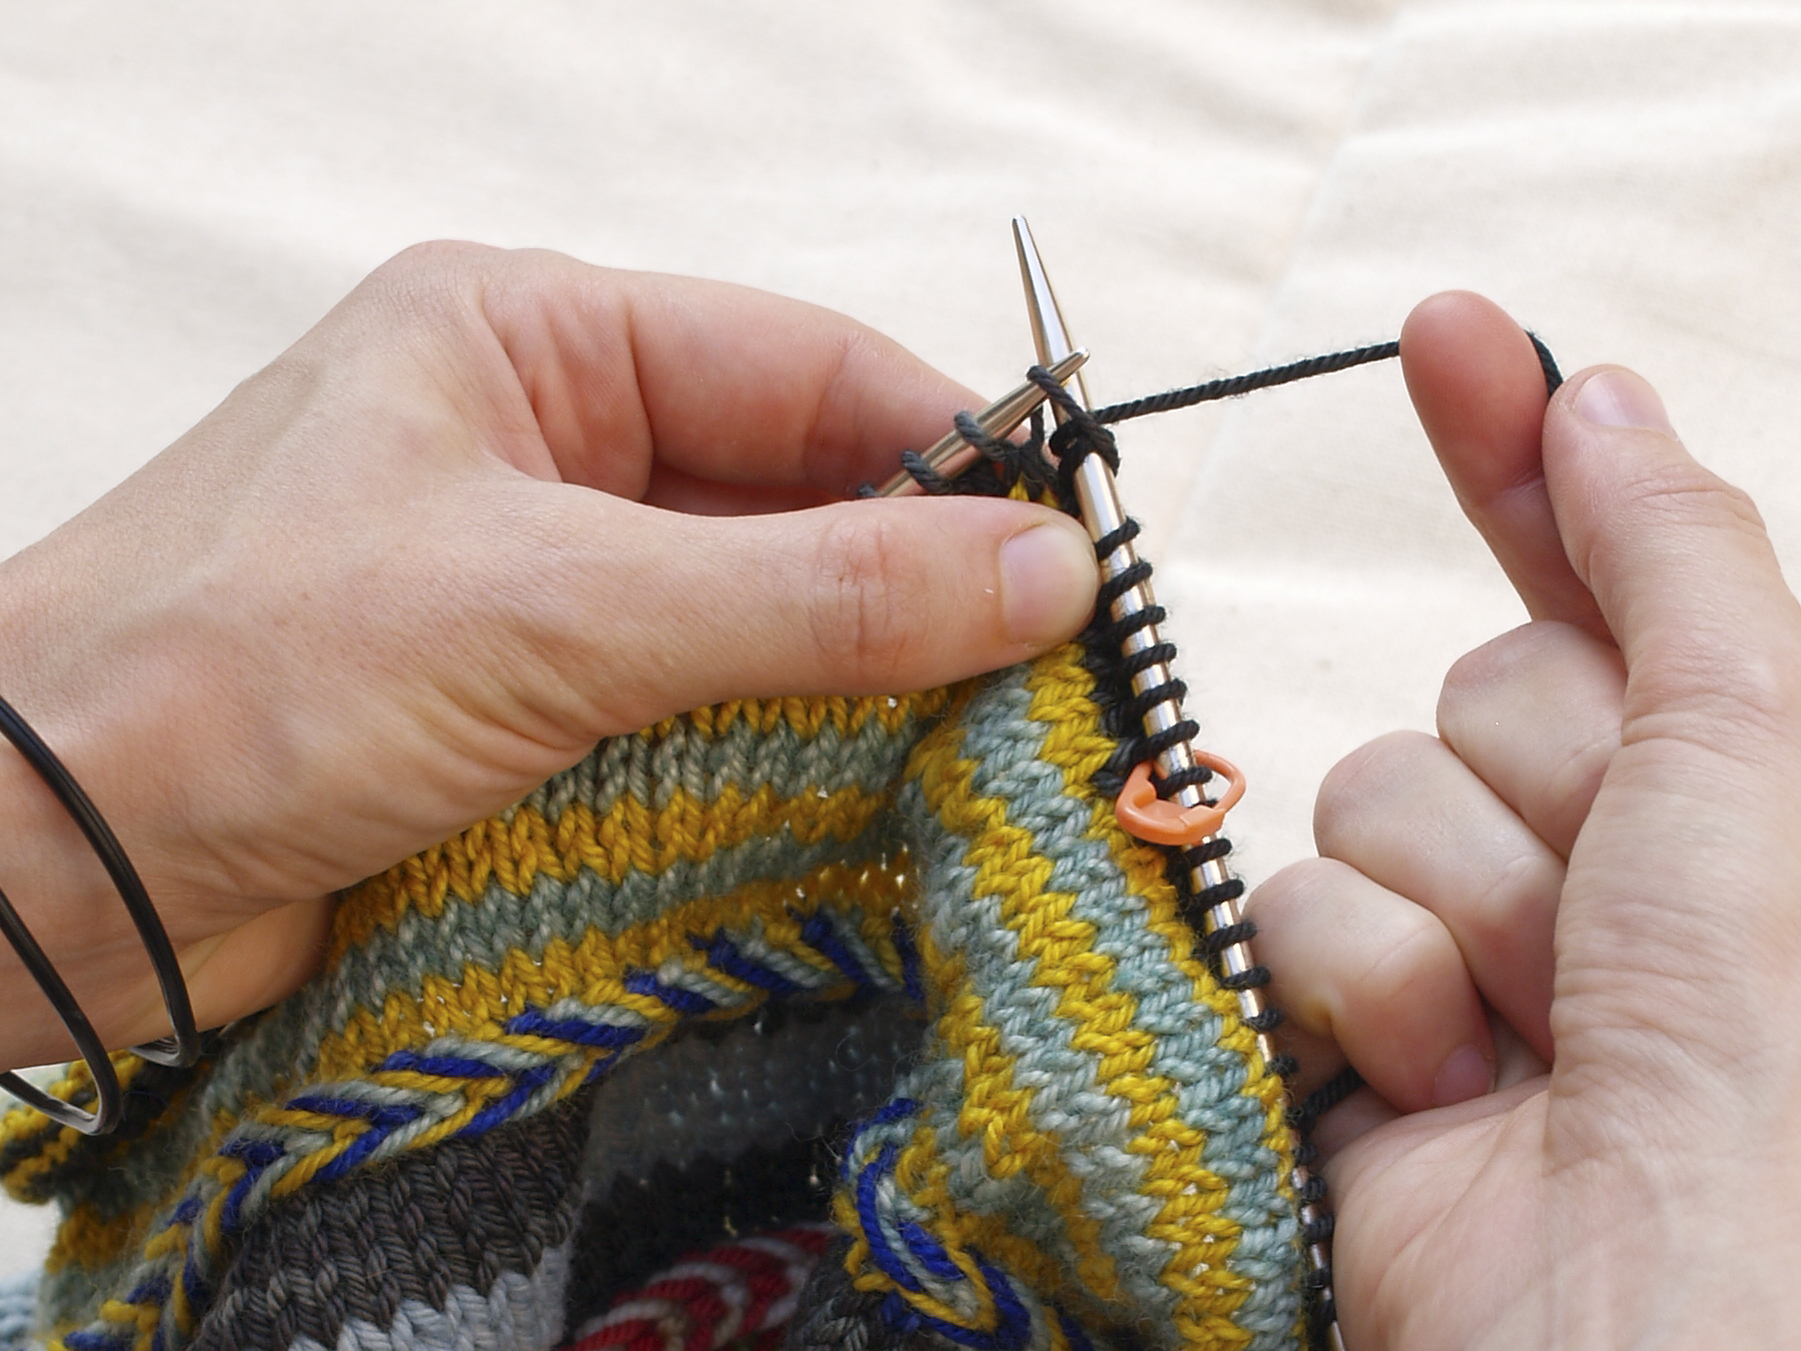
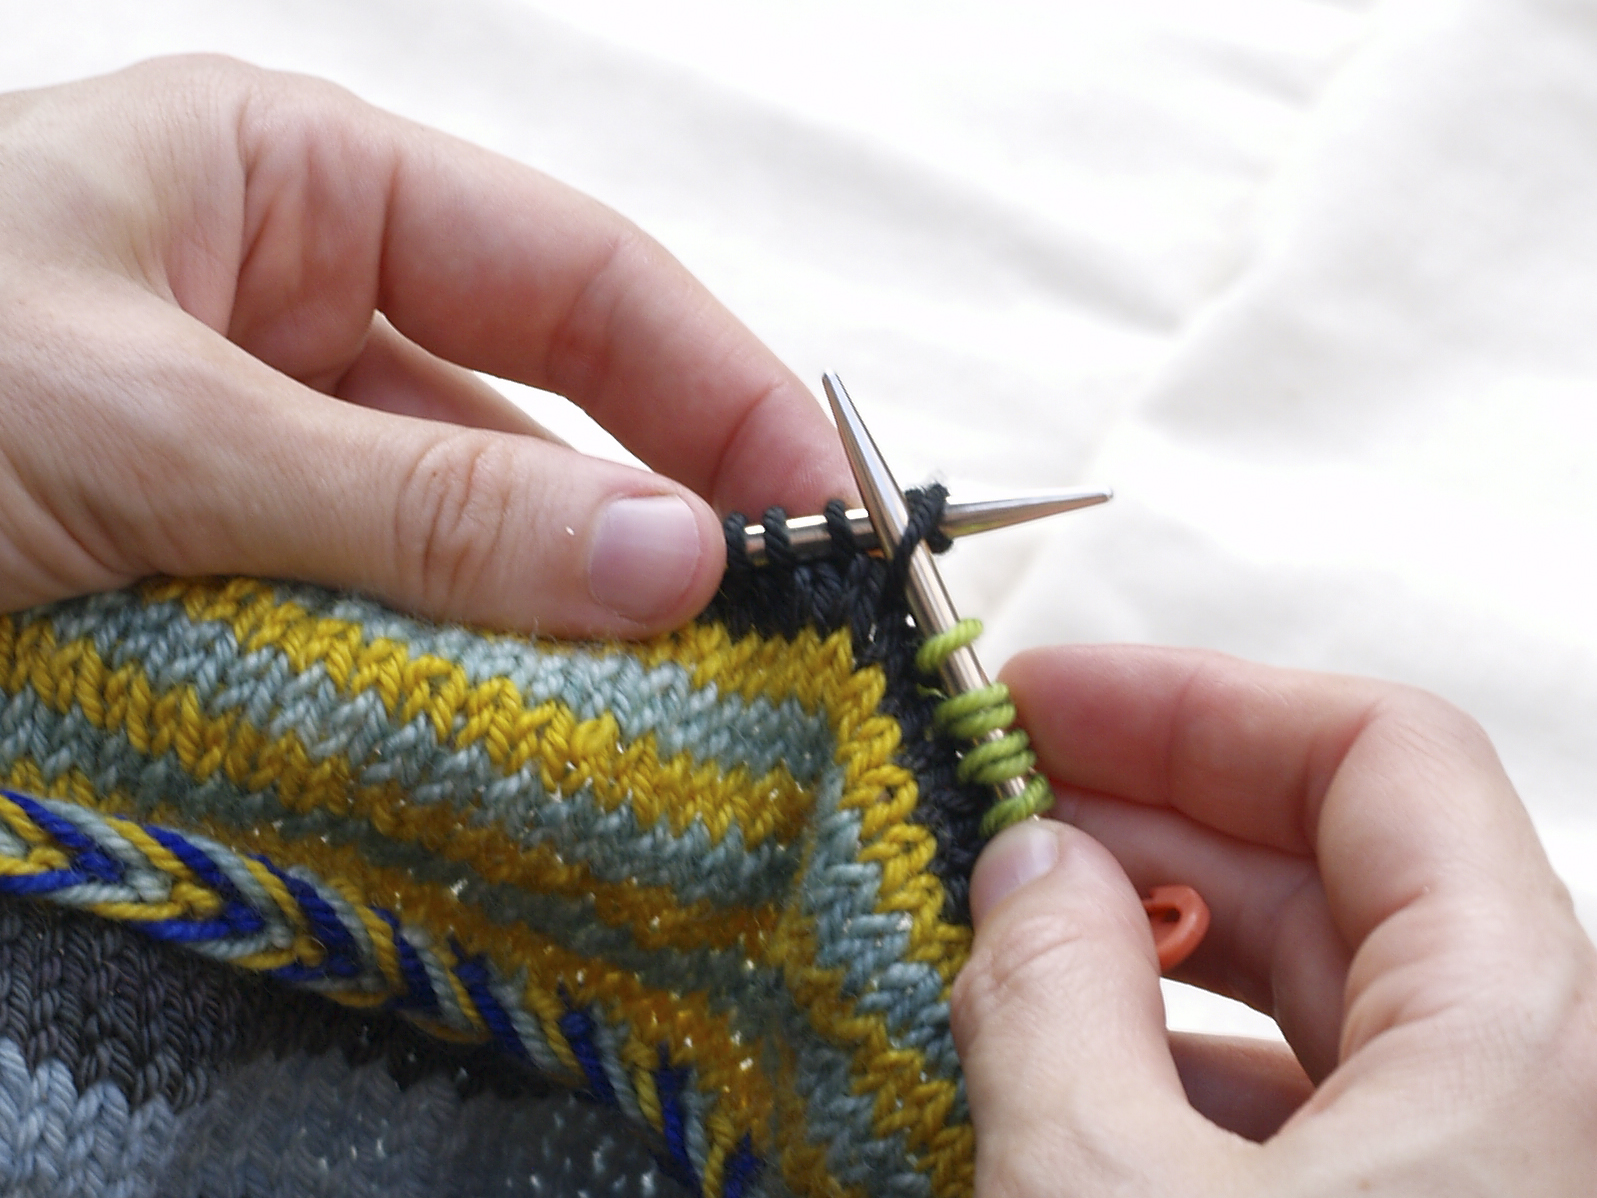
So, here we go. In the Yipes Stripes slipped-stitch blocks, on the first round of the slipped-stitch pattern, using the main color (gray in this example), you wrap every seventh stitch twice. Here’s what that looks like. The purpose of double-wrapping is not to increase one stitch by making two stitches from one; rather, it creates one long, loose stitch.
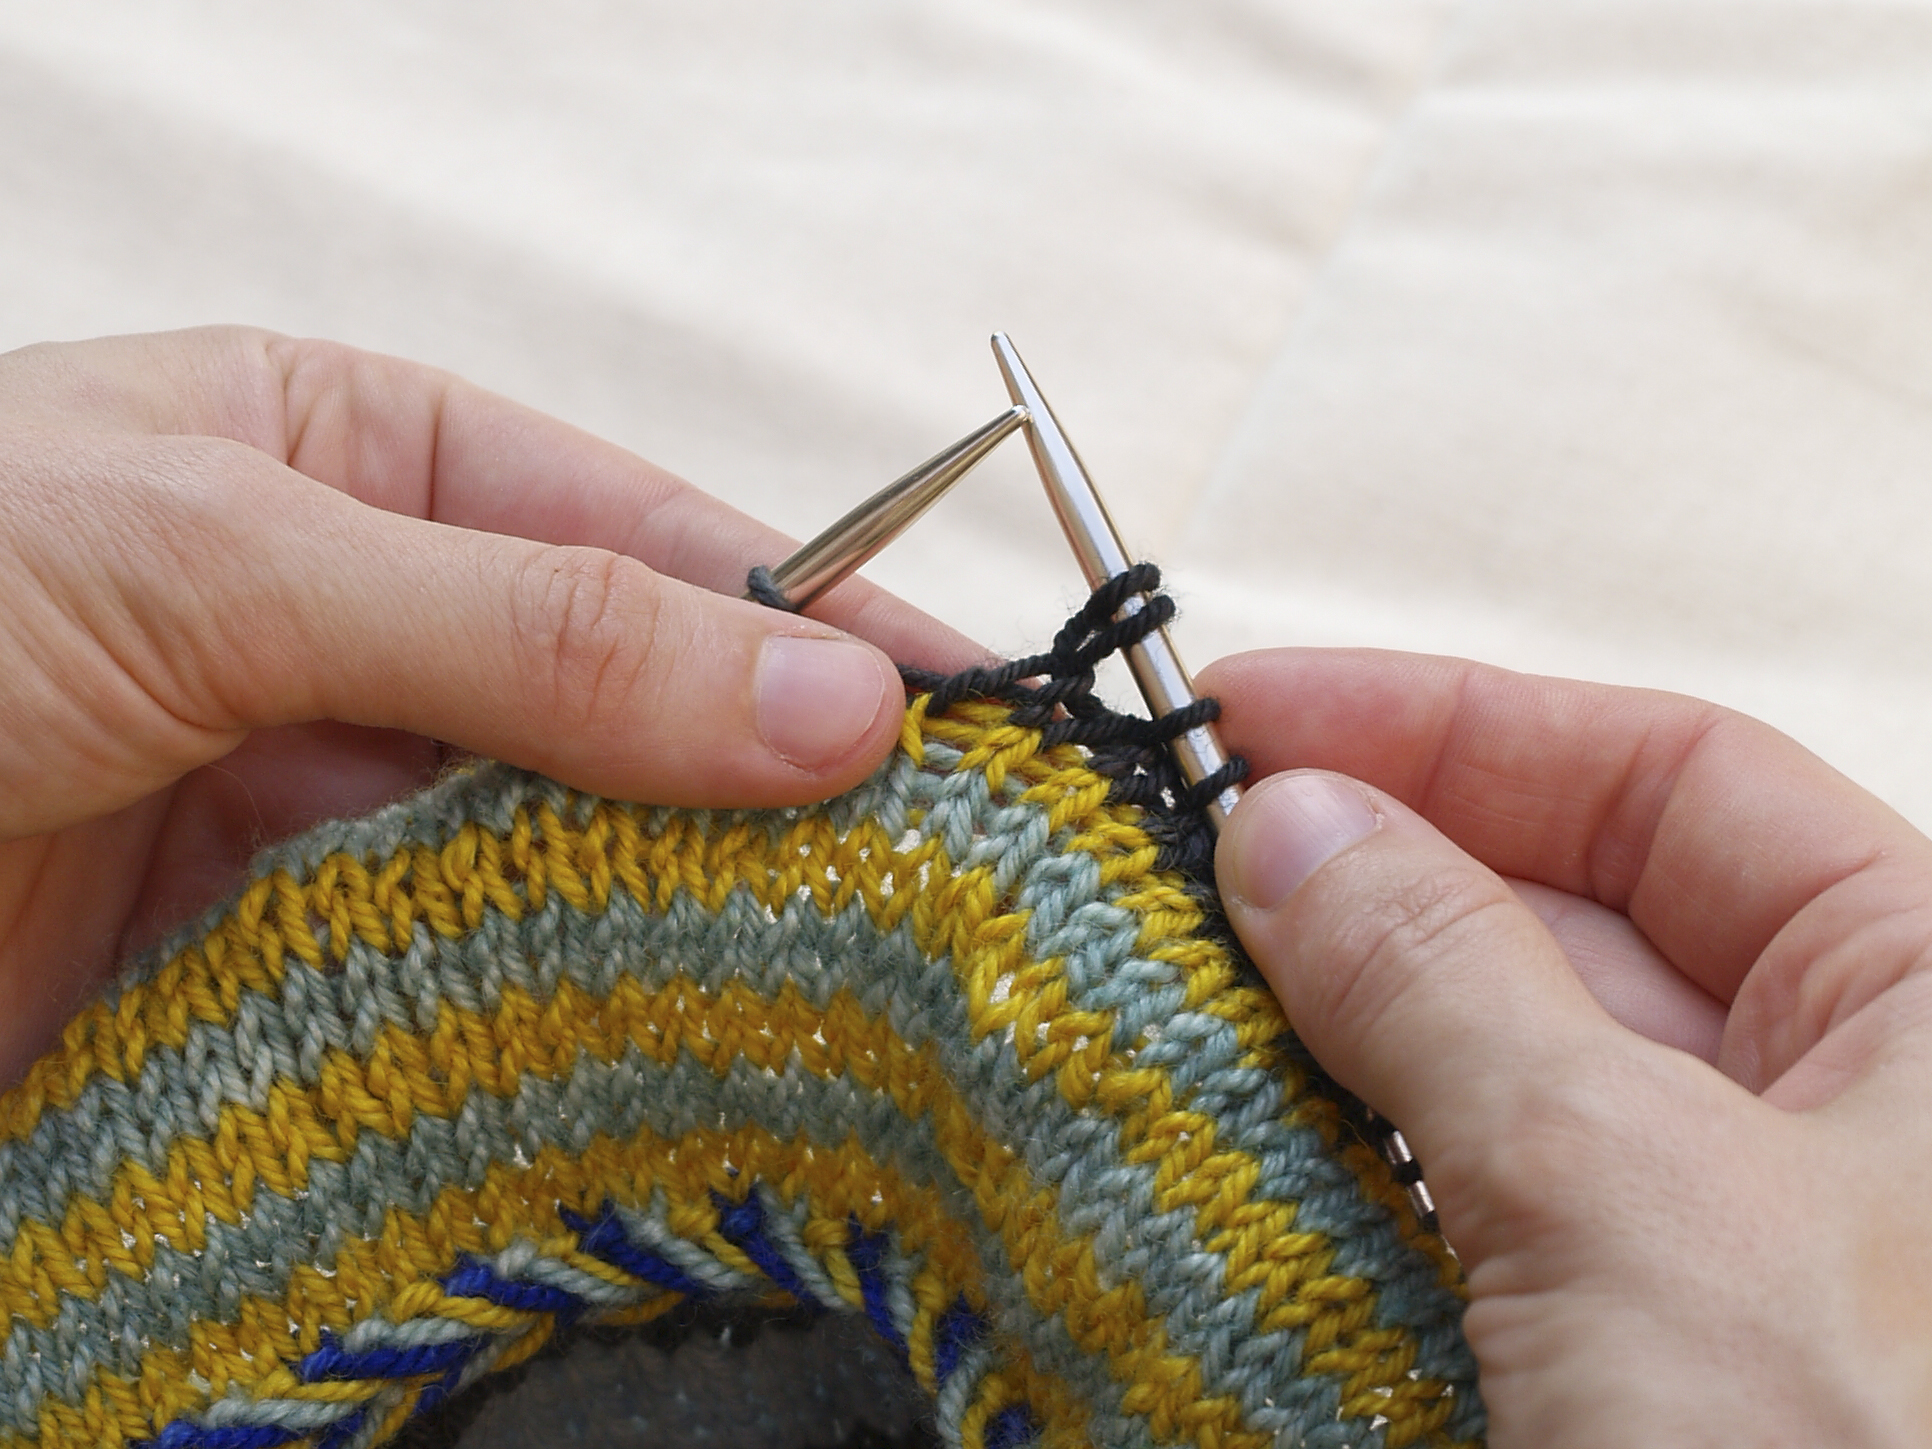
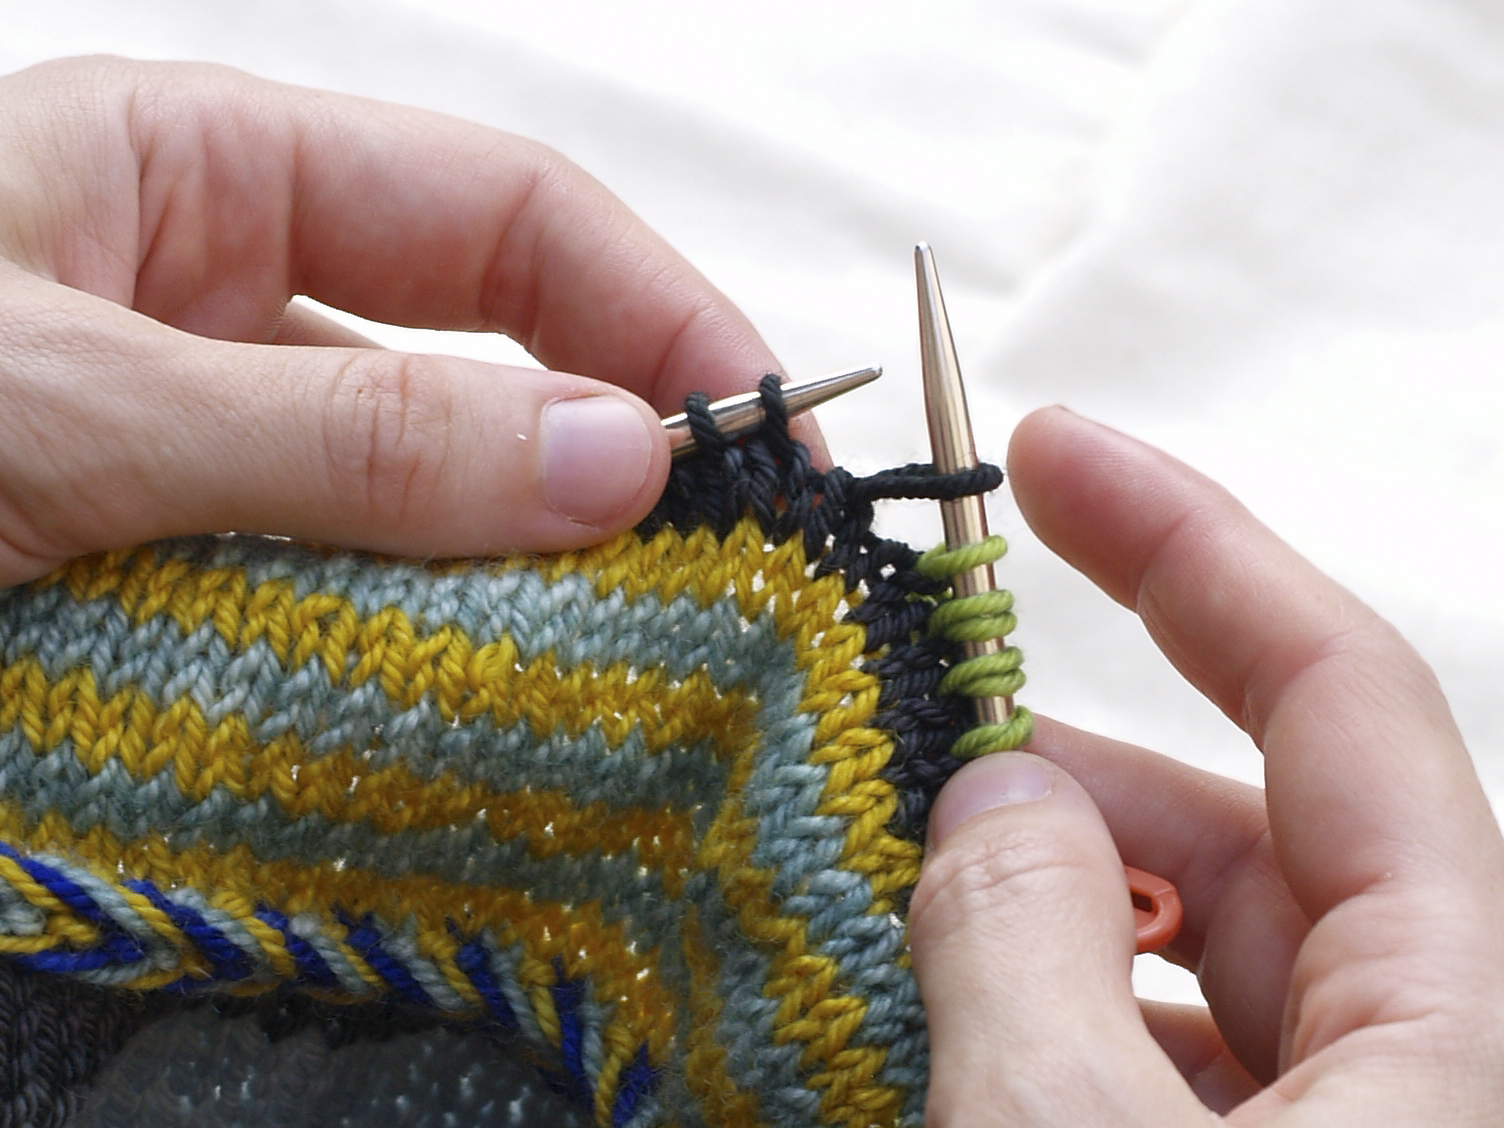
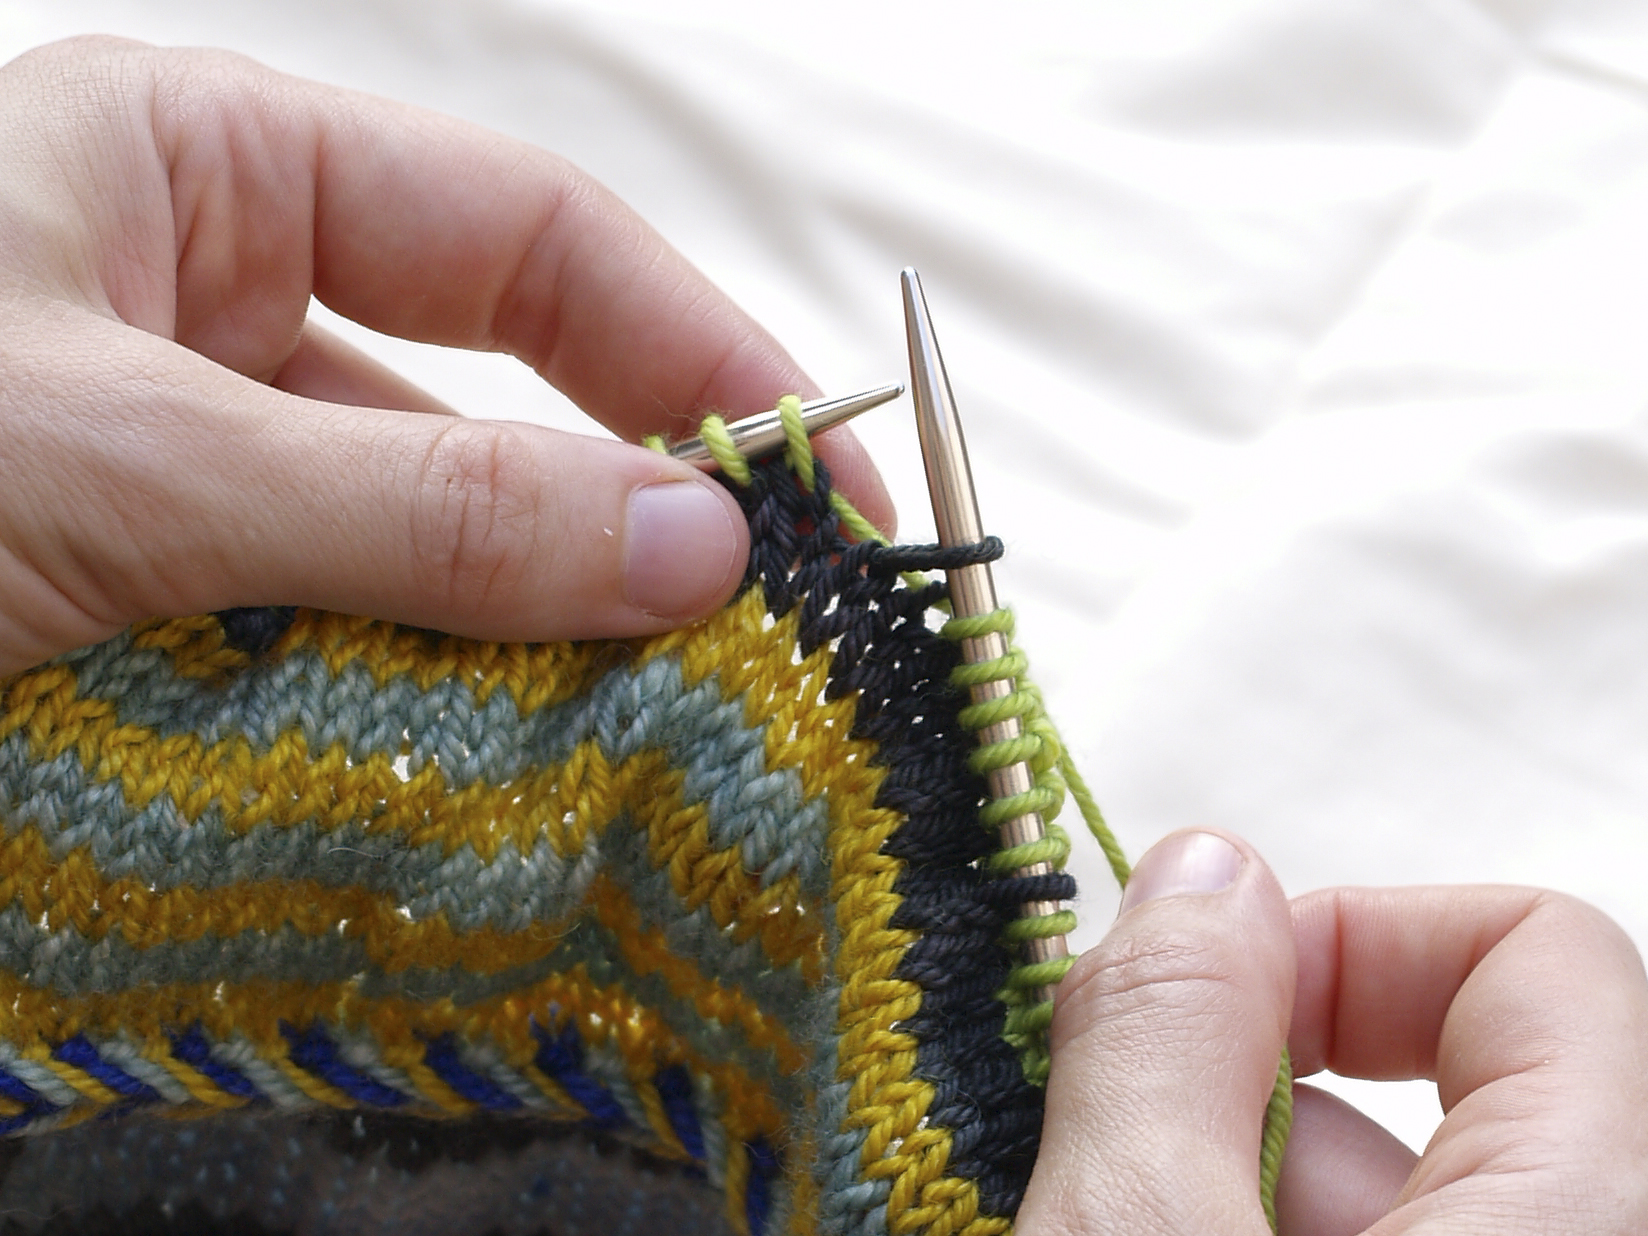
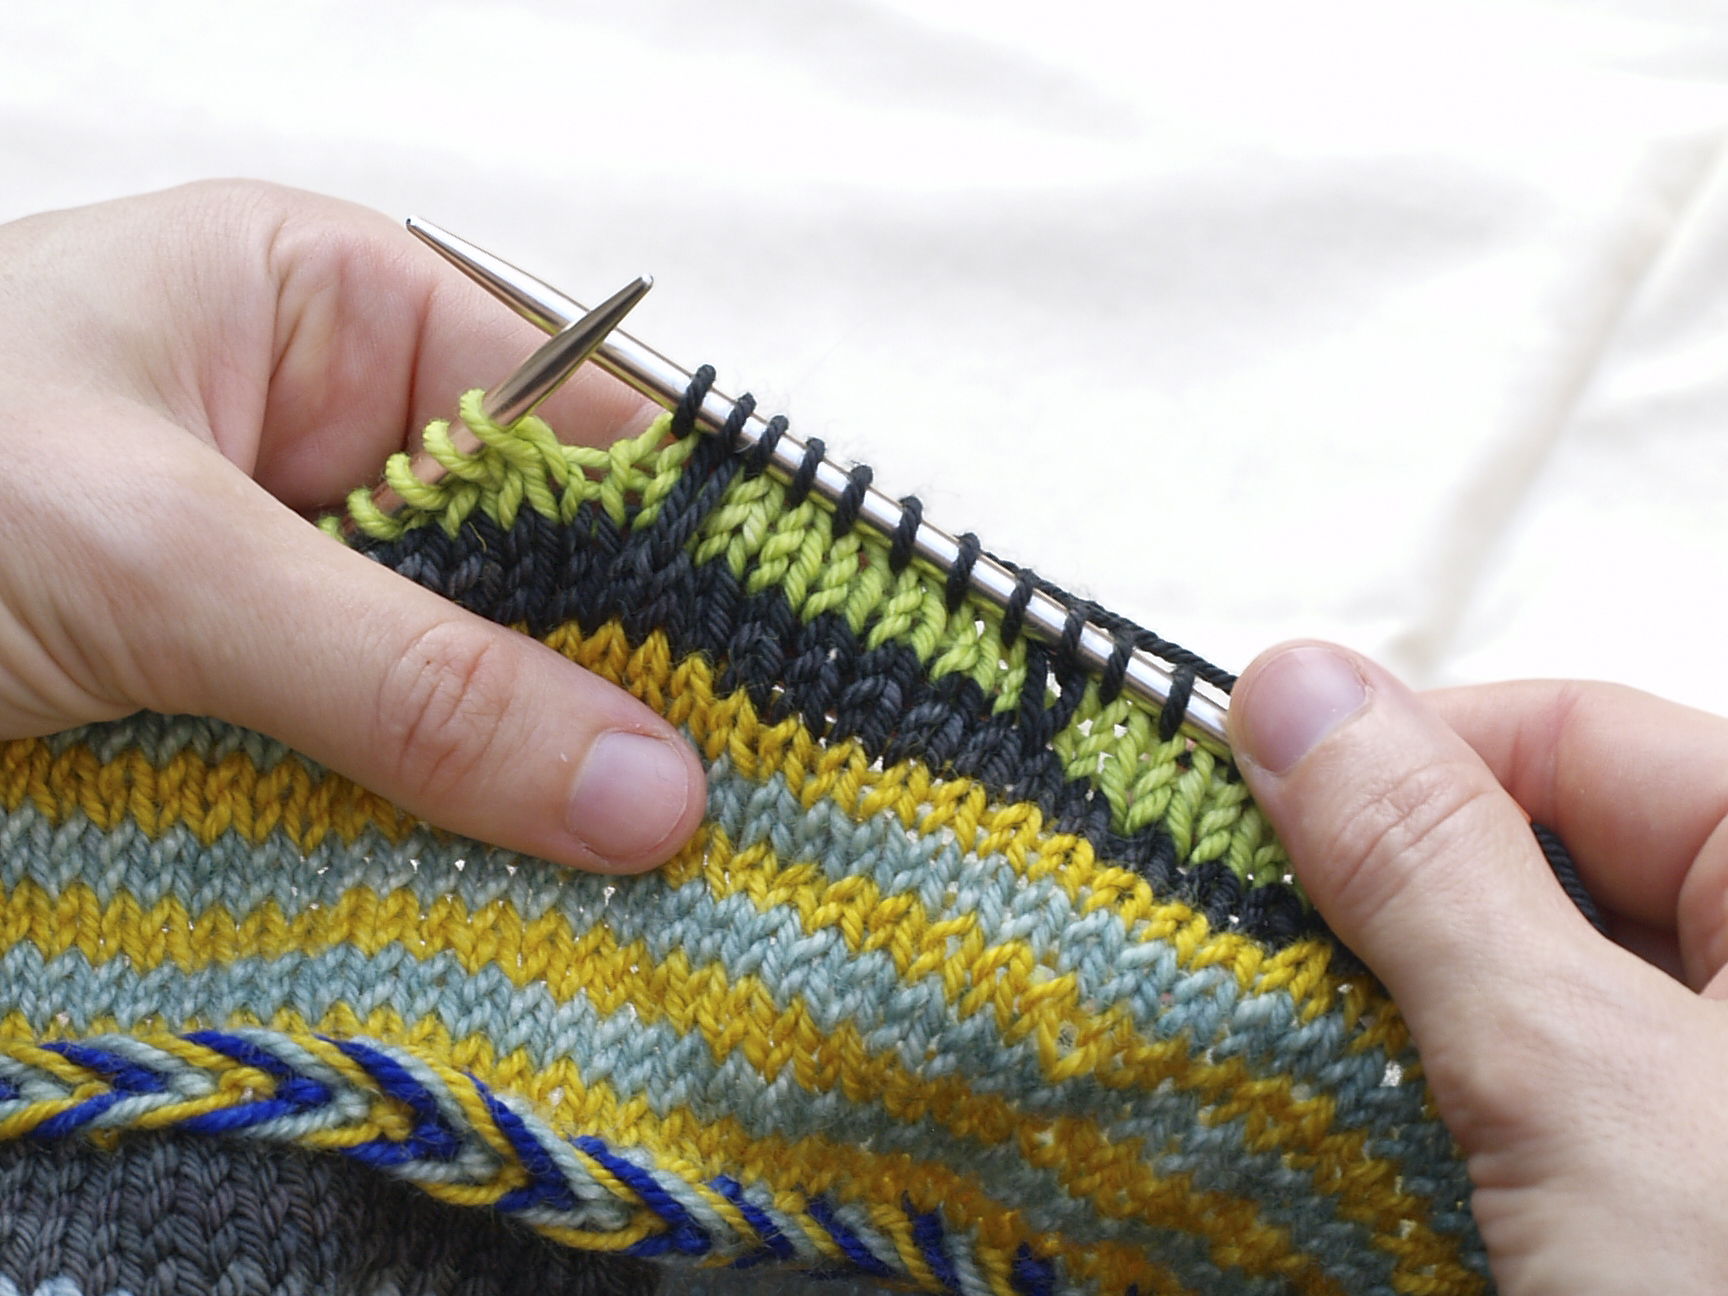
On the next round, you use your contrast color (chartreuse in this example). Each time you get to a double-wrapped stitch, you slip it purlwise, keeping your yarn in back of your work. Note that when you slip that double-wrapped stitch, the result is long and loose.
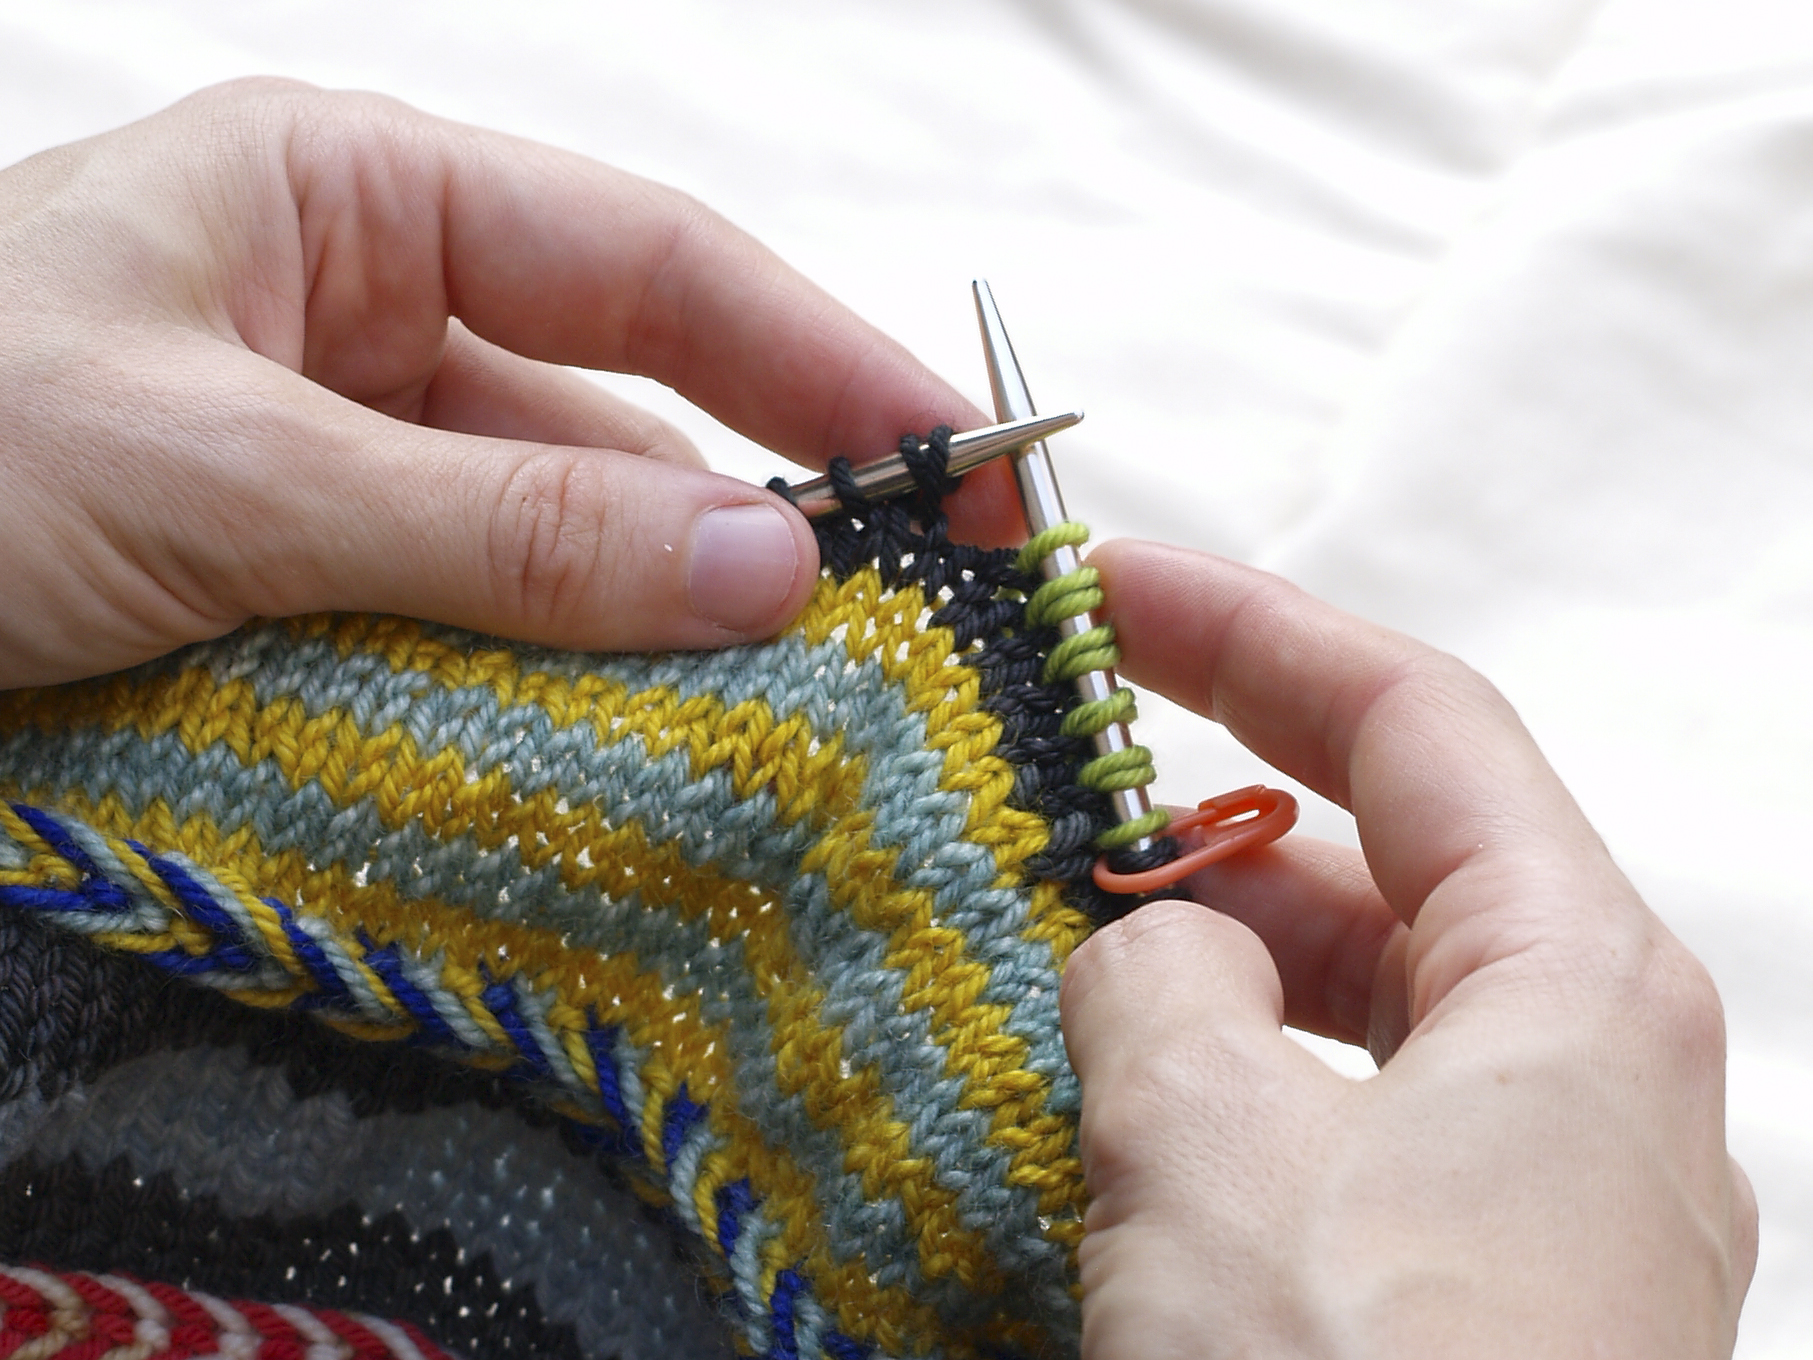
See how you’re getting stitches of two different colors in one round while only using one color? This is the principle of slipped-stitch (a.k.a. mosaic) patterns.
After you’ve completed the rounds in your contrast color, you change back to your main color and knit all the stitches. The result is a window effect. The long slipped stitches in the main color aren’t worked for the rounds you’ve used the contrast color.
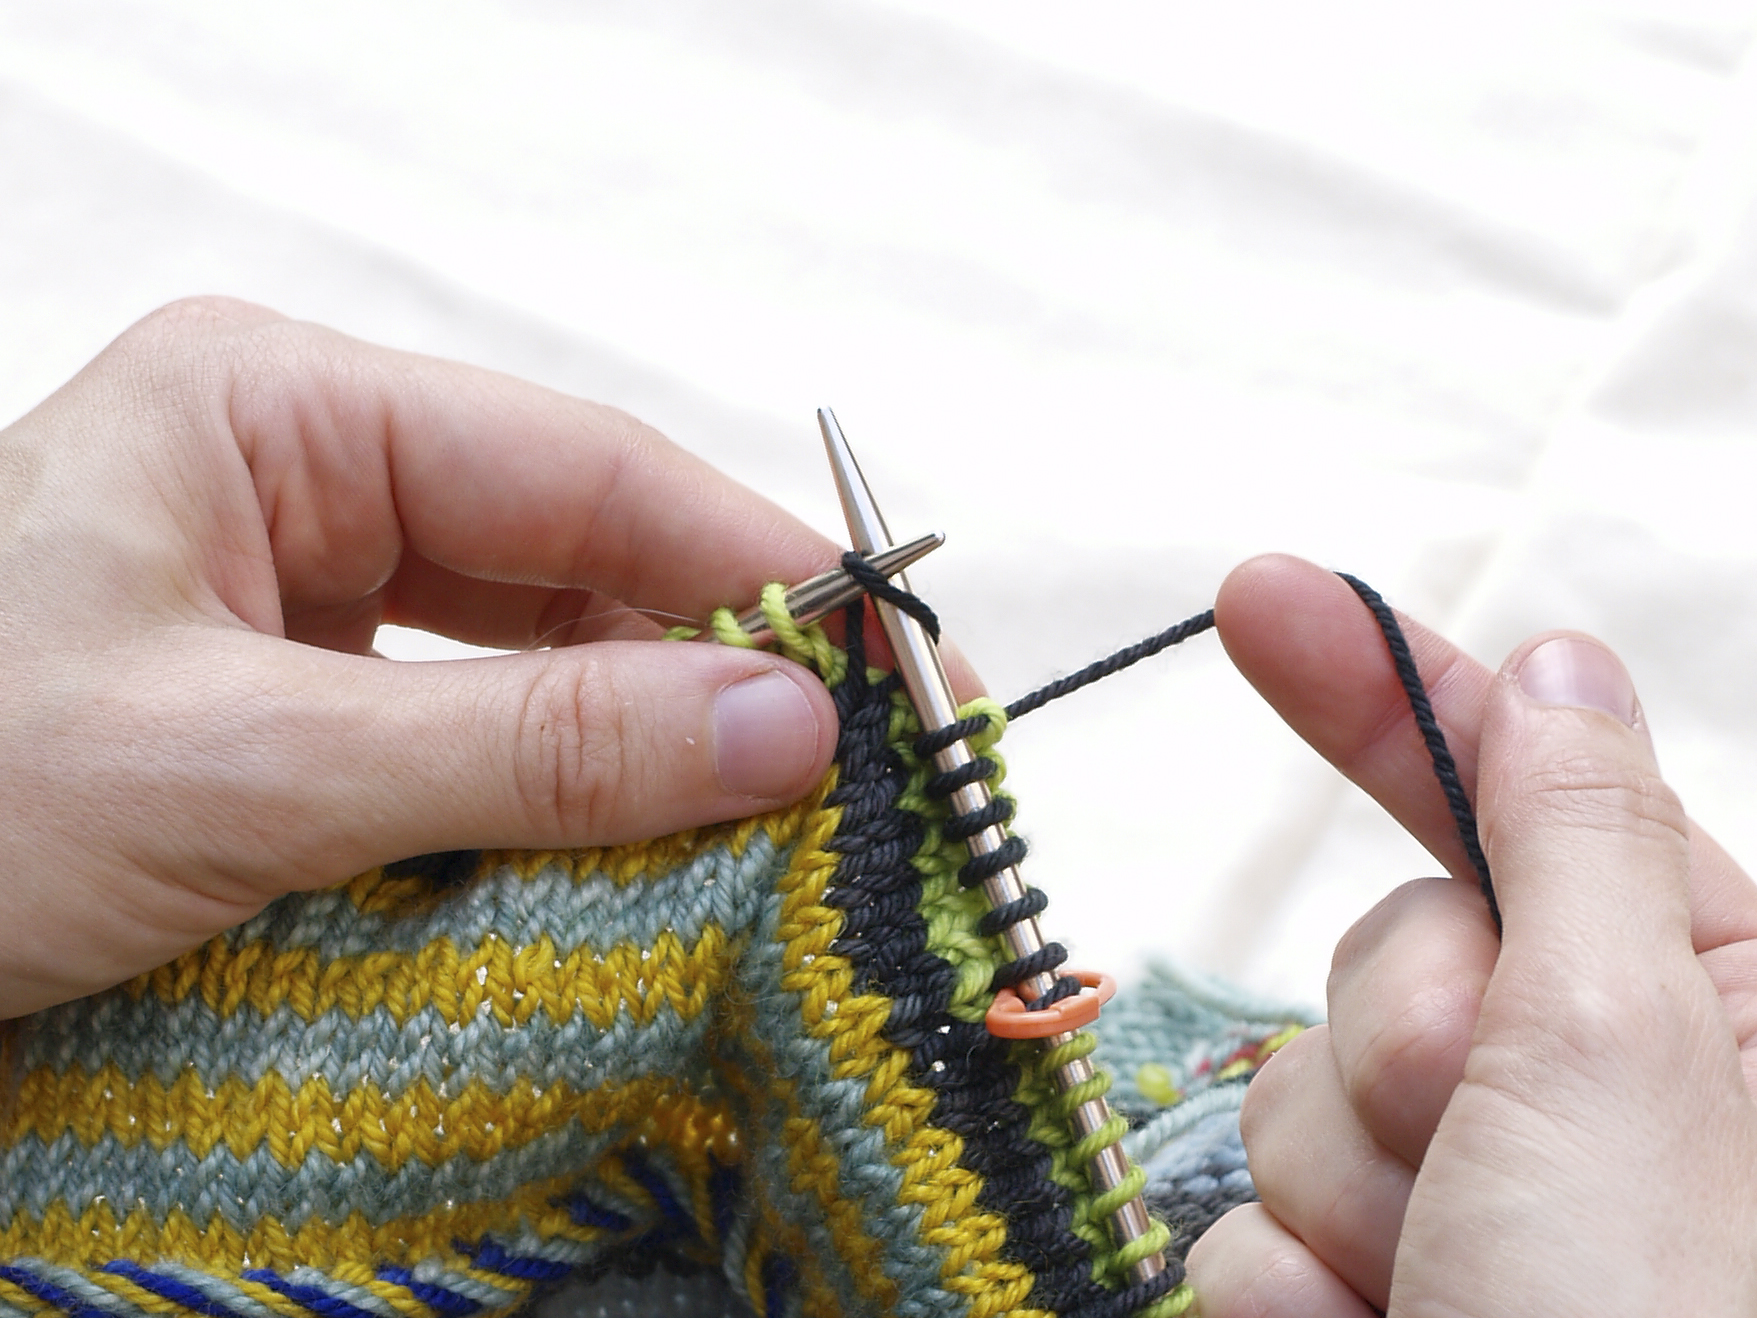
That’s the principle of slipped stitches. Using this technique, you can create patterns that look far more difficult than they are to create.

