- This event has passed.
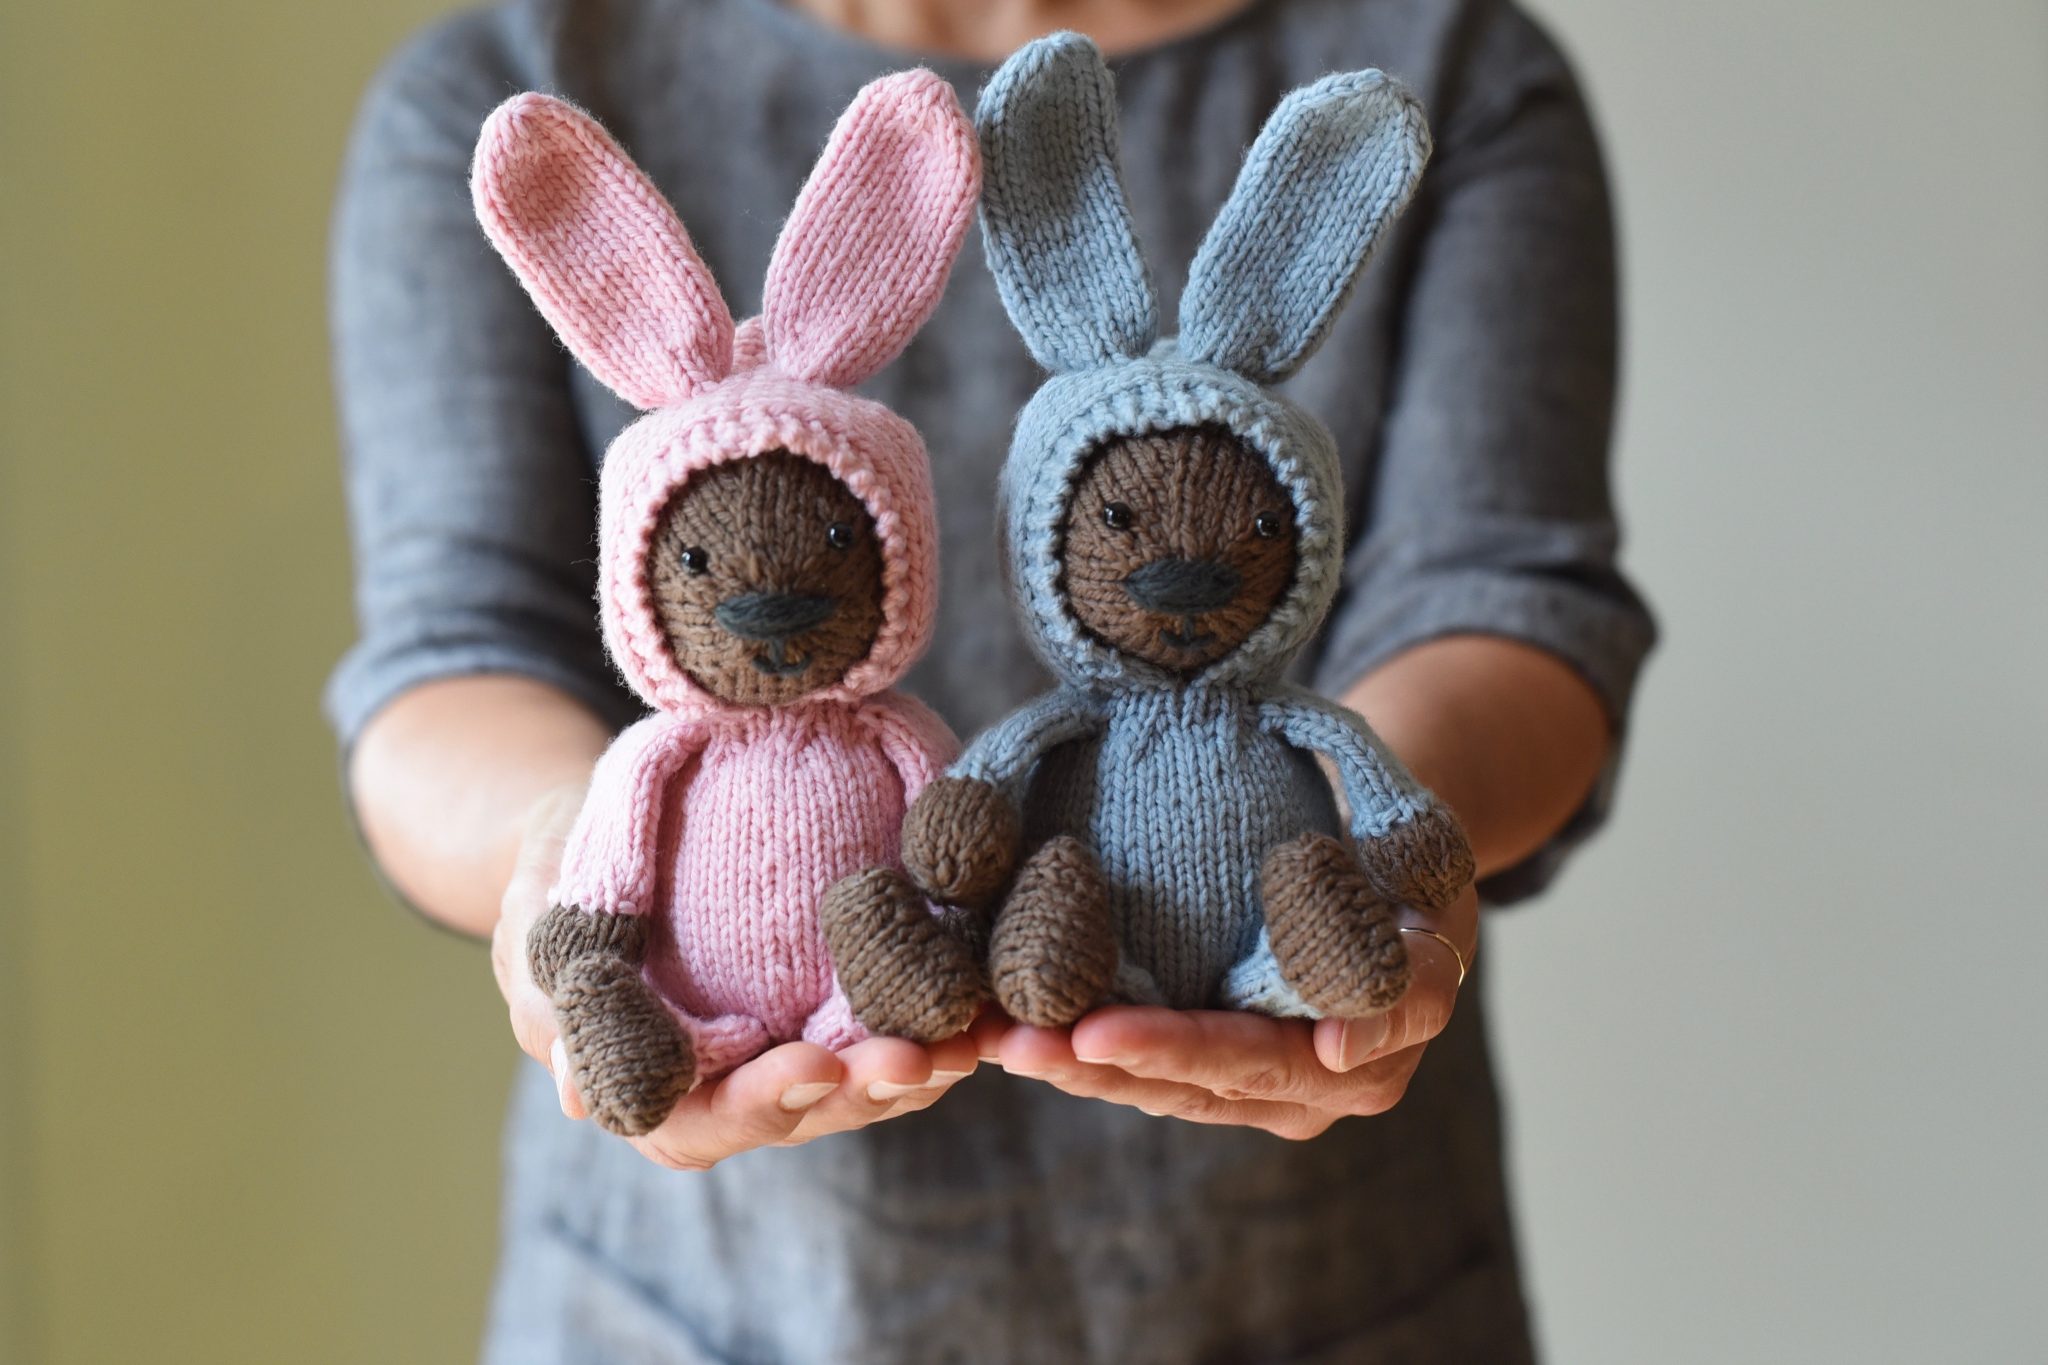
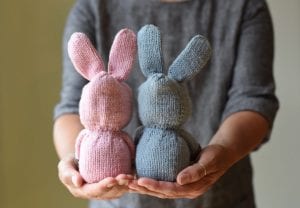
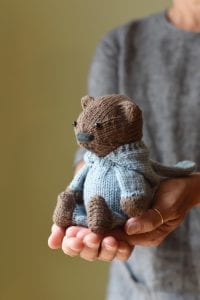
A Bear & A Bunny Suit Workshop with Susan B. Anderson
April 5, 2019 @ 2:00 pm - 5:00 pm
$75
Come to class with part of your Bear already worked, and we will jump right in to the wonderful world of handknit toy-making! This adorable toy has some interesting techniques including creating live stitches to work the hood, picking up and knitting right on to the toy for limbs and ears, leaving purl bump and other markers to help you with the toy-making process, face embroidery and lots more. The goal is to get as far as possible on your Bear while picking up some new tips and tricks along the way. You will leave a much more confident toy knitter with some new skills that can be transferred to other projects, as well!
Skills needed:
Materials:
- Worsted weight wool yarn:
- Bear: 25 grams in the Bear colorway
- Bunny Suit: 50 grams in either the Priscilla or Wishing Well colorways
- For body, head and hood: US# 5 (3.75 mm) double pointed needles, set of four *or size needed to obtain gauge
- For arms, legs and bunny ears: US# 6 (4 mm) double pointed needles, set of four
- Locking stitch markers
- Yarn needle
- Scrap yarn
- Fiberfill (not available at fibre space)
- Small amount of black worsted weight yarn for the face embroidery
- Copy of Bear and Bunny Suit Pattern, available on Ravelry
Optional: Two 6 mm safety eyes (safety eyes are considered a choking hazard for infants and young children) from a local craft supply store.
Note: If the toy is for an infant or young child use the black worsted weight yarn to embroider the eyes instead of the safety eyes.
Gauge:
On smaller needles: 6 stitches per inch in stockinette stitch
On larger needles: 5.5 stitches per inch in stockinette stitch (2.5cm) in stockinette stitch worked in the round
Construction Notes
The body is worked from the bottom up and in the round. The hood is then picked up at the neck using set-aside stitches and is worked flat. The hood stitches are placed on scrap yarn. The head is worked separately in the round and is then stitched to the top of the body (this is the only seam in the entire toy). The hood is then finished off. The bear ears, bunny ears, arms and legs are picked up and knit directly onto the toy.
Homework Assignment:
Work the Body through Round 6 of the Decrease Rounds and bring your work in progress with you to class, and we’ll pick up from there! See you soon.
Body
With the smaller size needles, starting at the bottom of the body with the Bunny Suit color, using the long-tail cast-on method, cast on 9 stitches placing 3 stitches on each of three double-pointed needles. Join to work in the round being careful not to twist the stitches. Place a stitch marker on the first stitch to mark the beginning of the round.
Rnd 1: Knit.
Rnd 2: Kfb in each stitch–6 sts per nee- dle, 18 sts total.
Rnd 3: Knit.
Rnd 4: *K1, kfb; repeat from * to the end of the round-9 sts per needle, 27 sts total.
Rnd 5: Knit.
Rnd 6: *K2, kfb; repeat from * to the end of the round-12 sts per needle, 36 sts total.
Rnd 7: Knit.
Rnd 8: *K3, kfb; repeat from * to the end of the round-15 sts per needle, 45 sts total.
Rnds 9 and 10: Knit.
Rnds 11-29: Knit.
At this point, thread the yarn needle with the tail from the cast on stitch- es. Insert the needle through each of the cast-on stitches, and pull the yarn through to gather up the close the hole at the bottom of the body. Pull the end to the inside, weave in and trim.
Decrease Rounds
Rnd 1: *K3, k2tog; repeat from * to the end of the round-12 sts per needle, 36 sts total.
Rnd 2: Knit.
Rnd 3: *K2, k2tog; repeat from * to the end of the round-9 sts per needle, 27 sts total.
Rnds 4 and 5: Knit.
Begin stuffing the body with fiberfill using small pinches at a time. Push the fabric out from the inside as you stuff to make the bottom of the body flat. Do not overstuff. Continue to add stuffing as you work until the body is closed.
Rnd 6: Kfb in each stitch around-18 sts per needle, 54 sts total.
Stop here and we will carry on from this spot!


