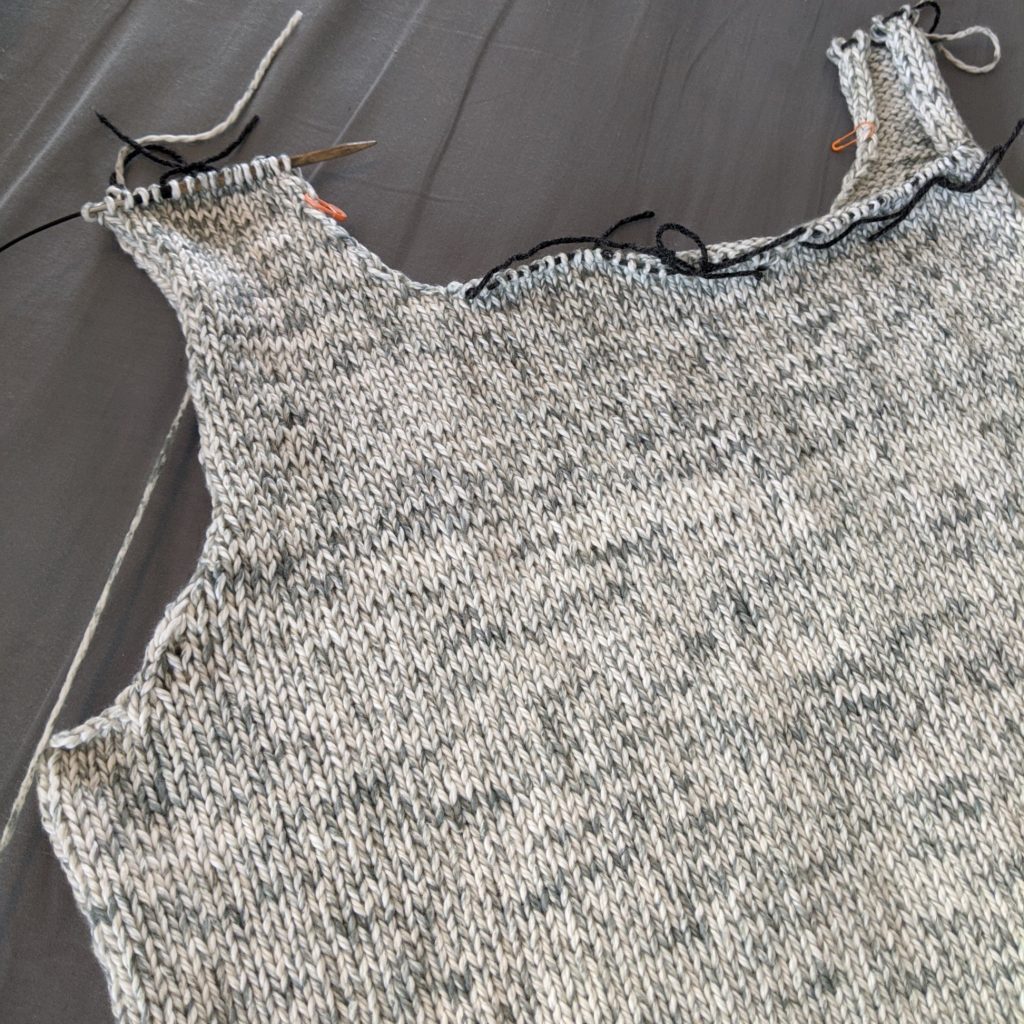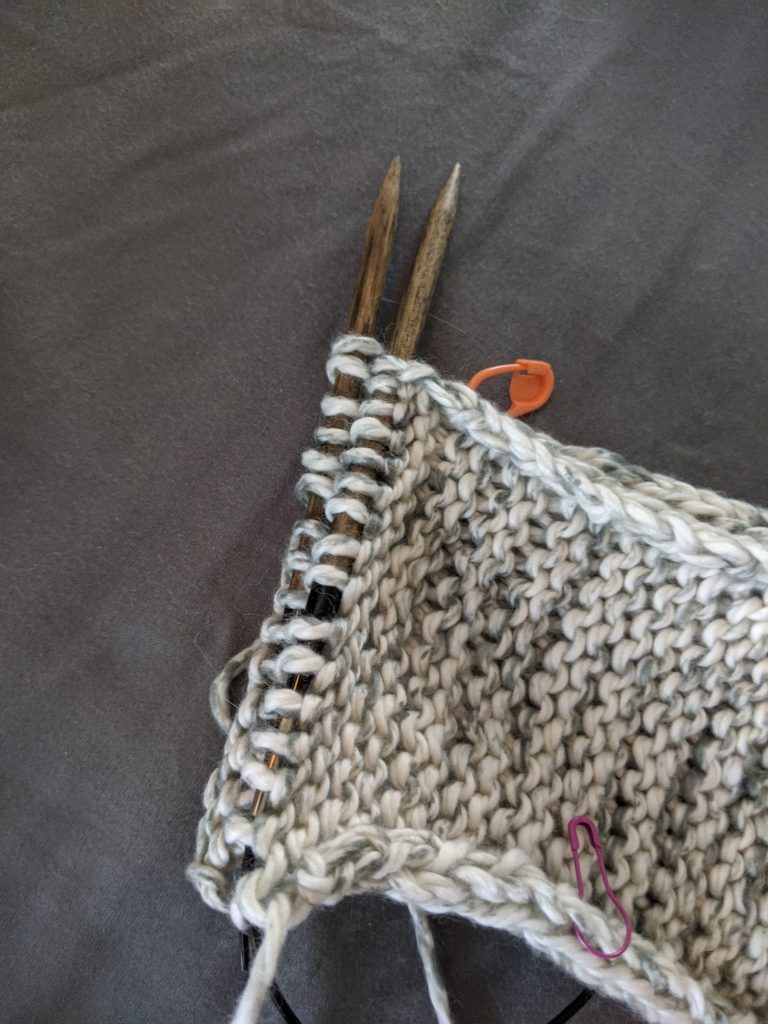
At this point, you’ll be working four sections to create the front and back of each shoulder. Cut the yarn and rejoin between each of the sections. When you’ve finished each of the front shoulder pieces, it’s time to move on to the back.
Danielle has a great video about how to measure armhole depth, which you can watch on our YouTube channel.
Working the Back Shoulders
In the pattern, it says to “work as for front armhole shaping until armhole measures X.” So when you start working the back of your piece, simply go back to the “Shape Armholes” section, and work those instructions again. Note that for the back, you will be working for an extra inch before moving on the neck shaping. For my size M top, I worked the front for 5 1/2 inches, and the back for 6 1/2 inches, as per the pattern instructions. This is not a typo! This extra inch makes the back of your garment higher than the front of the garment, creating a lower (and more flattering) front neckline.
Working the Back Neck
Once you’ve worked to the correct measurement, you’ll continue on. The pattern says “shape back neck as for front neck,” so once again, go back up to the “shape front neck” instructions and work them on the back. This time, you’ll continue working even until the back armhole measures the same as the front to the shoulder. This is easy to measure visually, as you can simply lay your piece flat and make sure the front and back shoulders line up!

Joining the Shoulders
Congratulations! You’re now ready to do a simple join technique to connect your front and back shoulder pieces. This will create a seam that sits at the top of the shoulder. Once you’re finished, your sweater is going to look like a ‘real’ (albeit sleeveless) garment!
Danielle has a wonderful video demonstrating this technique on our YouTube channel.
Three Needle Bind-Off
Just as the name implies, to do a 3-needle bind off, you need three needles. You’ll place the live stitches that were on hold back onto a needle, one for the front piece and one for the back piece. Hold them together with the wrong sides out and facing you – you will be looking at the purl bump side of the fabric. Now you’ll use your third needle to go into the first stitch on each needle and knit them together. You’ll have one stitch on your right needle. Knit the next stitch on each needle together. You’ll now have two stitches on your right needle. Pass the back stitch over the front stitch, just like a traditional bind-off.
Repeat until you have one stitch left on the right needle, cut, and pull your tail through to close the loop. This method seams and binds off the stitches in one process. When done with wrong sides out, the seam will end up on the inside of your garment, and you’ll have a smooth finish on the right side.
Need some motivation? We’re starting to see some gorgeous finished projects in our Ravelry group! We’d love to see your progress.
