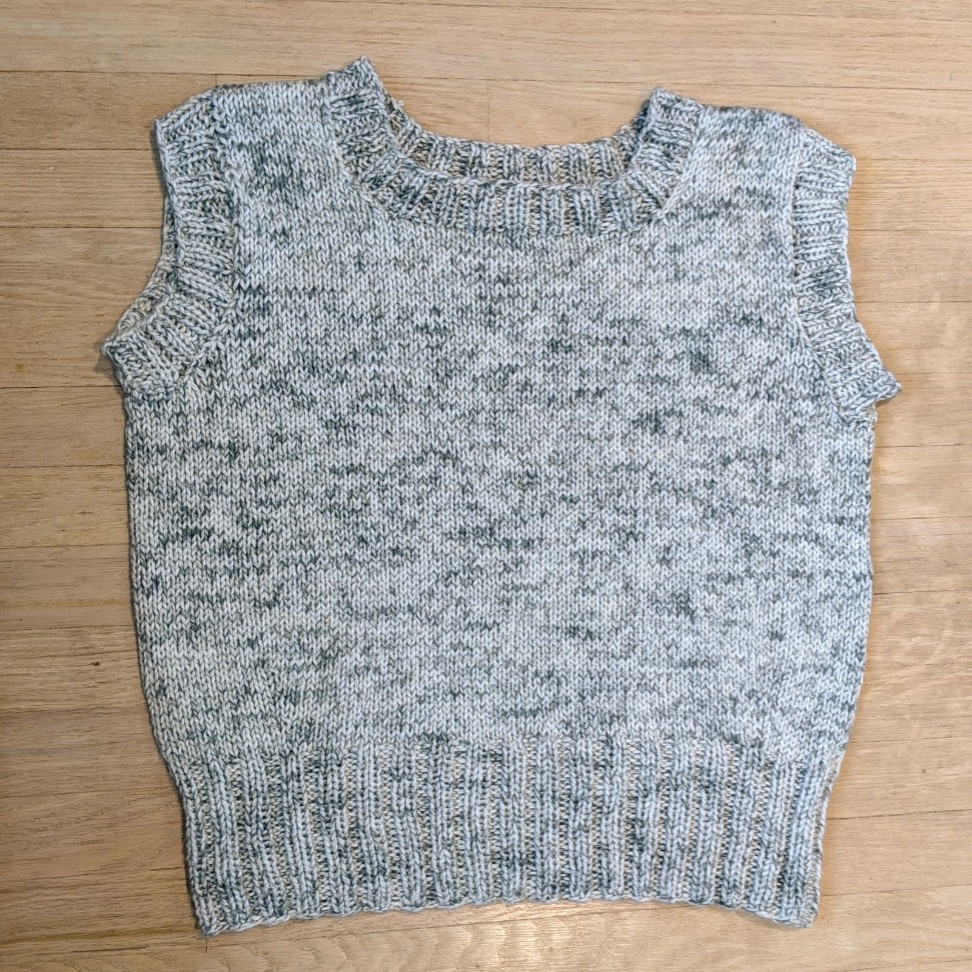
By now, your Seven Sisters Top is looking like a real garment – you can even try it on! The final knitting steps are to finish the sleeves and neck band by picking up stitches and knitting ribbing for a few rounds. The technique is the same for both areas.
Preparing to Pick Up Stitches
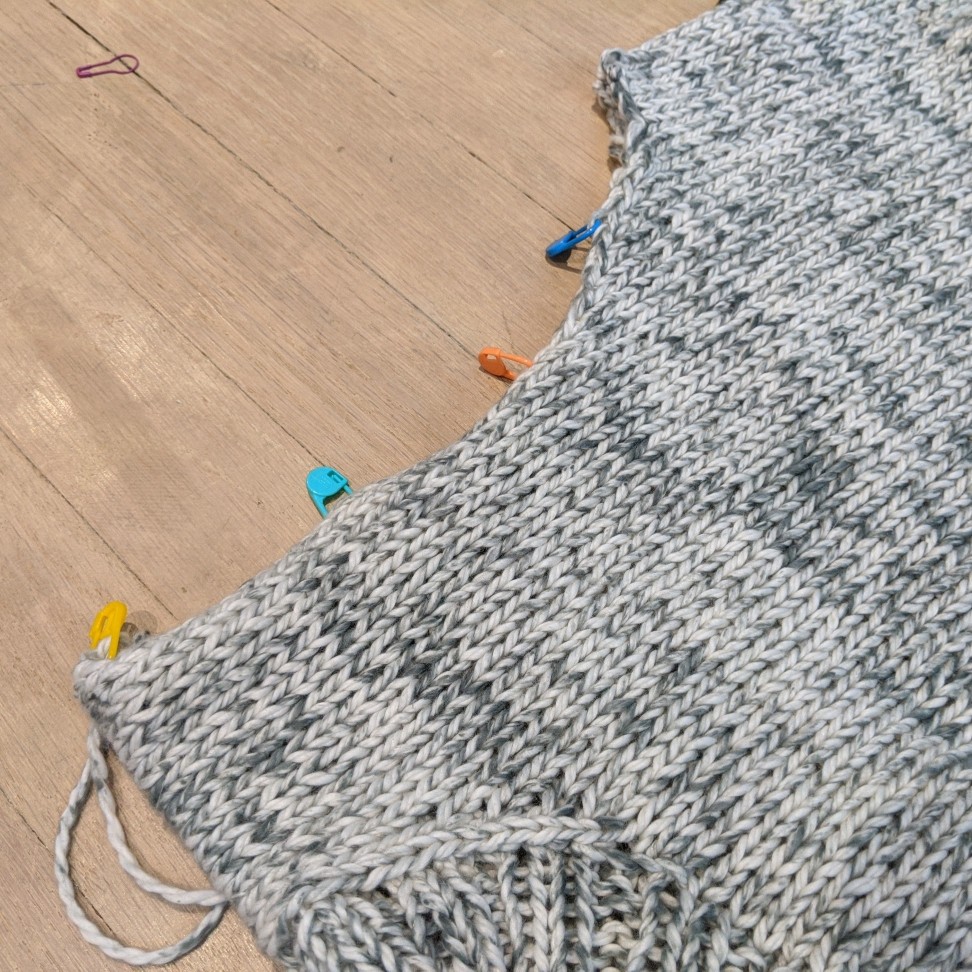
You’ll start in the underside center of one of the armholes, which you can find at the spot where you split for working front and back. The pattern instructions will tell you how many stitches you want to pick up around the armhole circumference. To keep an even distribution around, I like to break the space up into eighths, and mark them with stitch markers. For my size, I’m picking up 72 stitches around, so I’ll need to pick up 9 stitches between each marker.

To place the stitch markers, I folded the area in half, and placed markers, then in half again, and so on until I had small sections. This doesn’t need to be super exact, it is just a general guideline.
Picking Up the Stitches
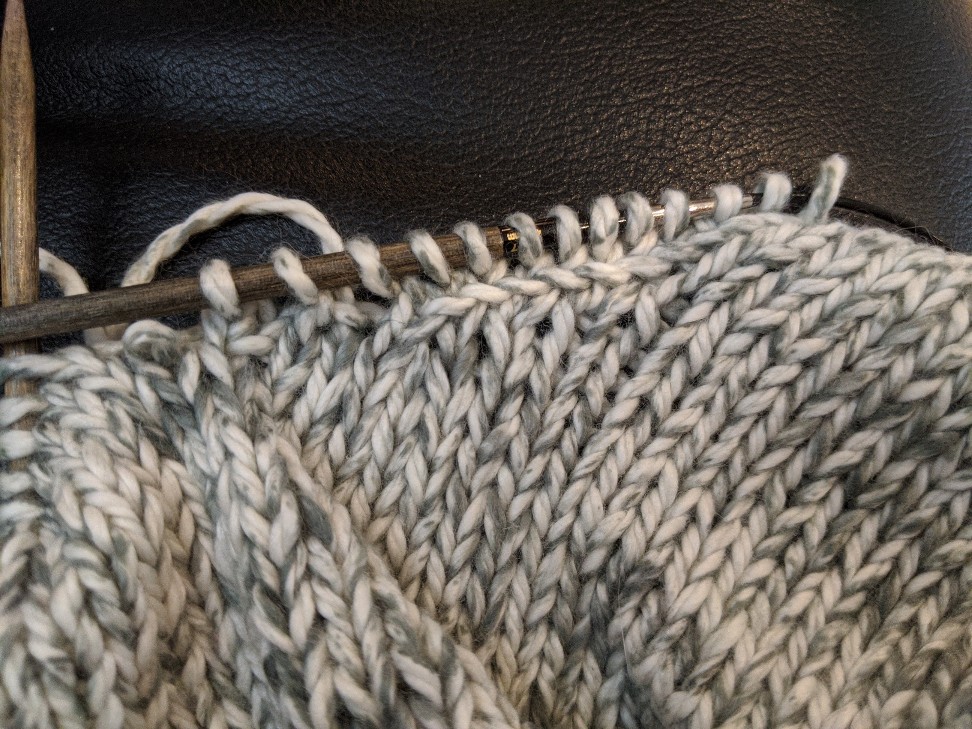
To pick up stitches along an edge, you’re going to insert your right needle under the legs of the edge stitch, and pull up your working yarn with the needle. You’ll have one loop on your right needle, which is your new stitch. I like to leave a long tail from the first pickup stitch, which can be used to tidy up the join when you weave it in.
You’ll find different knitters have a different preference about where exactly to put your needle to pick up the stitch, and that’s ok. Some prefer front leg, some prefer back leg, and some prefer both legs. It can also change depending on what yarn you’re using. As long as you pick up consistently, and you like the way it looks – you’re doing it right!
After I’ve picked up a few stitches, I spread out the stitches on my right needle, and check that I like how the picked up stitches look. If there are big gaps or odd seams, I simply drop those and pick them up again in a different place.

Continue around the opening, counting your stitches, until you’re back at the beginning. For the neckline, you’ll pick up stitches until you get to the stitches on hold. Place the held stitches back on your left needle and knit across them as normal. When you reach the end, you’ll join in the round and start working ribbing, just like a hat brim.
One of my favorite knitting resources, Very Pink Knits, has a detailed video on picking up stitches.
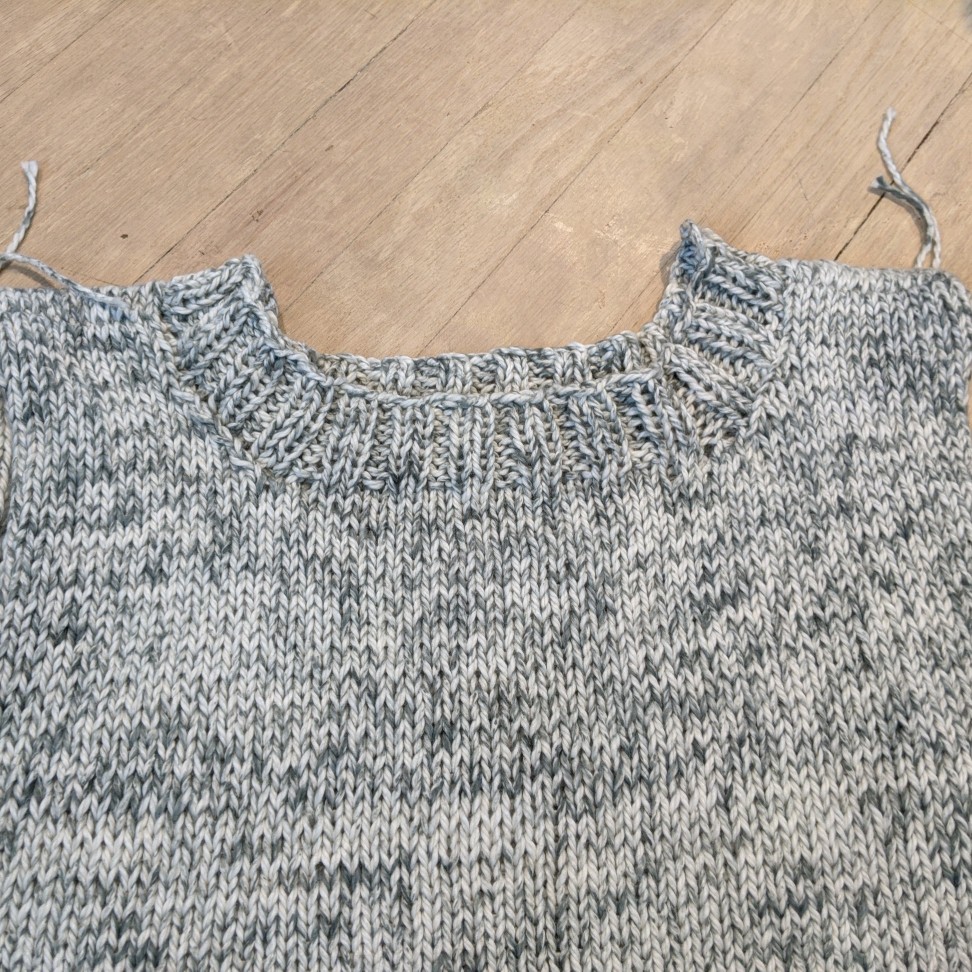
Here’s how your finished neckline will look, before blocking:

Binding Off
The pattern instructions now say “Bind Off in Pattern.” This means continue the knit two, purl two pattern in the bind off. So you will knit two stitches, then pass the first stitch over the second to bind off. Your next stitch is a purl stitch, so you purl, then pass the first stitch on the right needle over the left to bind off. Continue around, knitting the knit stitches and purling the purl stitches, while binding off as normal.

Don’t forget to show us your gorgeous finished projects in our Ravelry group!

