The sewn bind-off: perfect when you want a bind-off that is stretchy, but not SUPER stretchy. When you want a bind-off that is equivalent in stretchiness to your cast-on. When you want a bind-off that is similar in appearance to the long-tail cast-on.
I recommend the sewn bind-off in most of my sweater patterns that are knit from the bottom up. It creates a clean and unobtrusive edge that will fit over the wearer’s head. I also use it for shawls when I want a tension that is somewhere between a standard bind-off and a super stretchy bind-off. It’s easy to do. Here’s how!
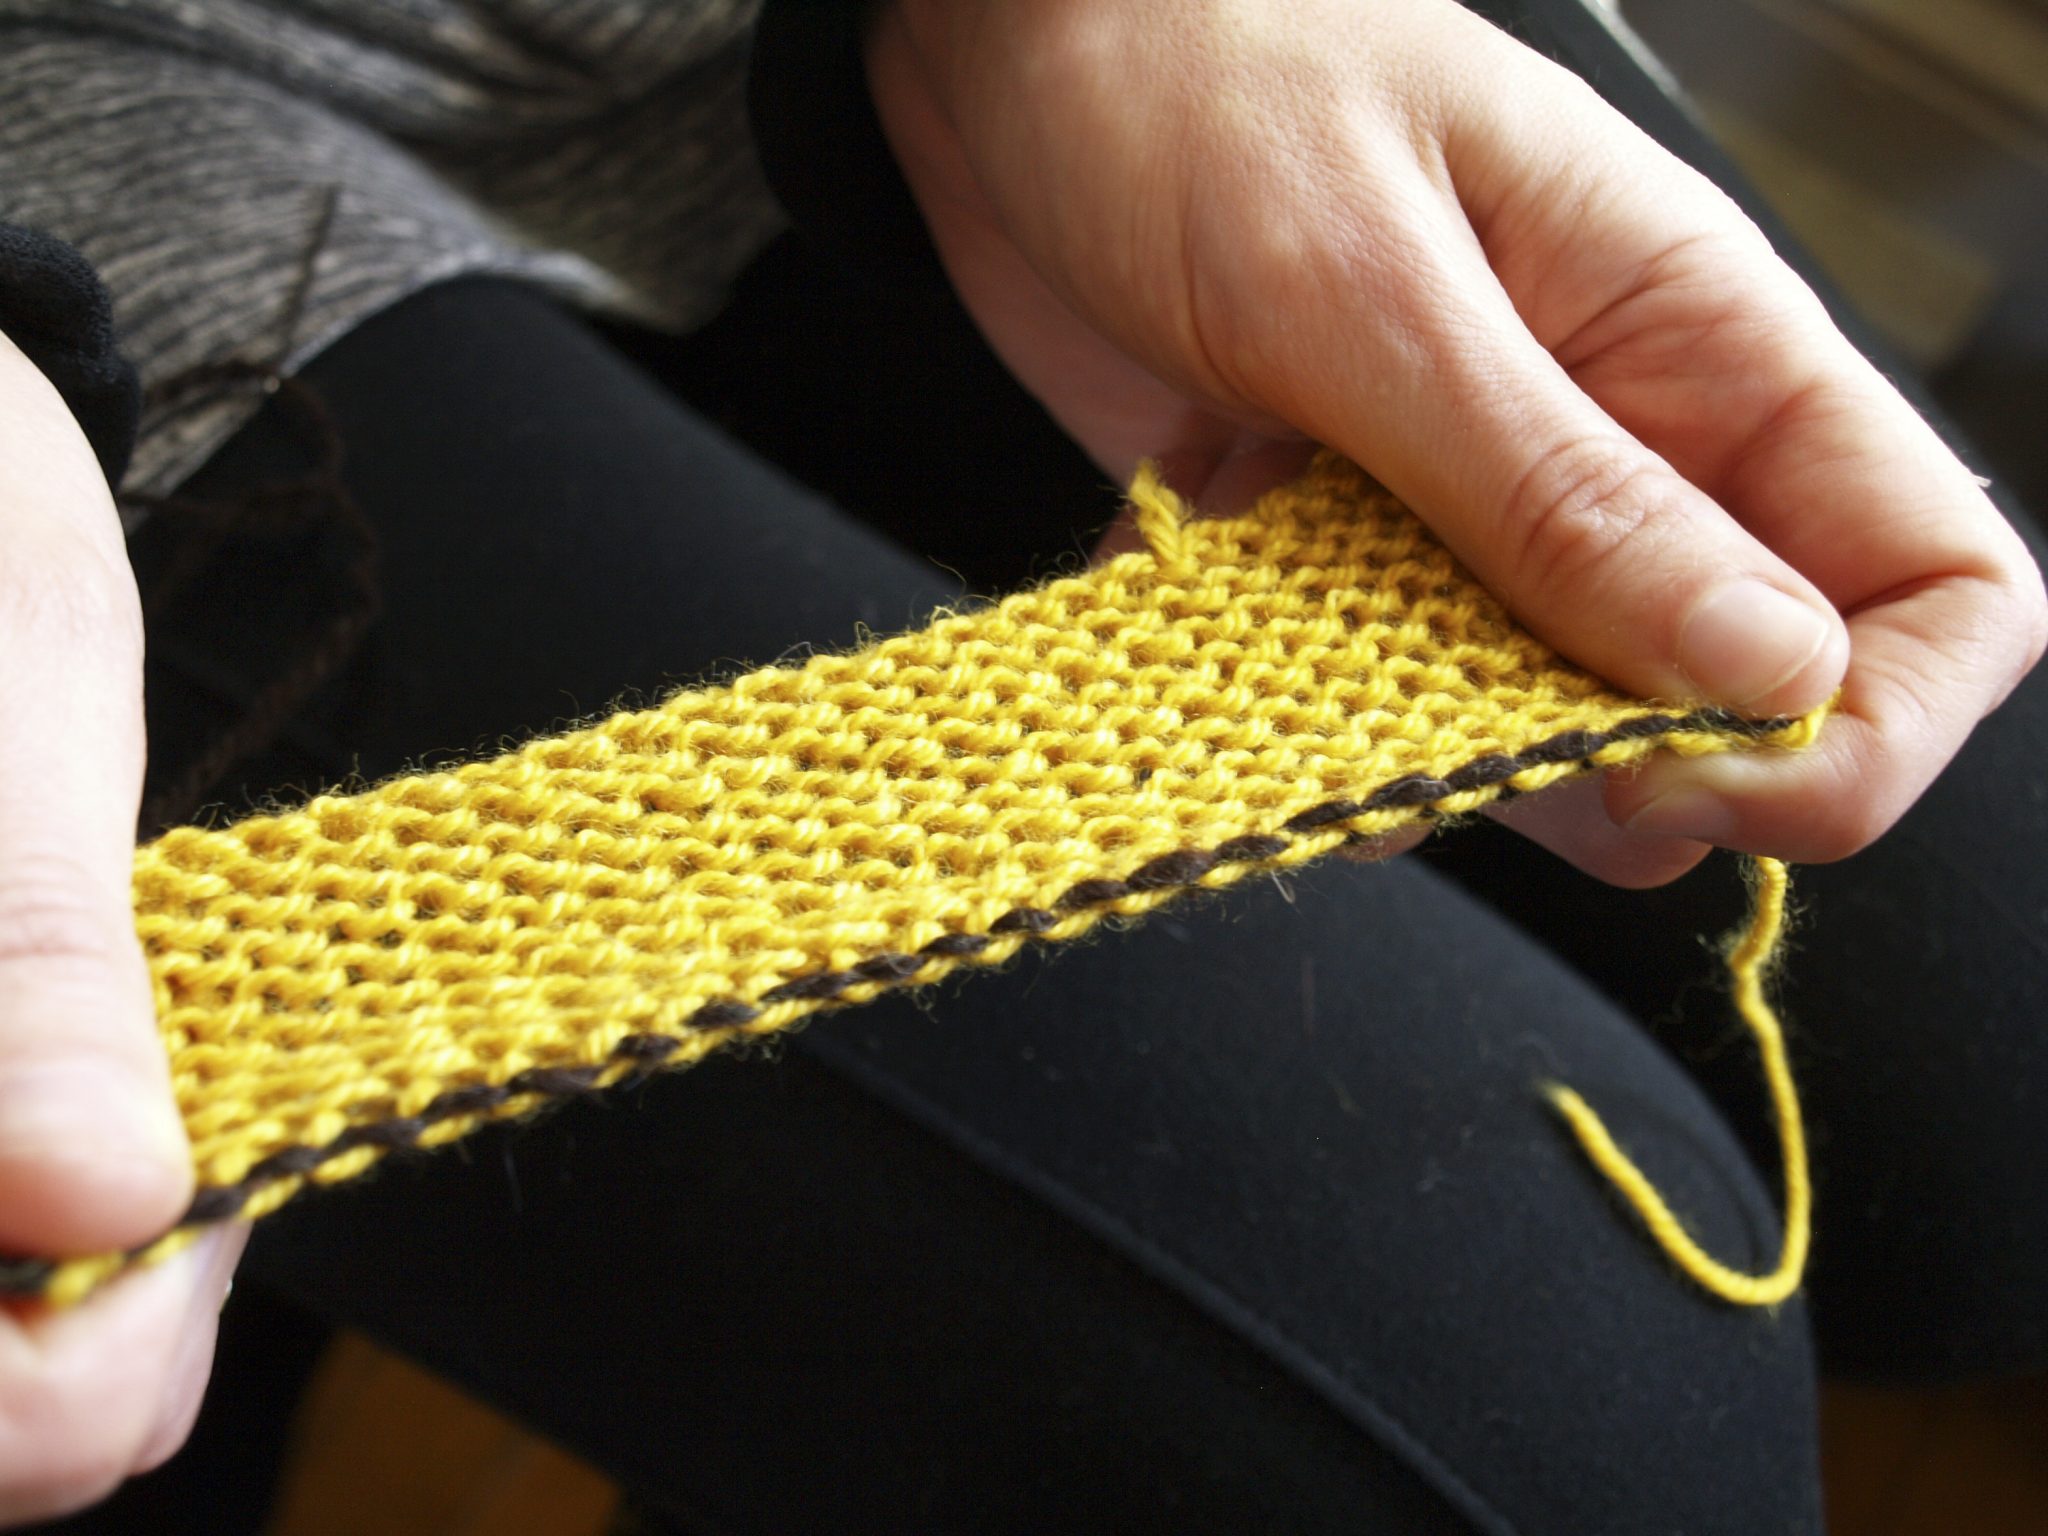
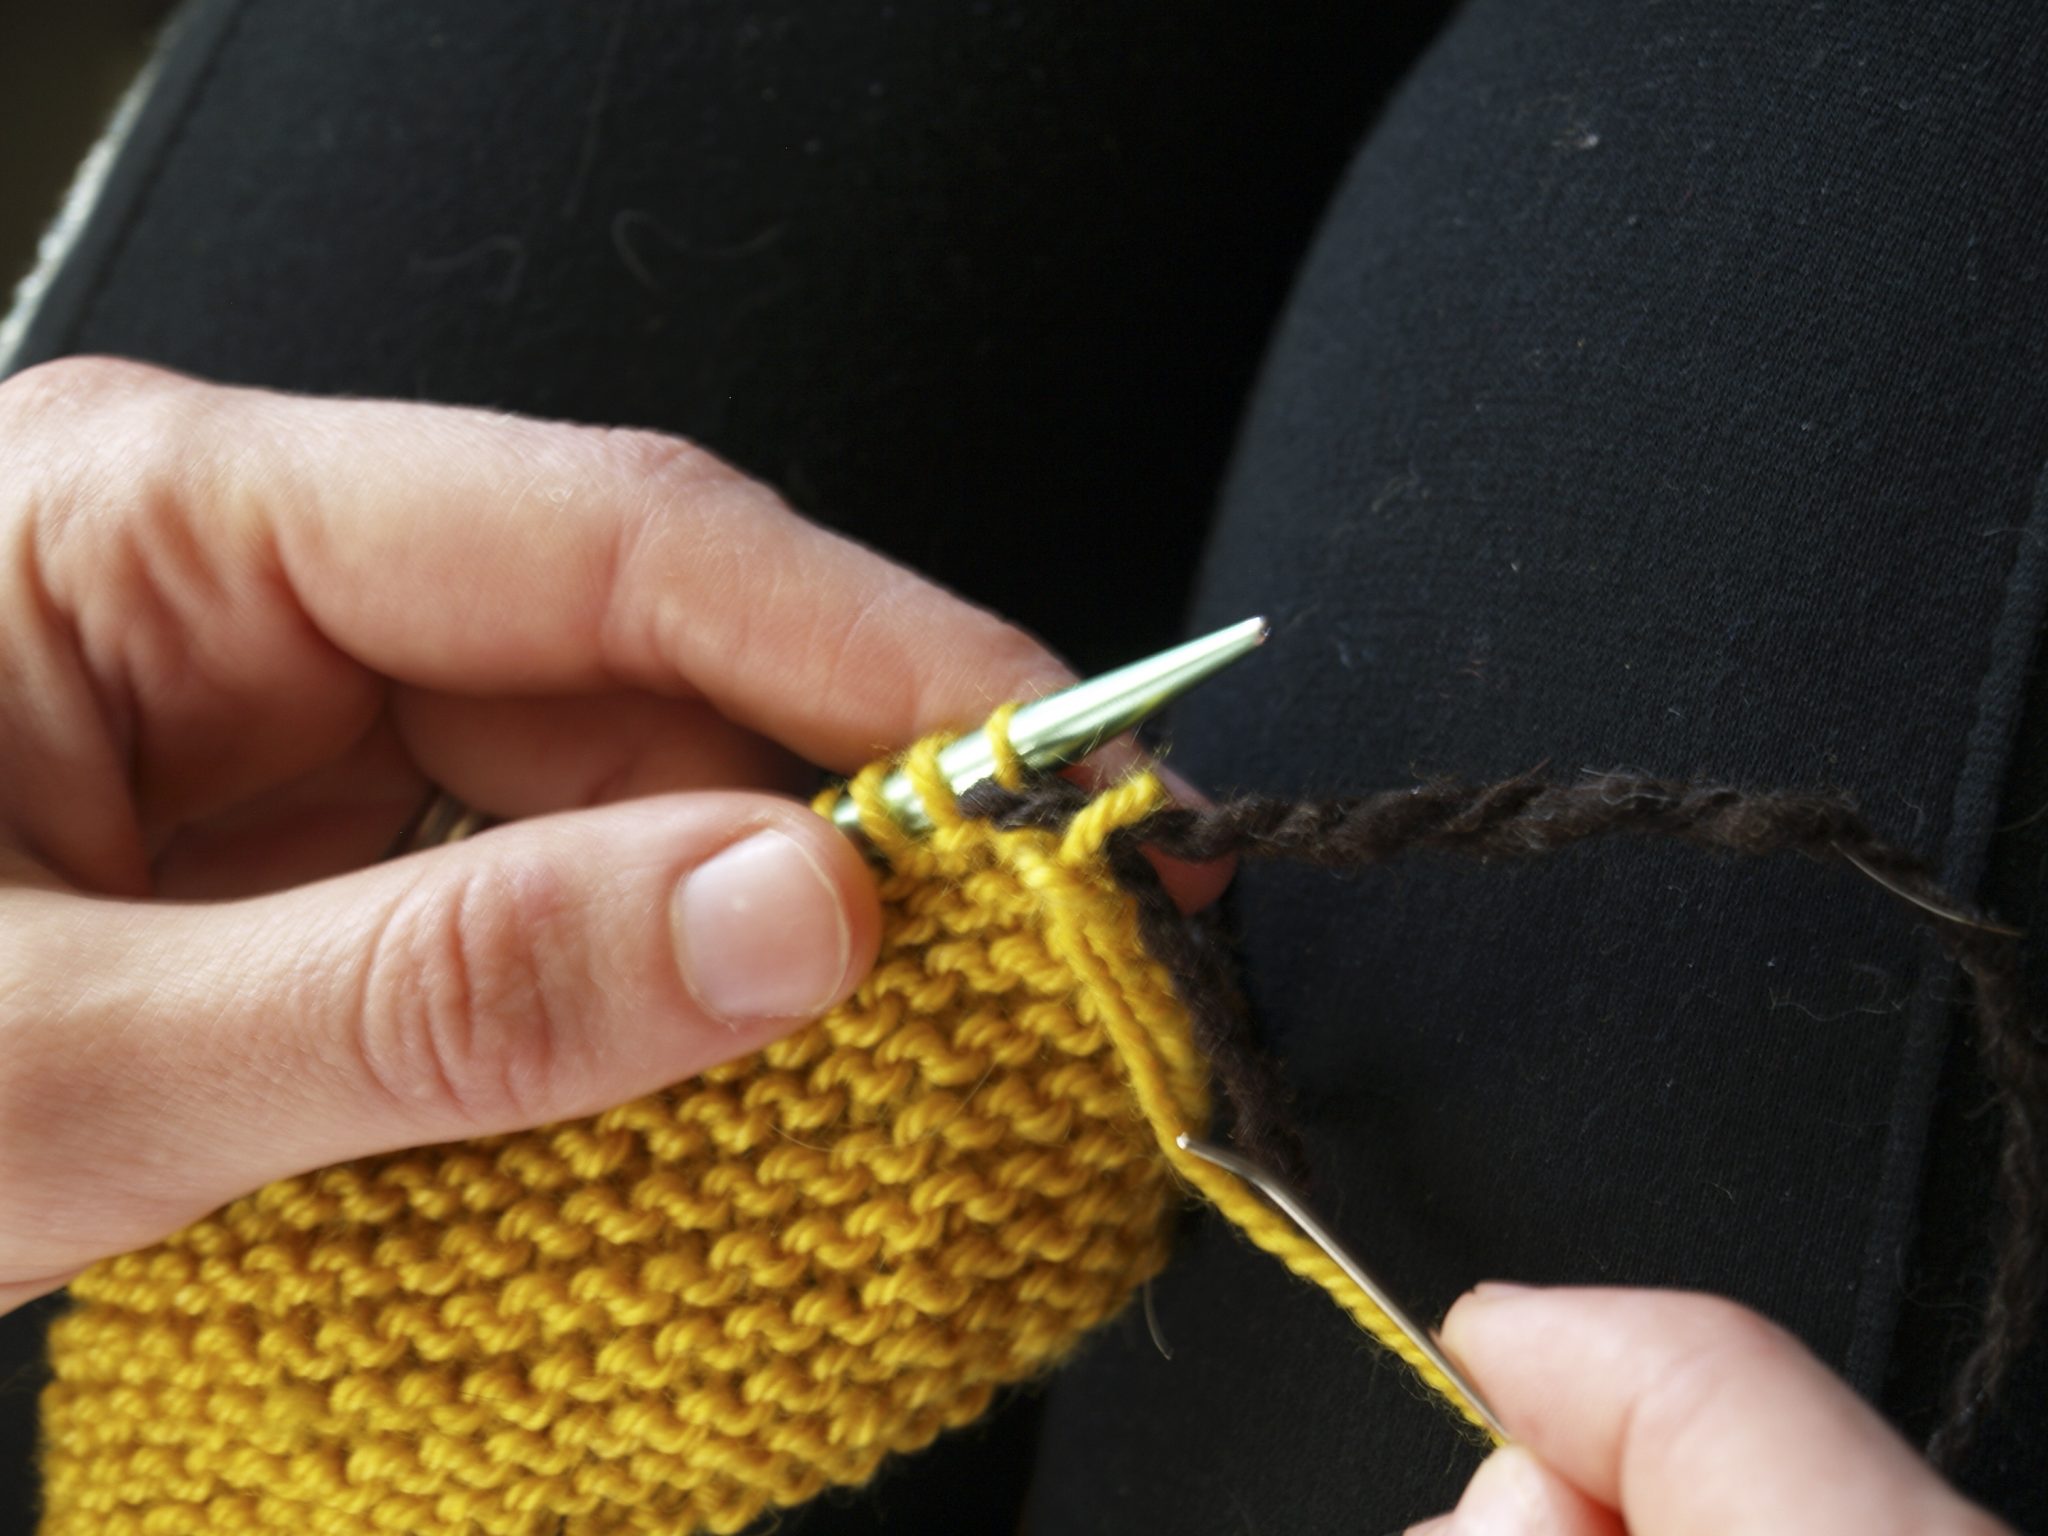
For the purpose of this tutorial, I’m using a different-colored thread for my bind-off than I used for my swatch. When you bind off, you’ll be using the tail of your working yarn. Just cut a length of yarn appropriate to the length of your bind-off (twice as long should do it) and thread it through a tapestry needle. Put the tapestry needle through the first two stitches on the left needle, as shown here. You won’t use your right knitting needle for this bind-off.
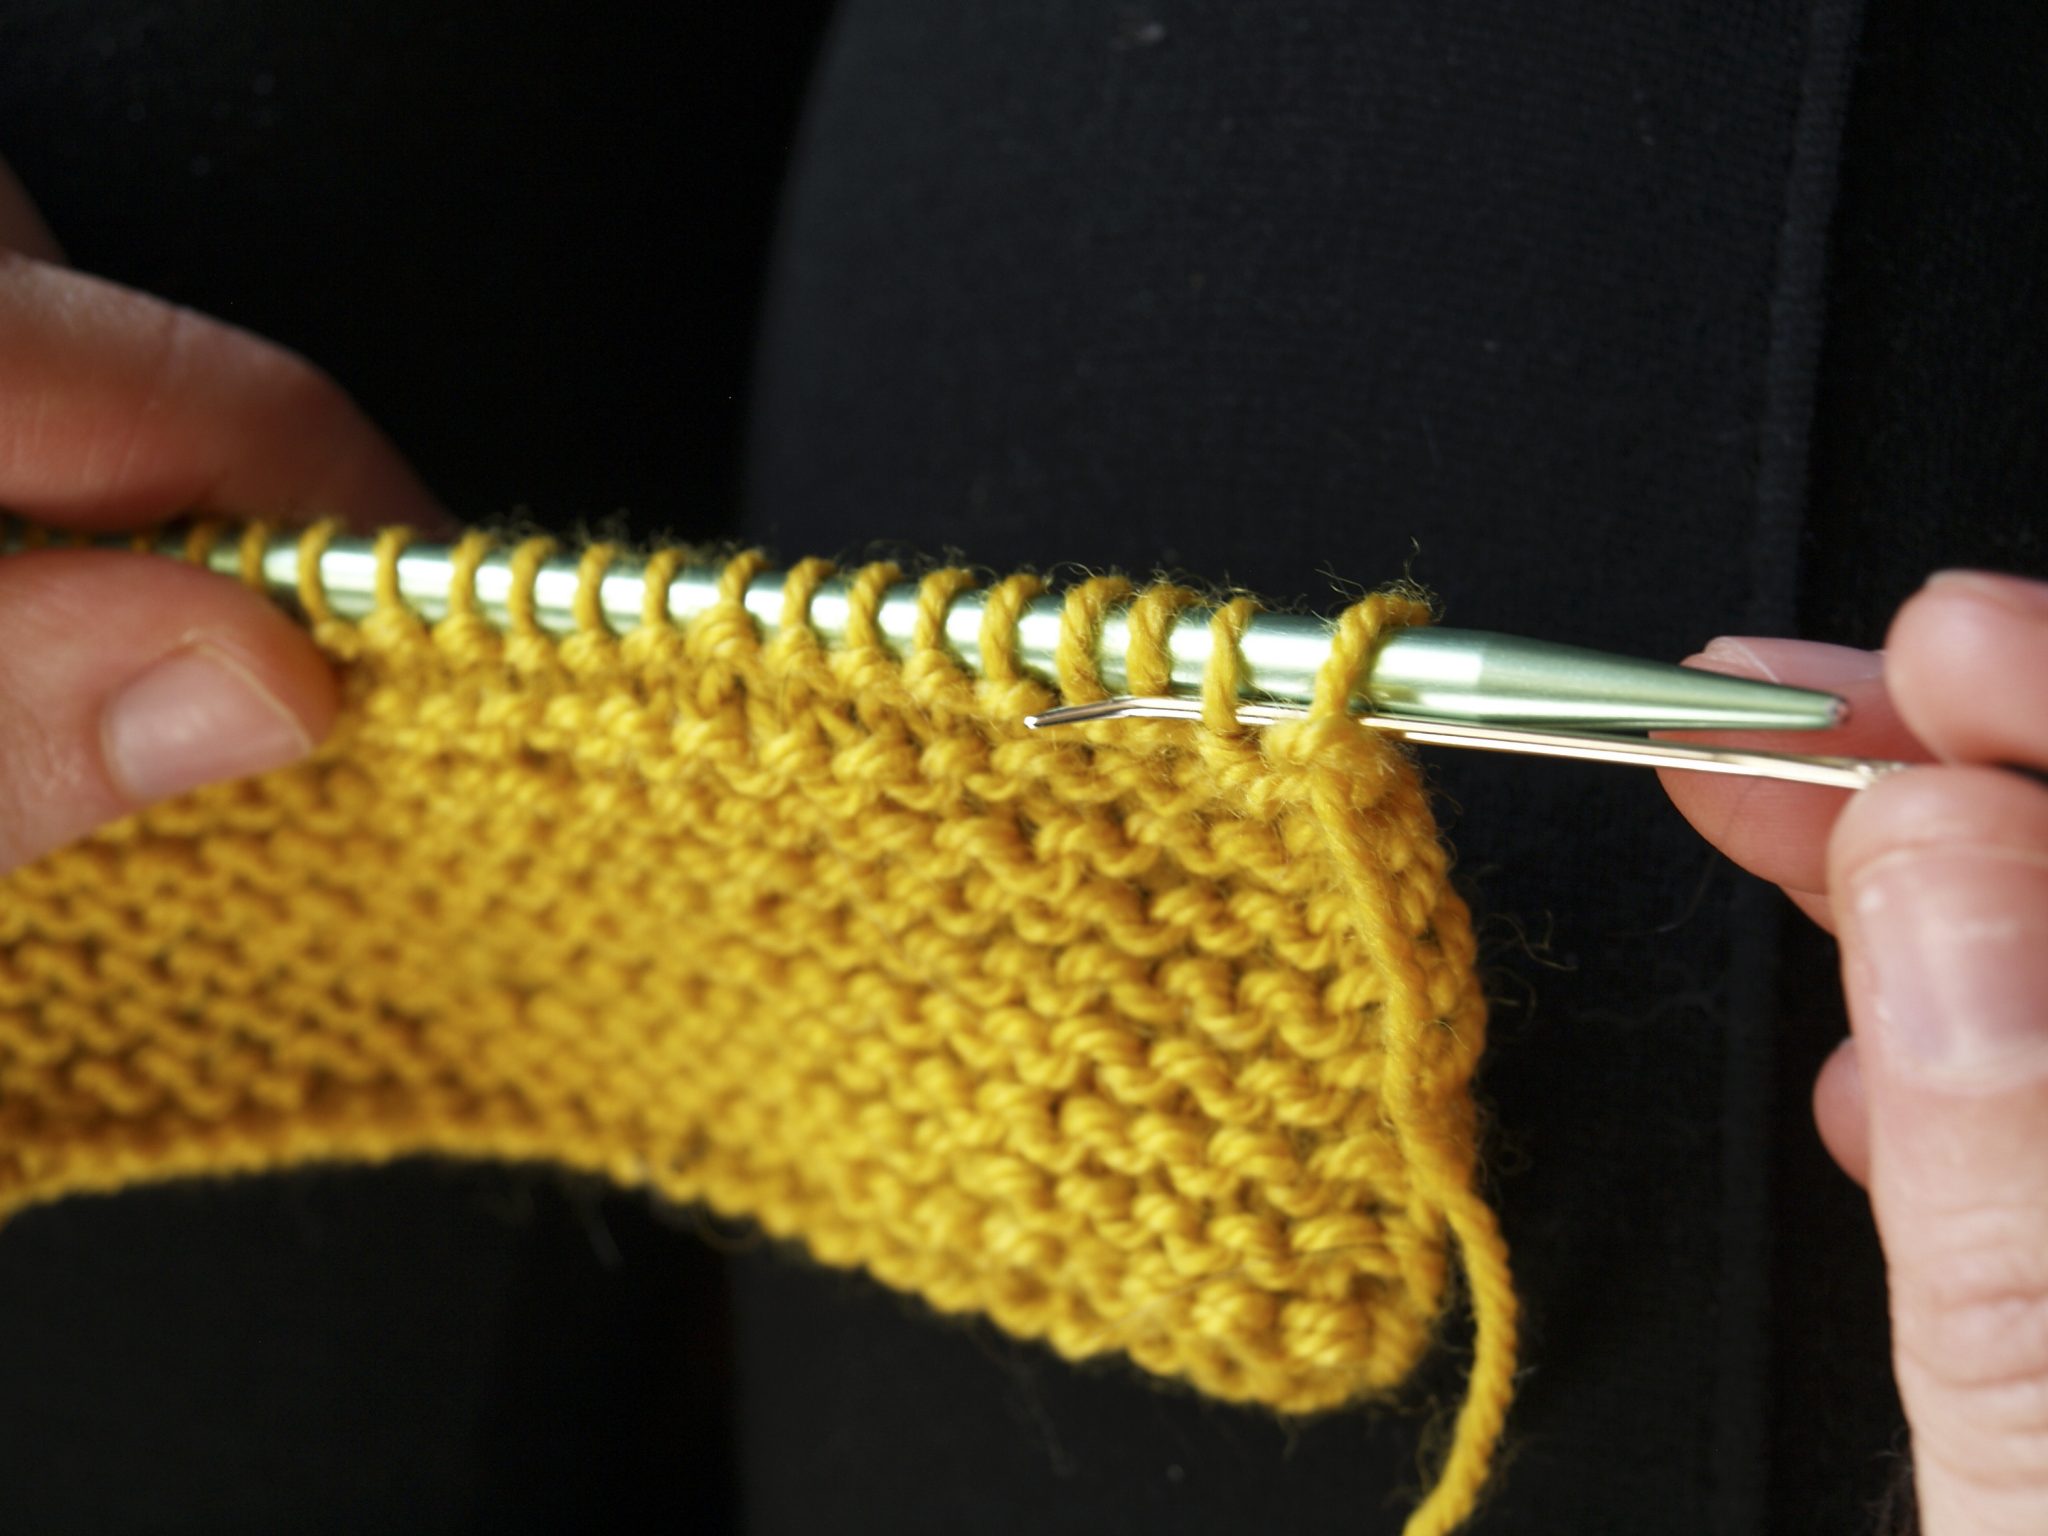
Pass the yarn through these stitches. Pull tight but not too tight.
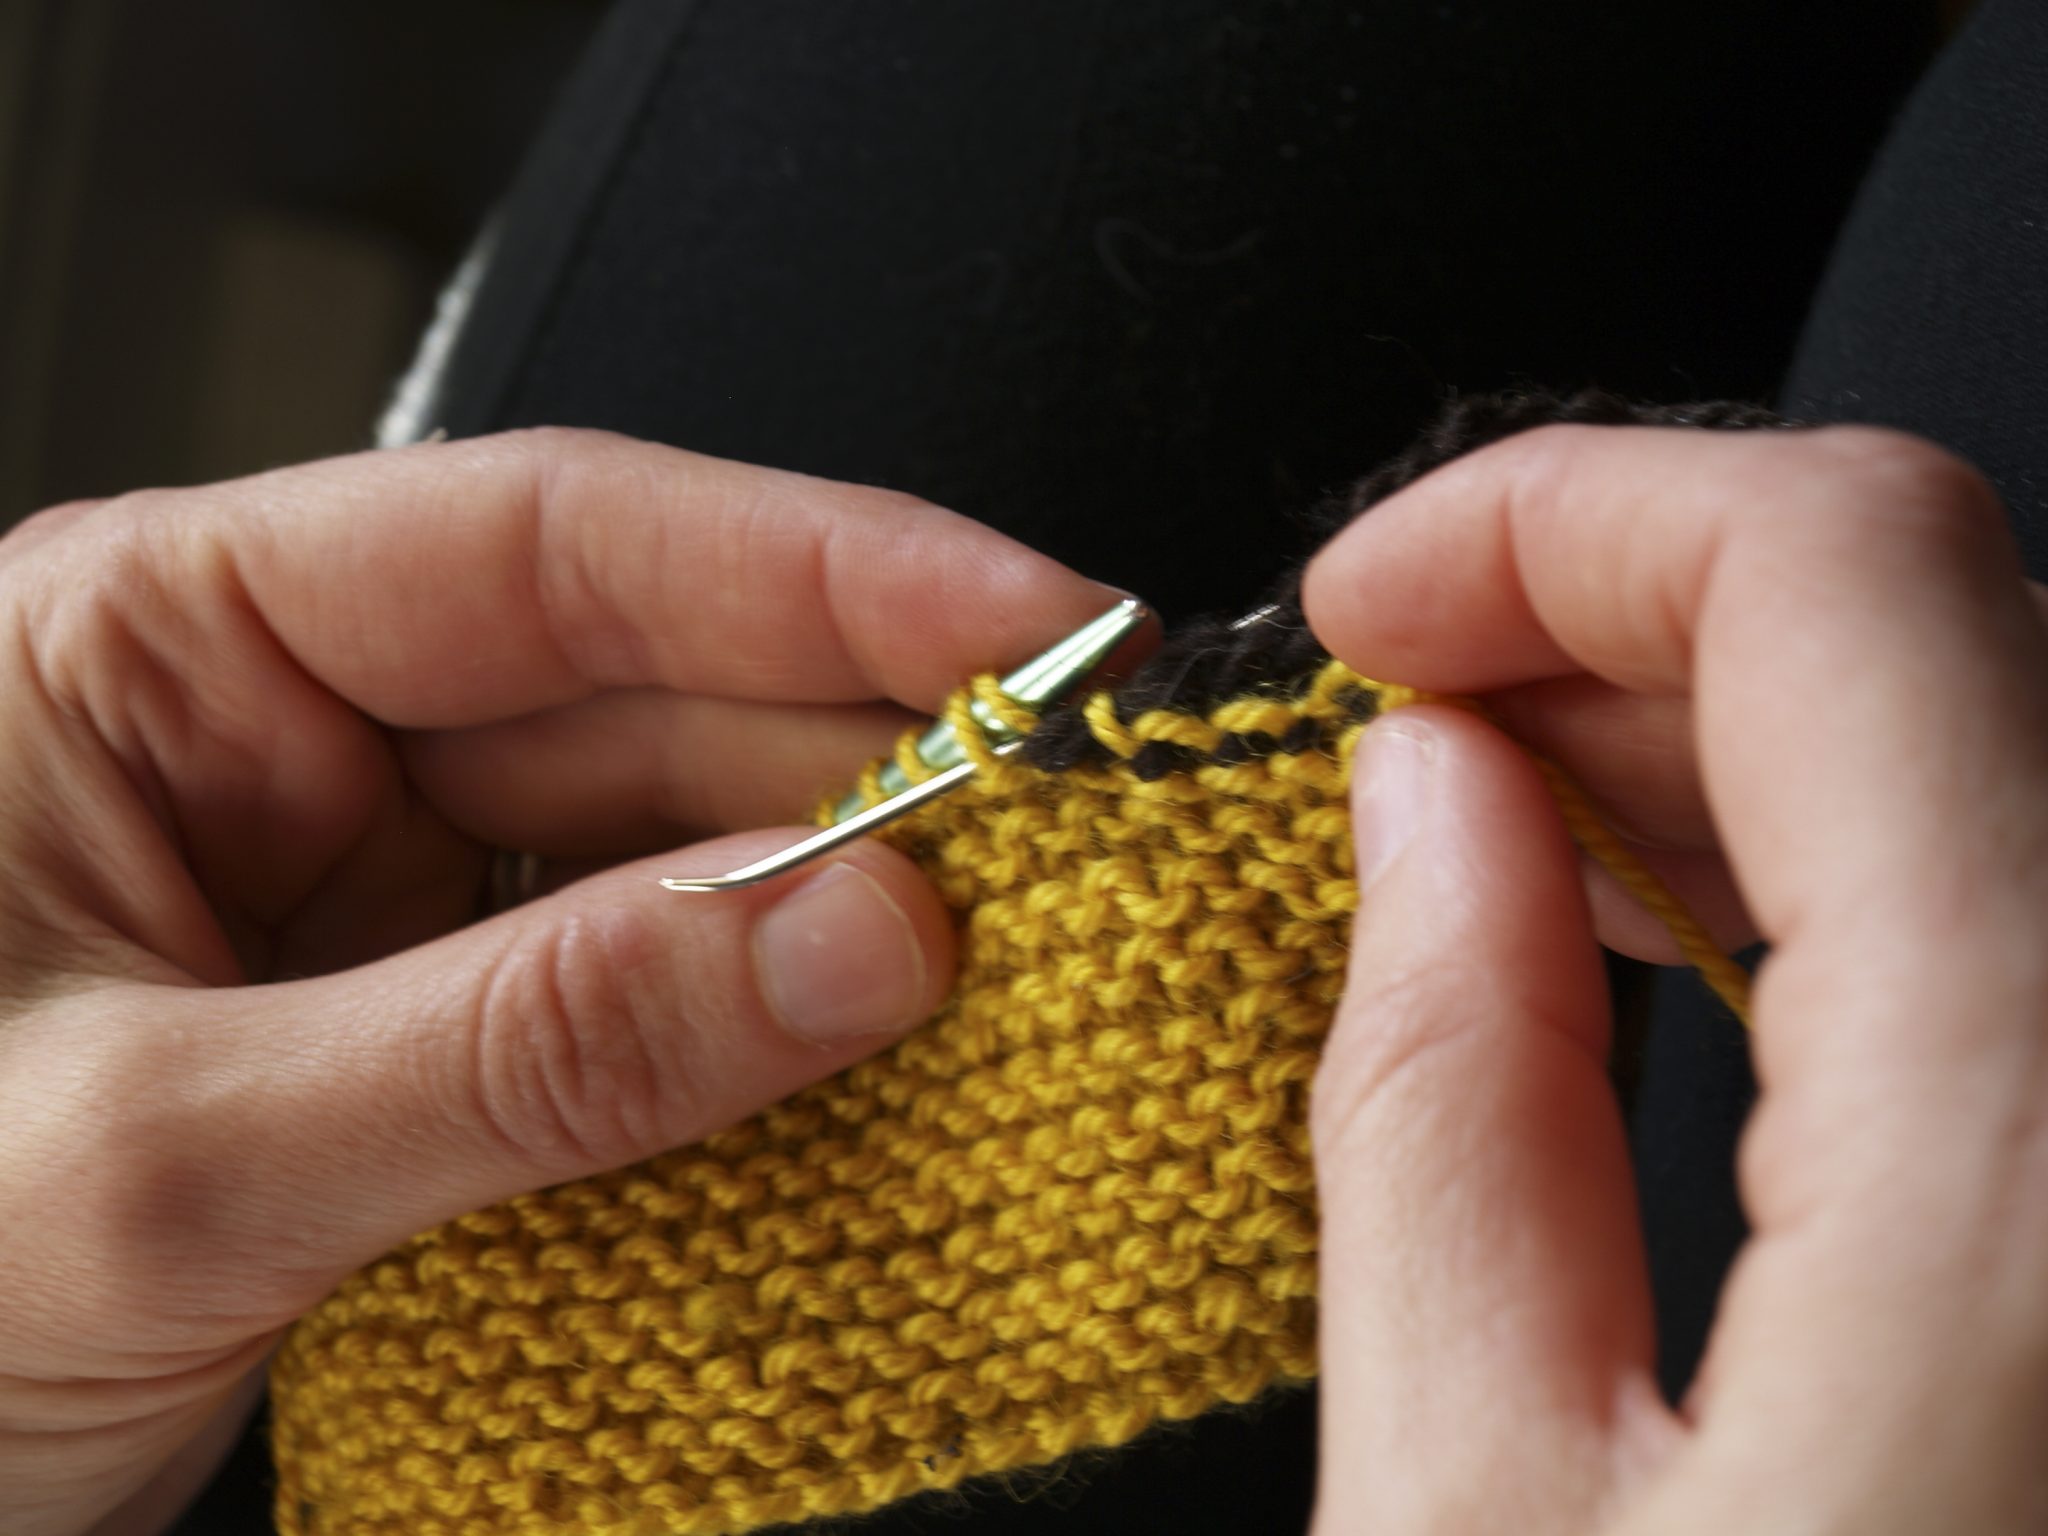
Turn the tapestry needle and pass it back through the first stitch on the needle, like this.
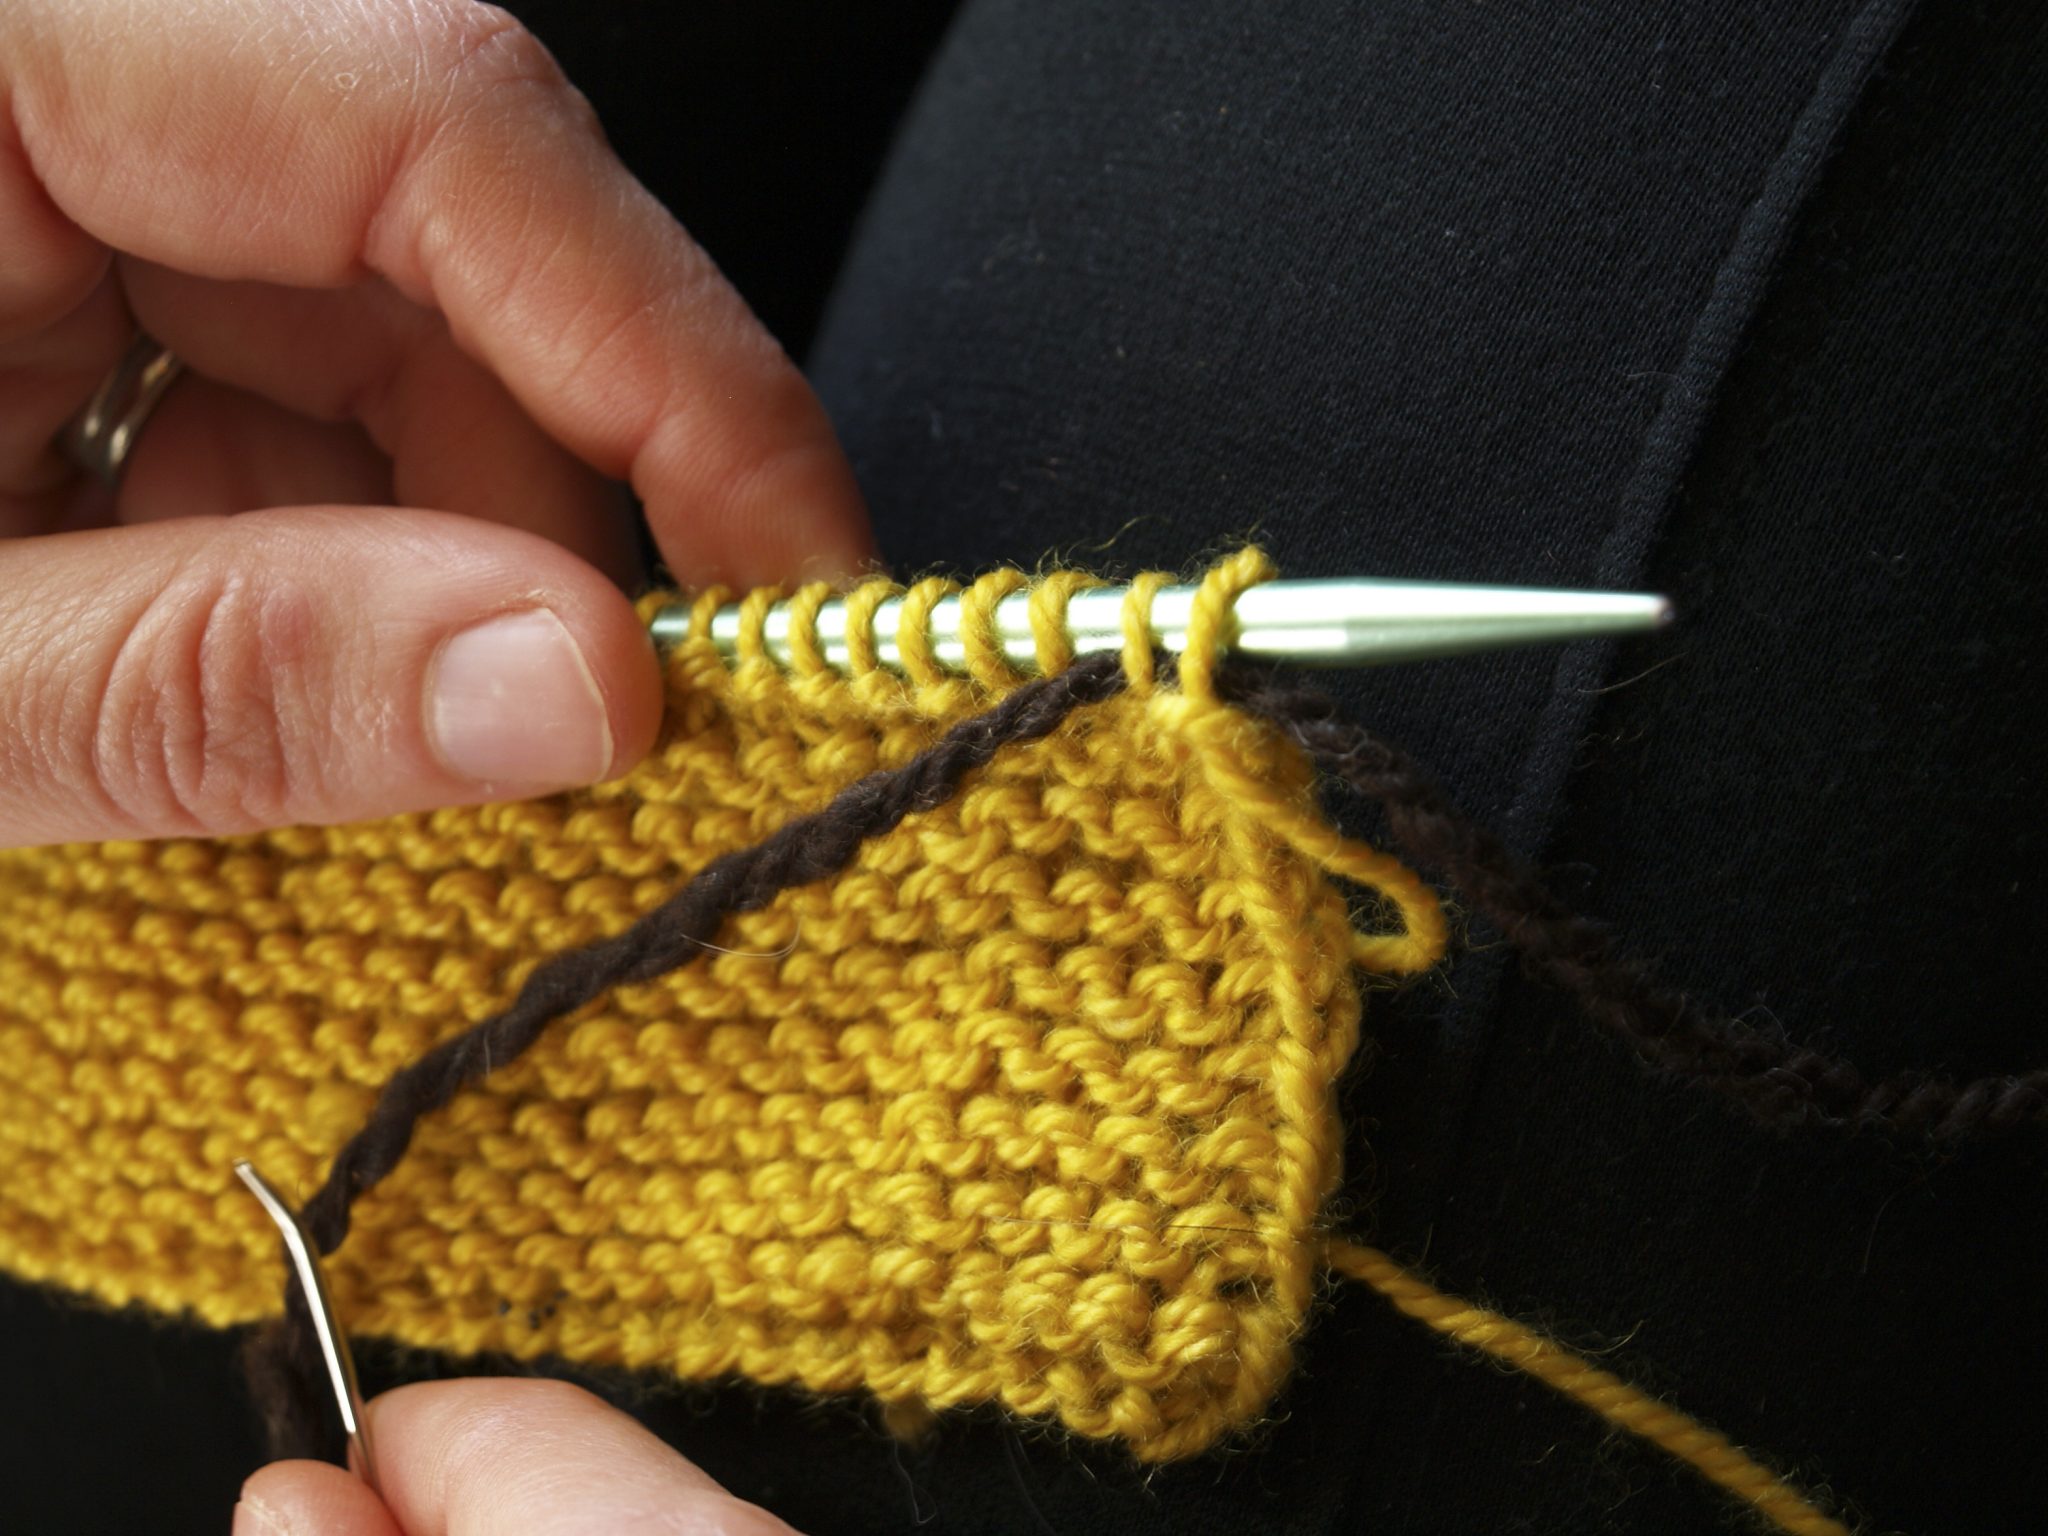
Then, drop the first stitch from the left needle.
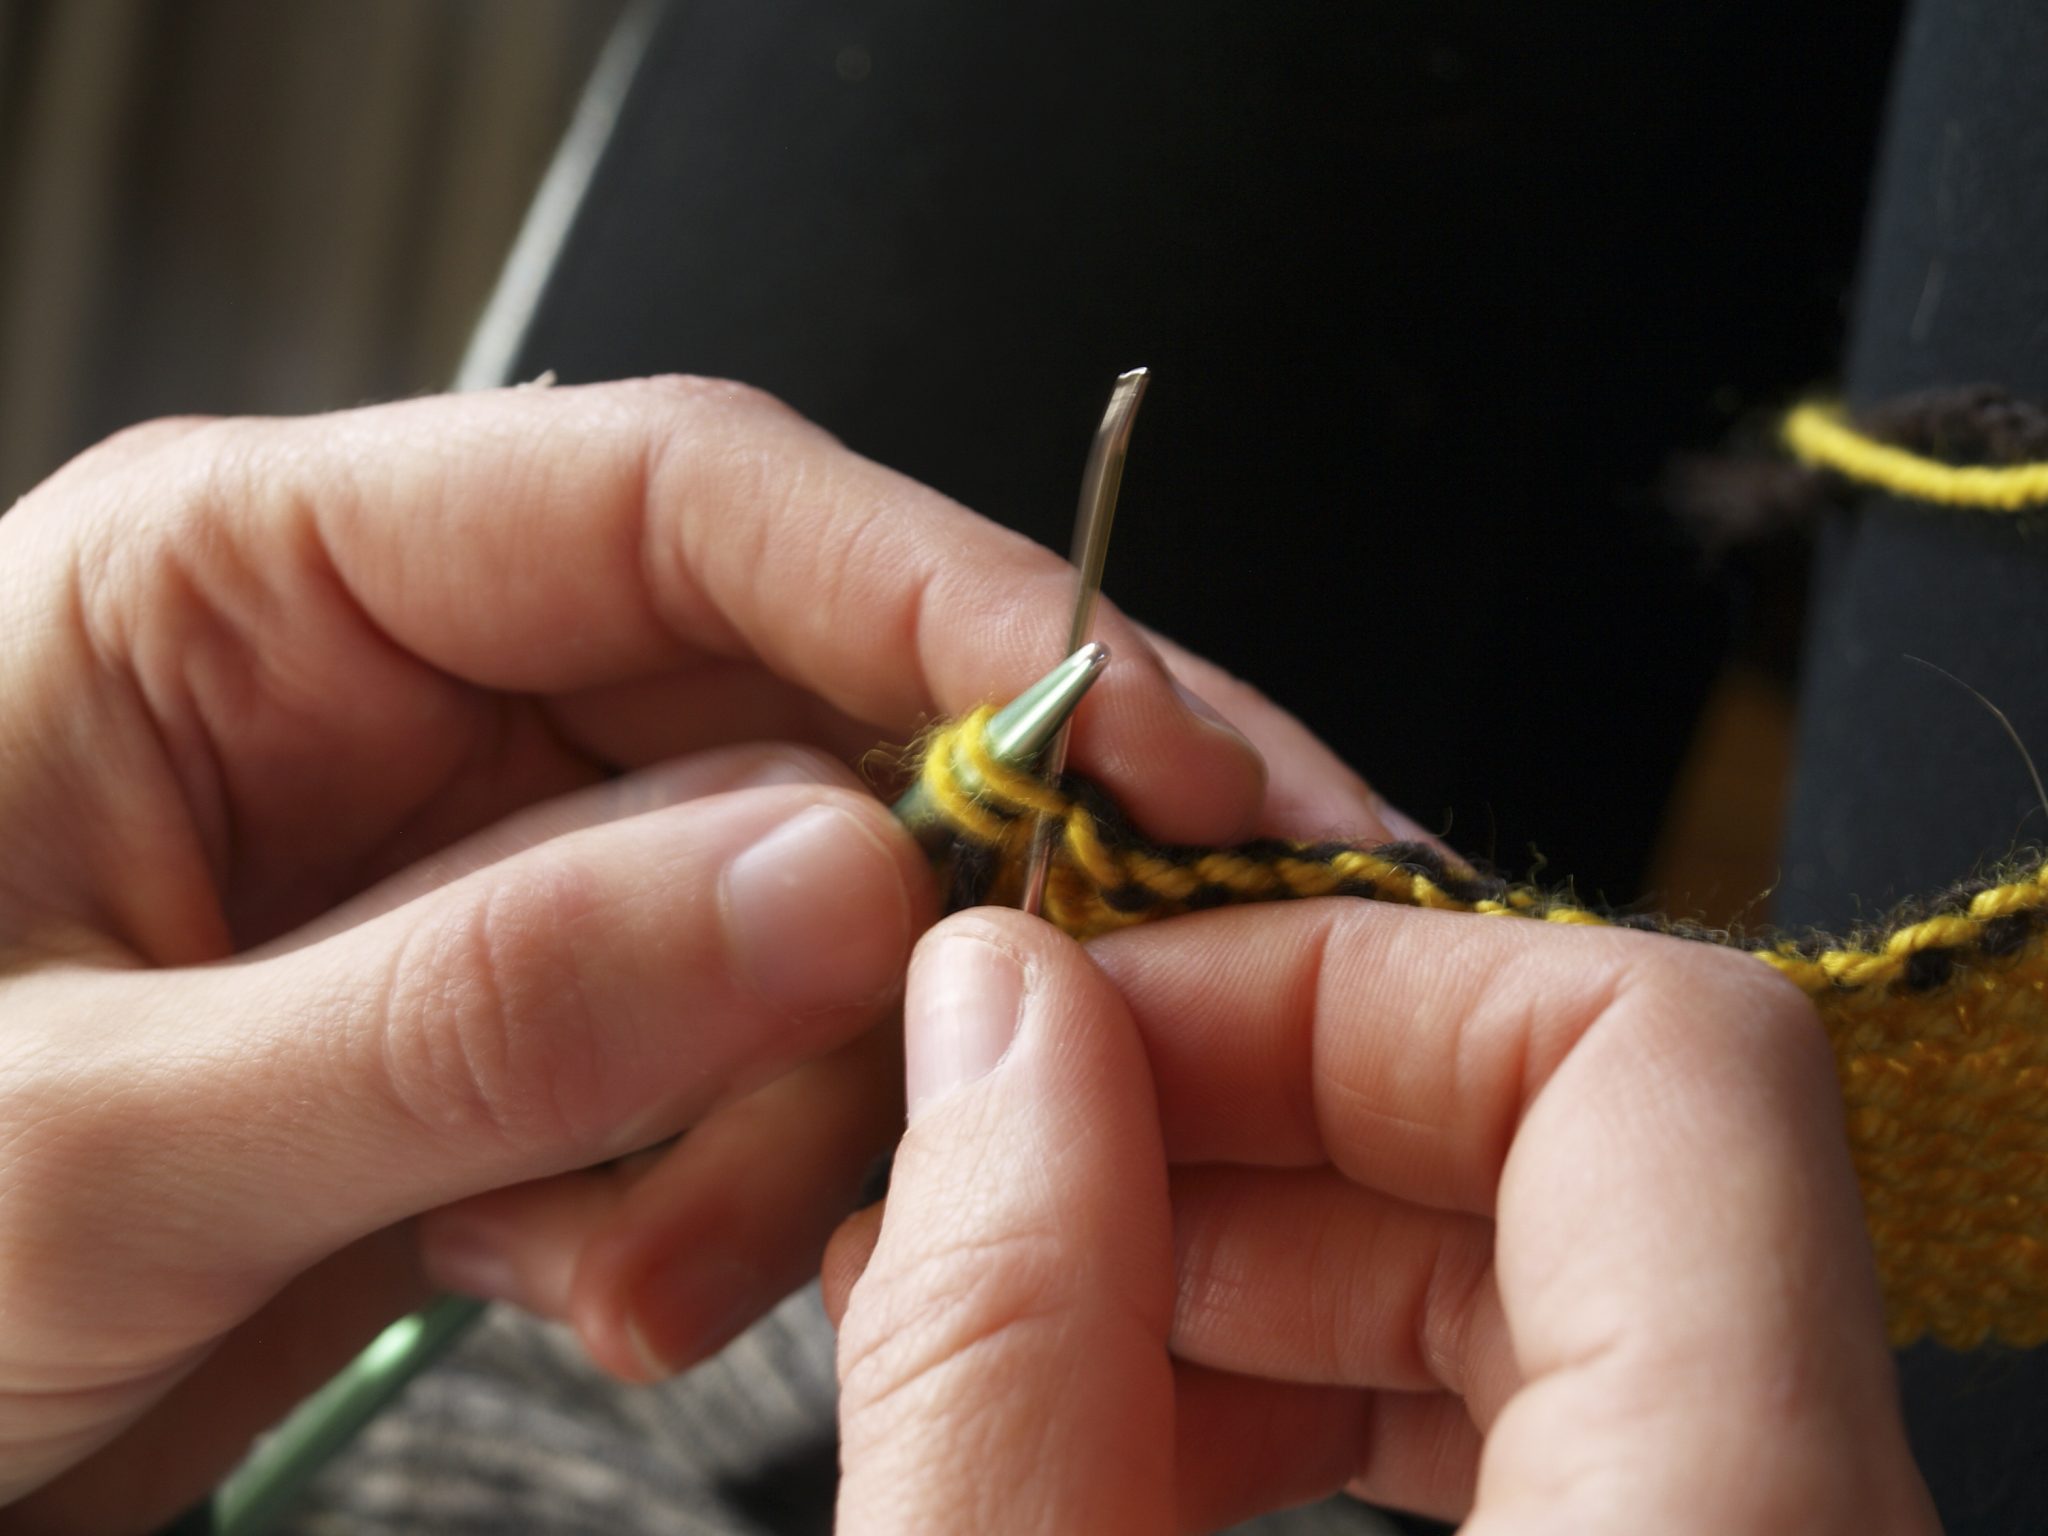
Continue in this manner, passing the yarn to the left through two stitches, then back to the right through the first of the two stitches and dropping the first stitch from the needle. Two stitches forward, one stitch back, drop.
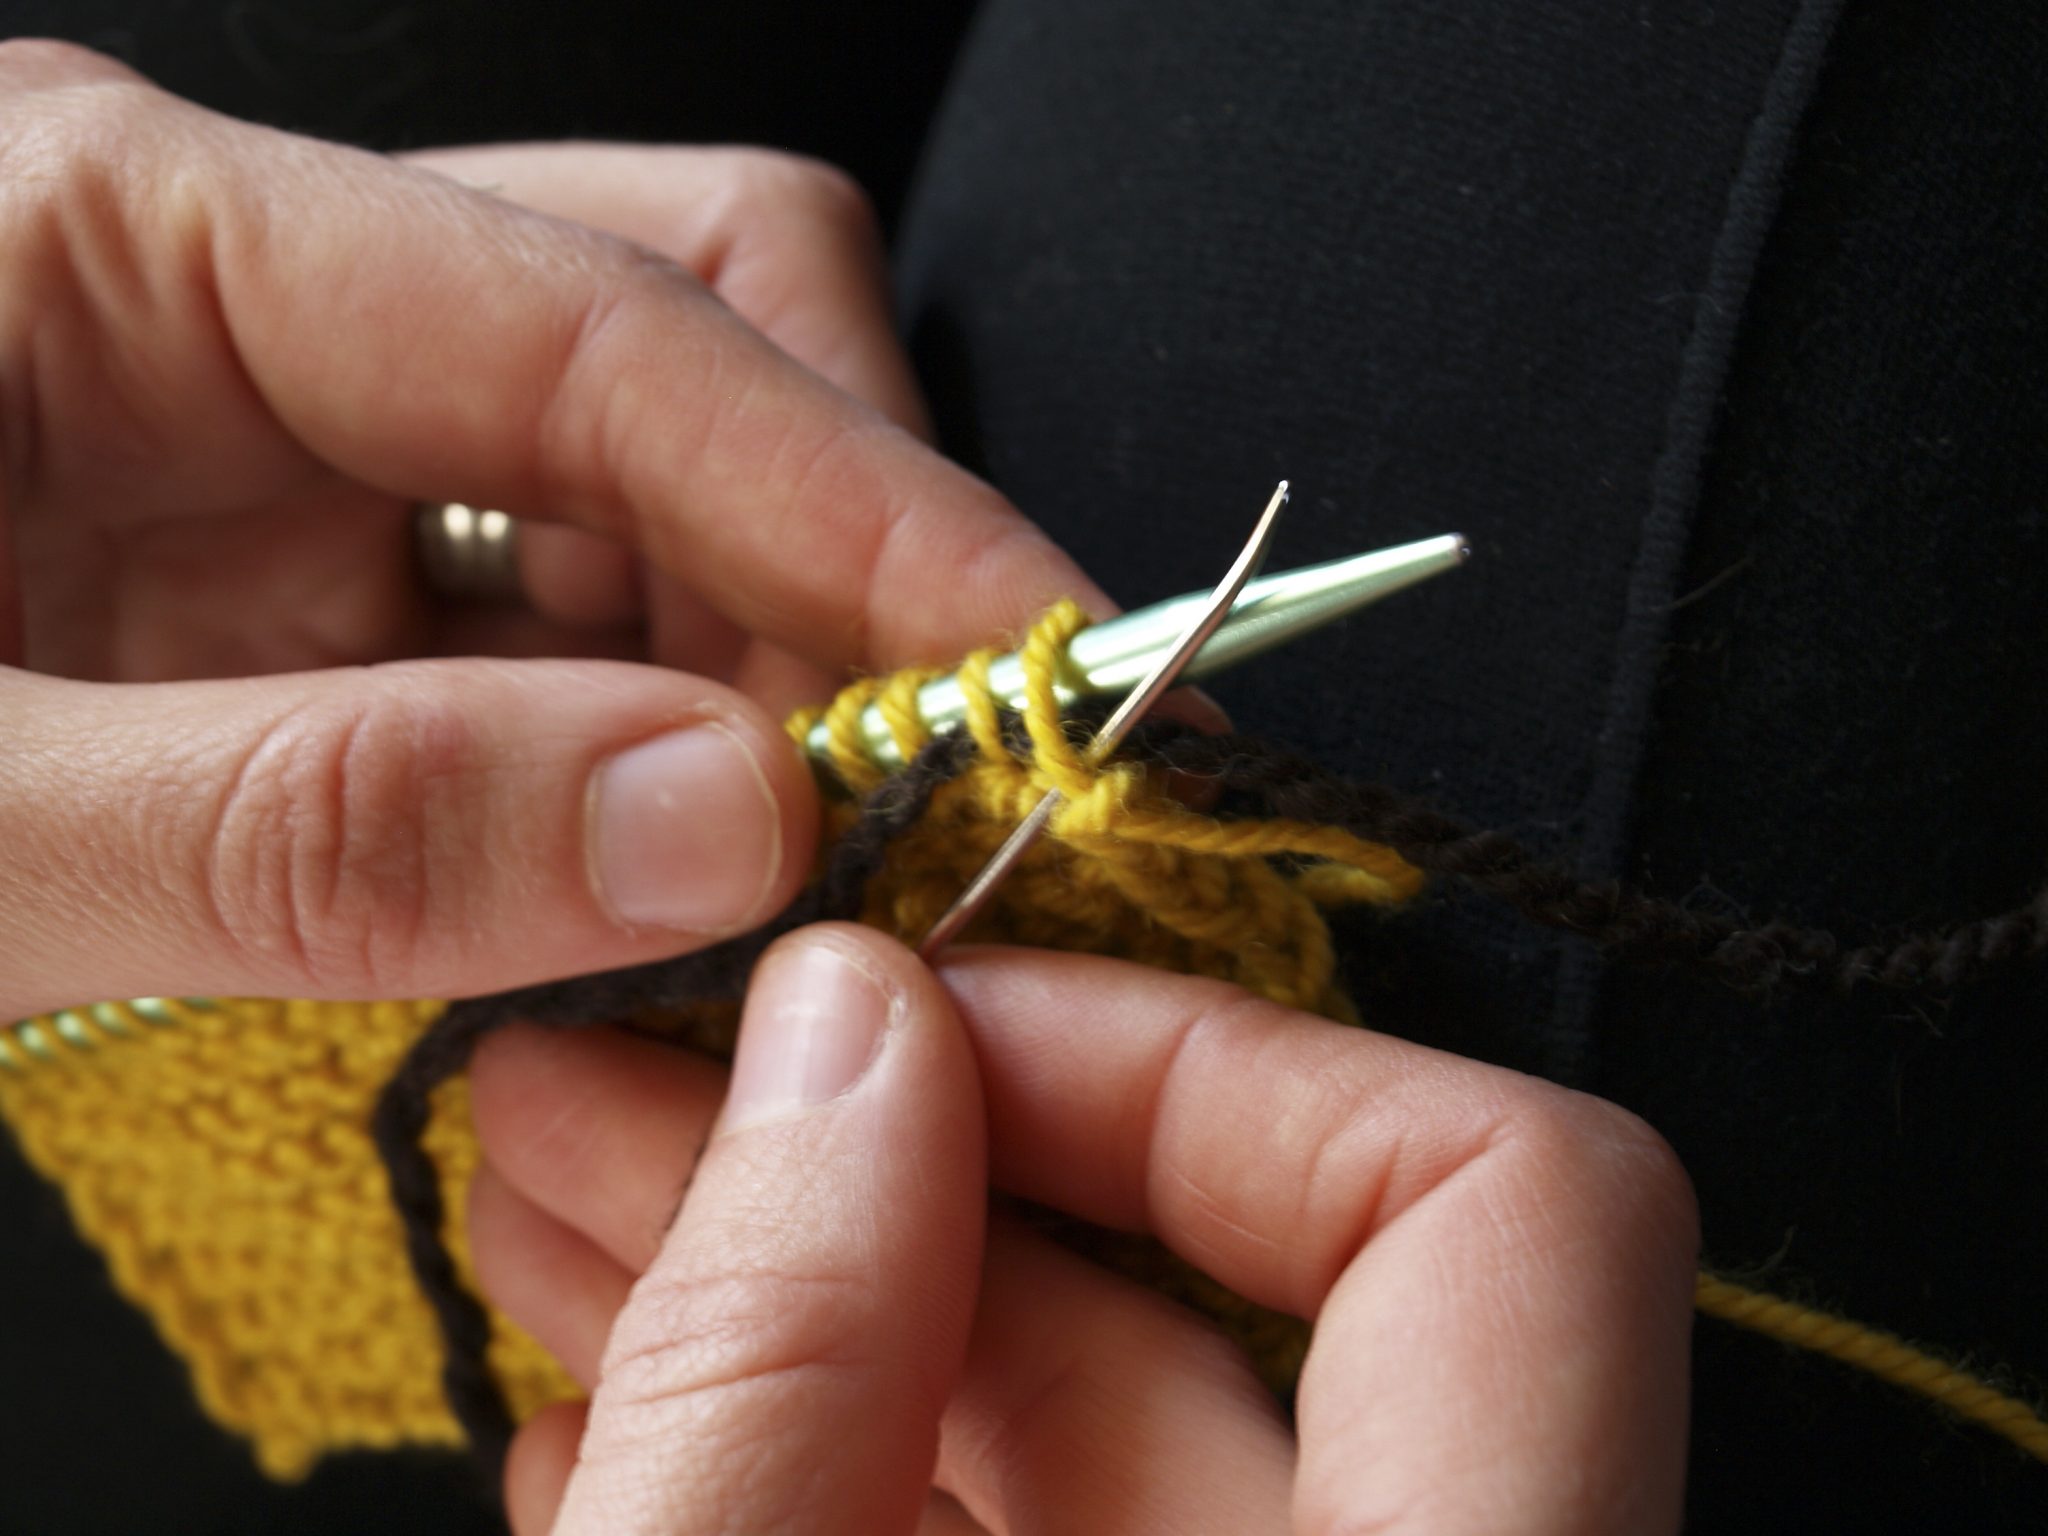
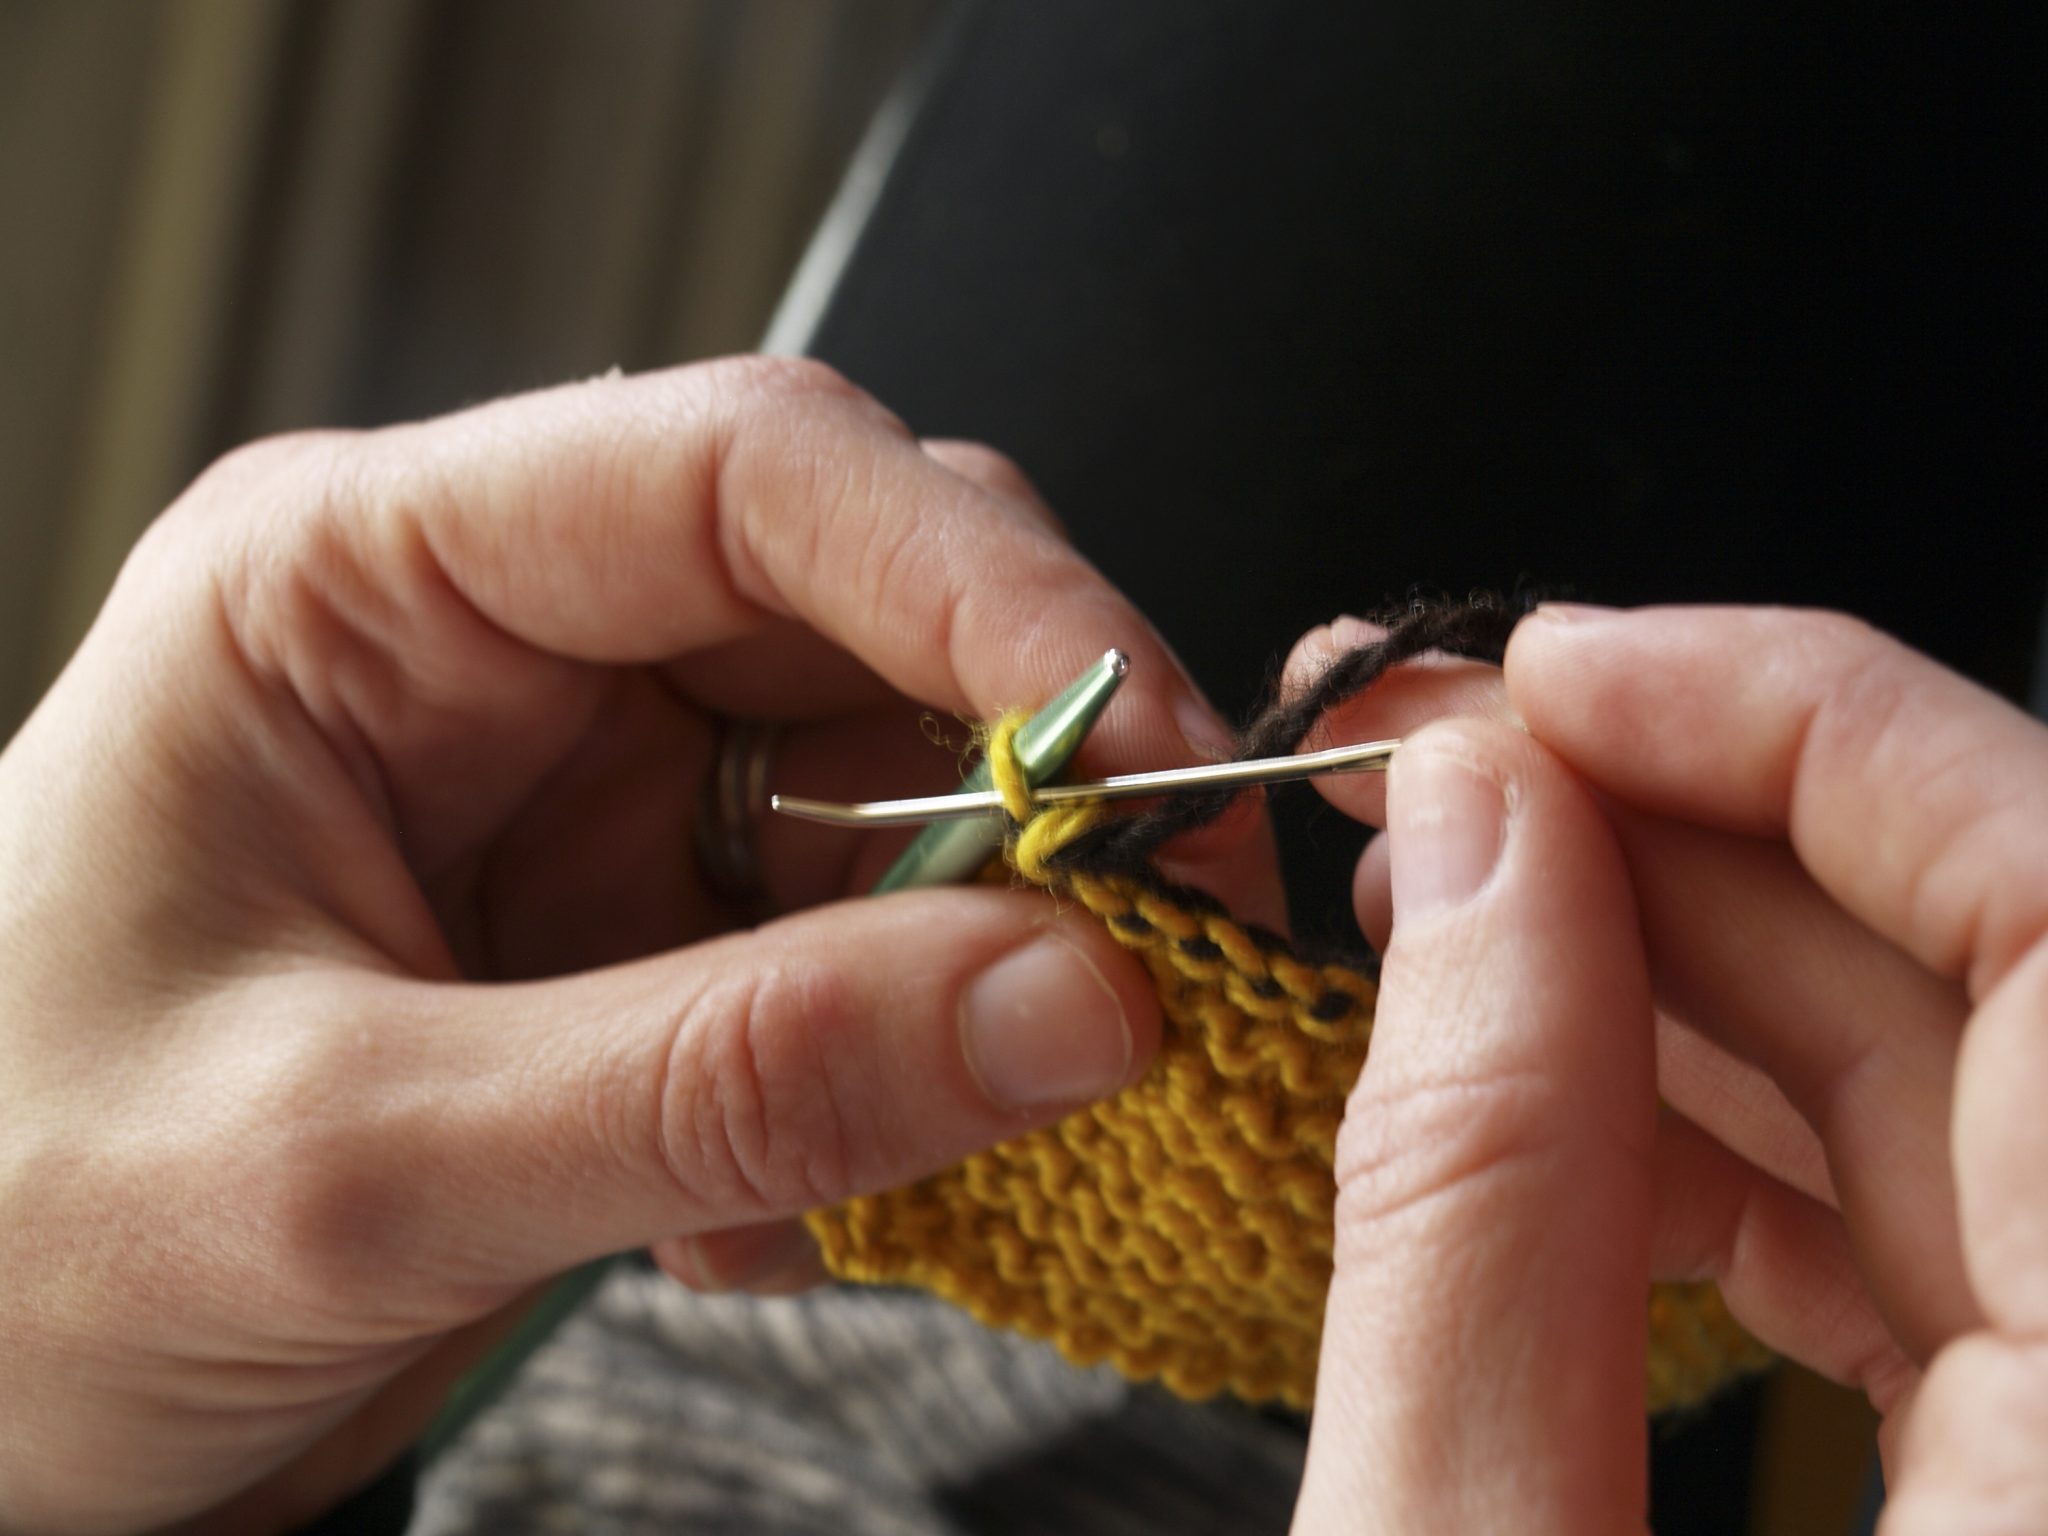
When only one stitch remains, pass the yarn through it to the left, pull tight, and weave in your end.
Here’s how your edge will appear, in the main color, of course. Easy, clean, stretchy. Enjoy!