
Slip the first stitch of each row? Knit the first stitch of each row? If slip, slip purlwise or slip knitwise? What is “knitwise”? What is “purlwise”?
Let me help. Here’s some information I’ve been dispensing when I teach, organized and gathered in one location. Behold, three edges.
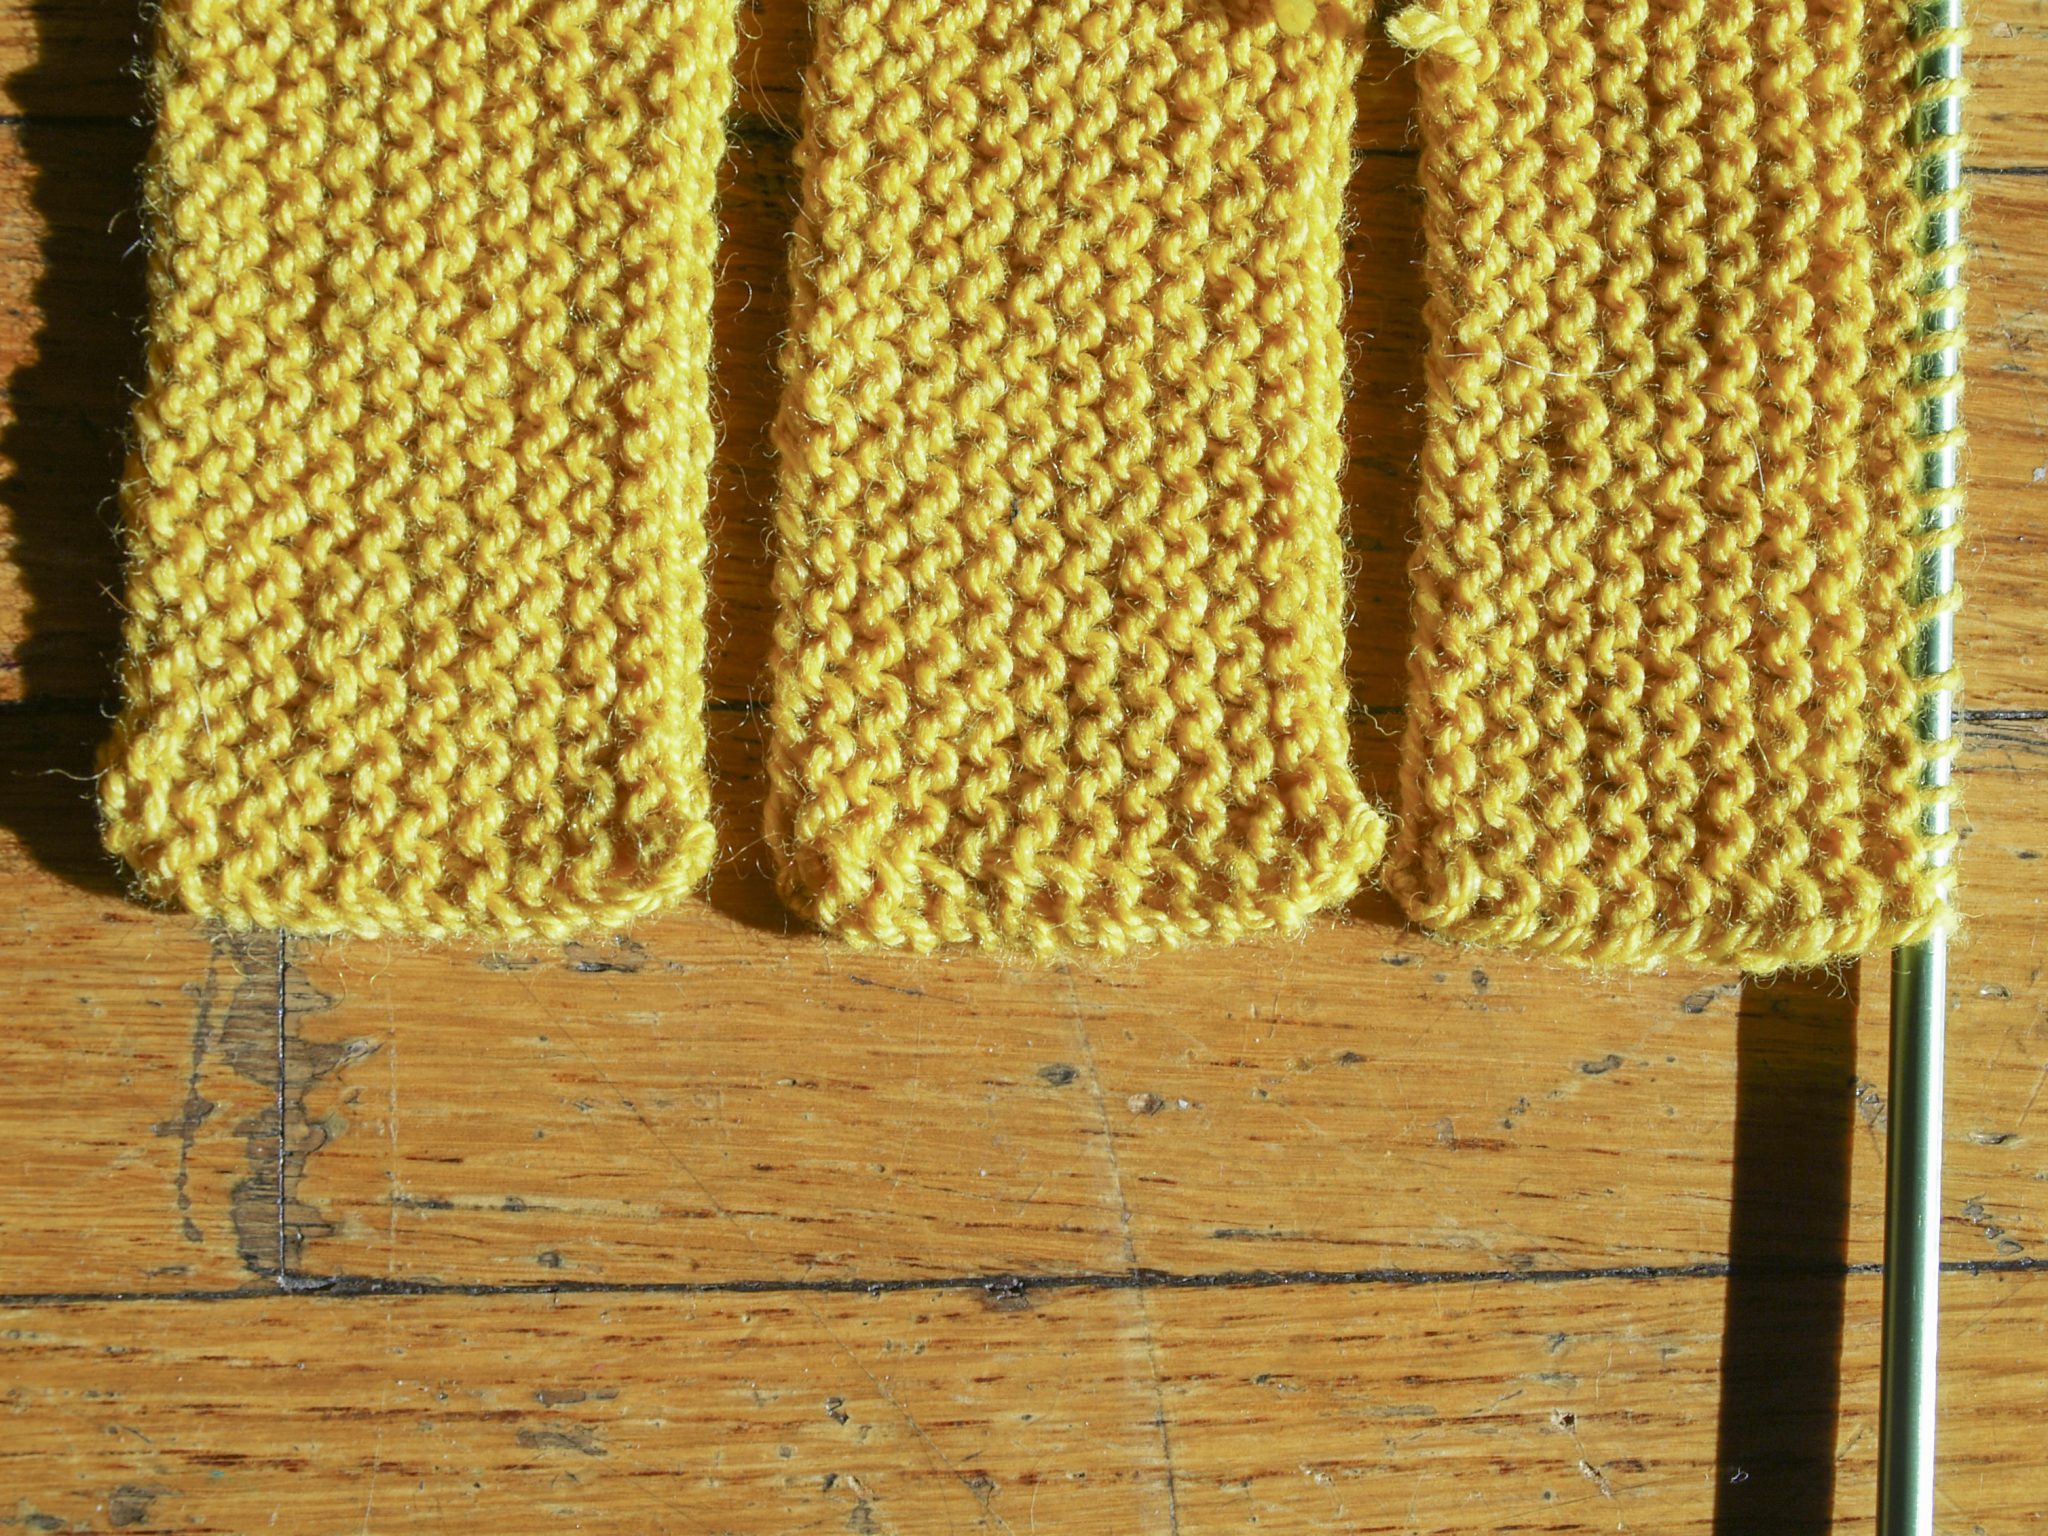
Each edge uses a different technique. From left to right:
1. Slip the first stitch of each row purlwise with yarn in back.
2. Knit every stitch.
3. Slip the first stitch of each row purlwise with yarn in front.
Pretty much the same from a distance, and all looking pretty good, so rest assured, whatever you do is fine. Let’s examine the subtle differences.
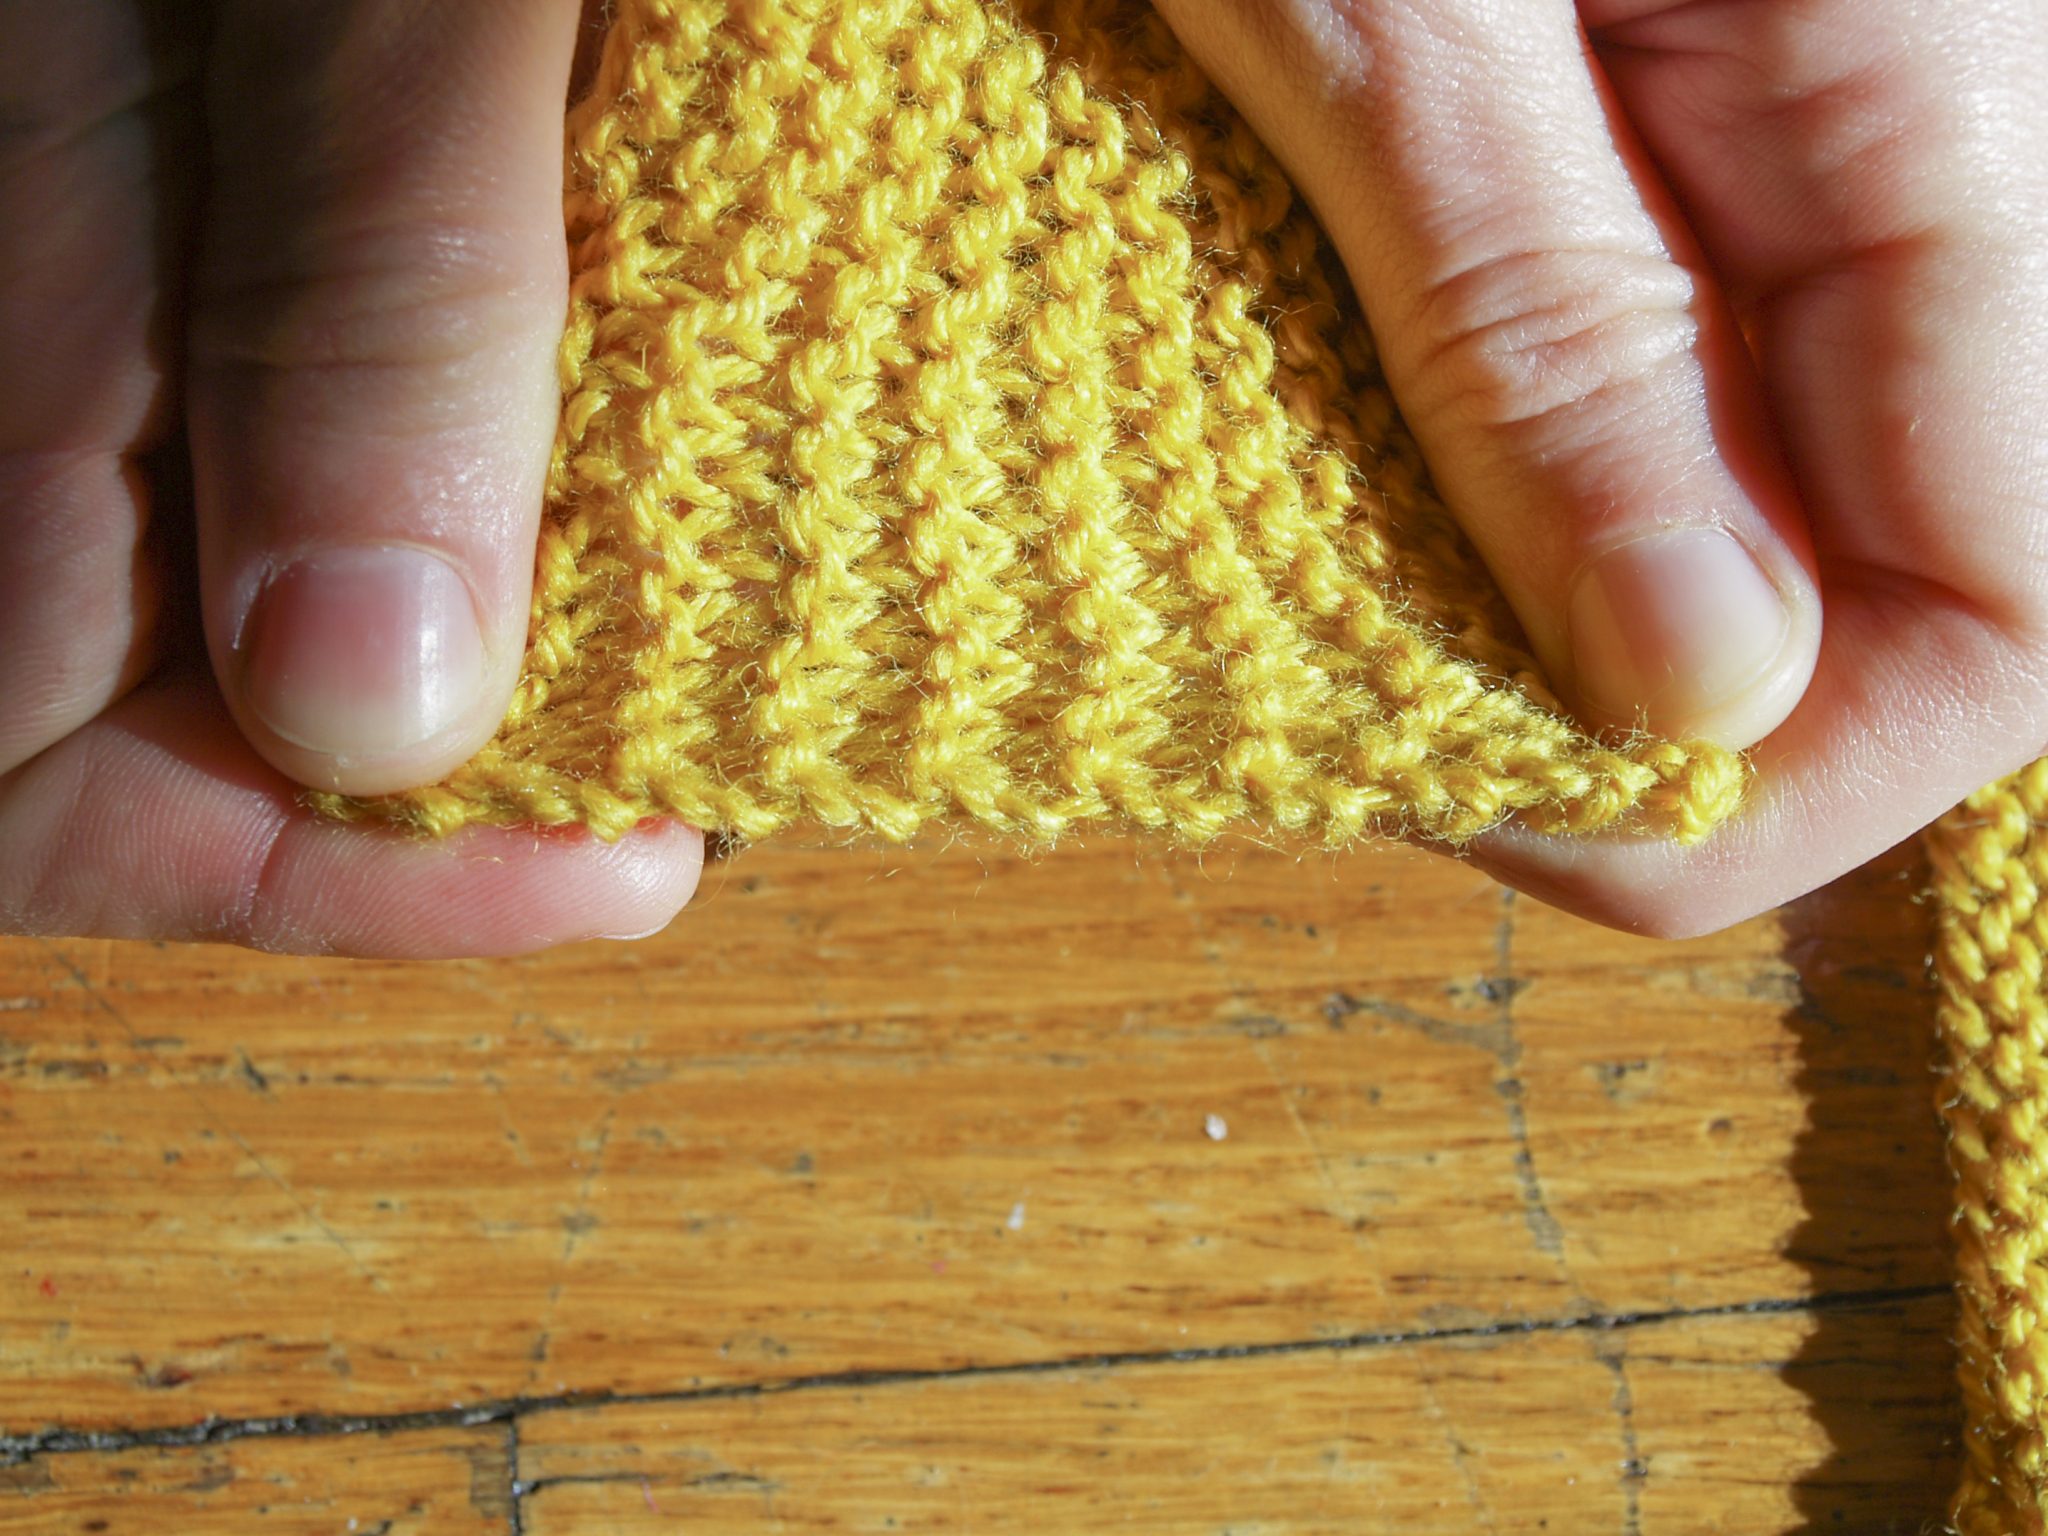
1. Slip the first stitch of each row purlwise with yarn in back.
How to do this: Take your right needle and stick it into the first stitch on your left needle like you’re going to purl that first stitch. When you do this, make sure the yarn is behind the right needle. Slip the stitch from the left needle to the right needle. Knit the rest of the row.
This is my go-to way to start a row. I find that it is easier to pick up stitches along an edge, particularly a garter stitch edge, when I’ve slipped the first stitch of each row. It’s easy to see the “bumps” of the purl rows and the “valleys” of the knit rows, so it’s simple to pick up one stitch per every two rows; that is, one stitch in each “valley.” It looks neat. Even. Nice.
2. Knit every stitch.
How to do this: Just like it sounds.
The results are difficult to distinguish from technique 1. If you stretch out your knitting, you see that there are more little bumps and ridges along the edge. If you’re going to pick up stitches along that edge at a rate of one stitch per two rows, it’s going to be more difficult to see where to pick up these stitches. However, if you’re going to seam this edge, those extra little bumps are going to keep the fabric from stretching and getting holey as you seam. More bumps = more little holes into which you can place your needle to seam = tighter seams. For this reason, I use this technique on the edges of armholes and sleeve caps.
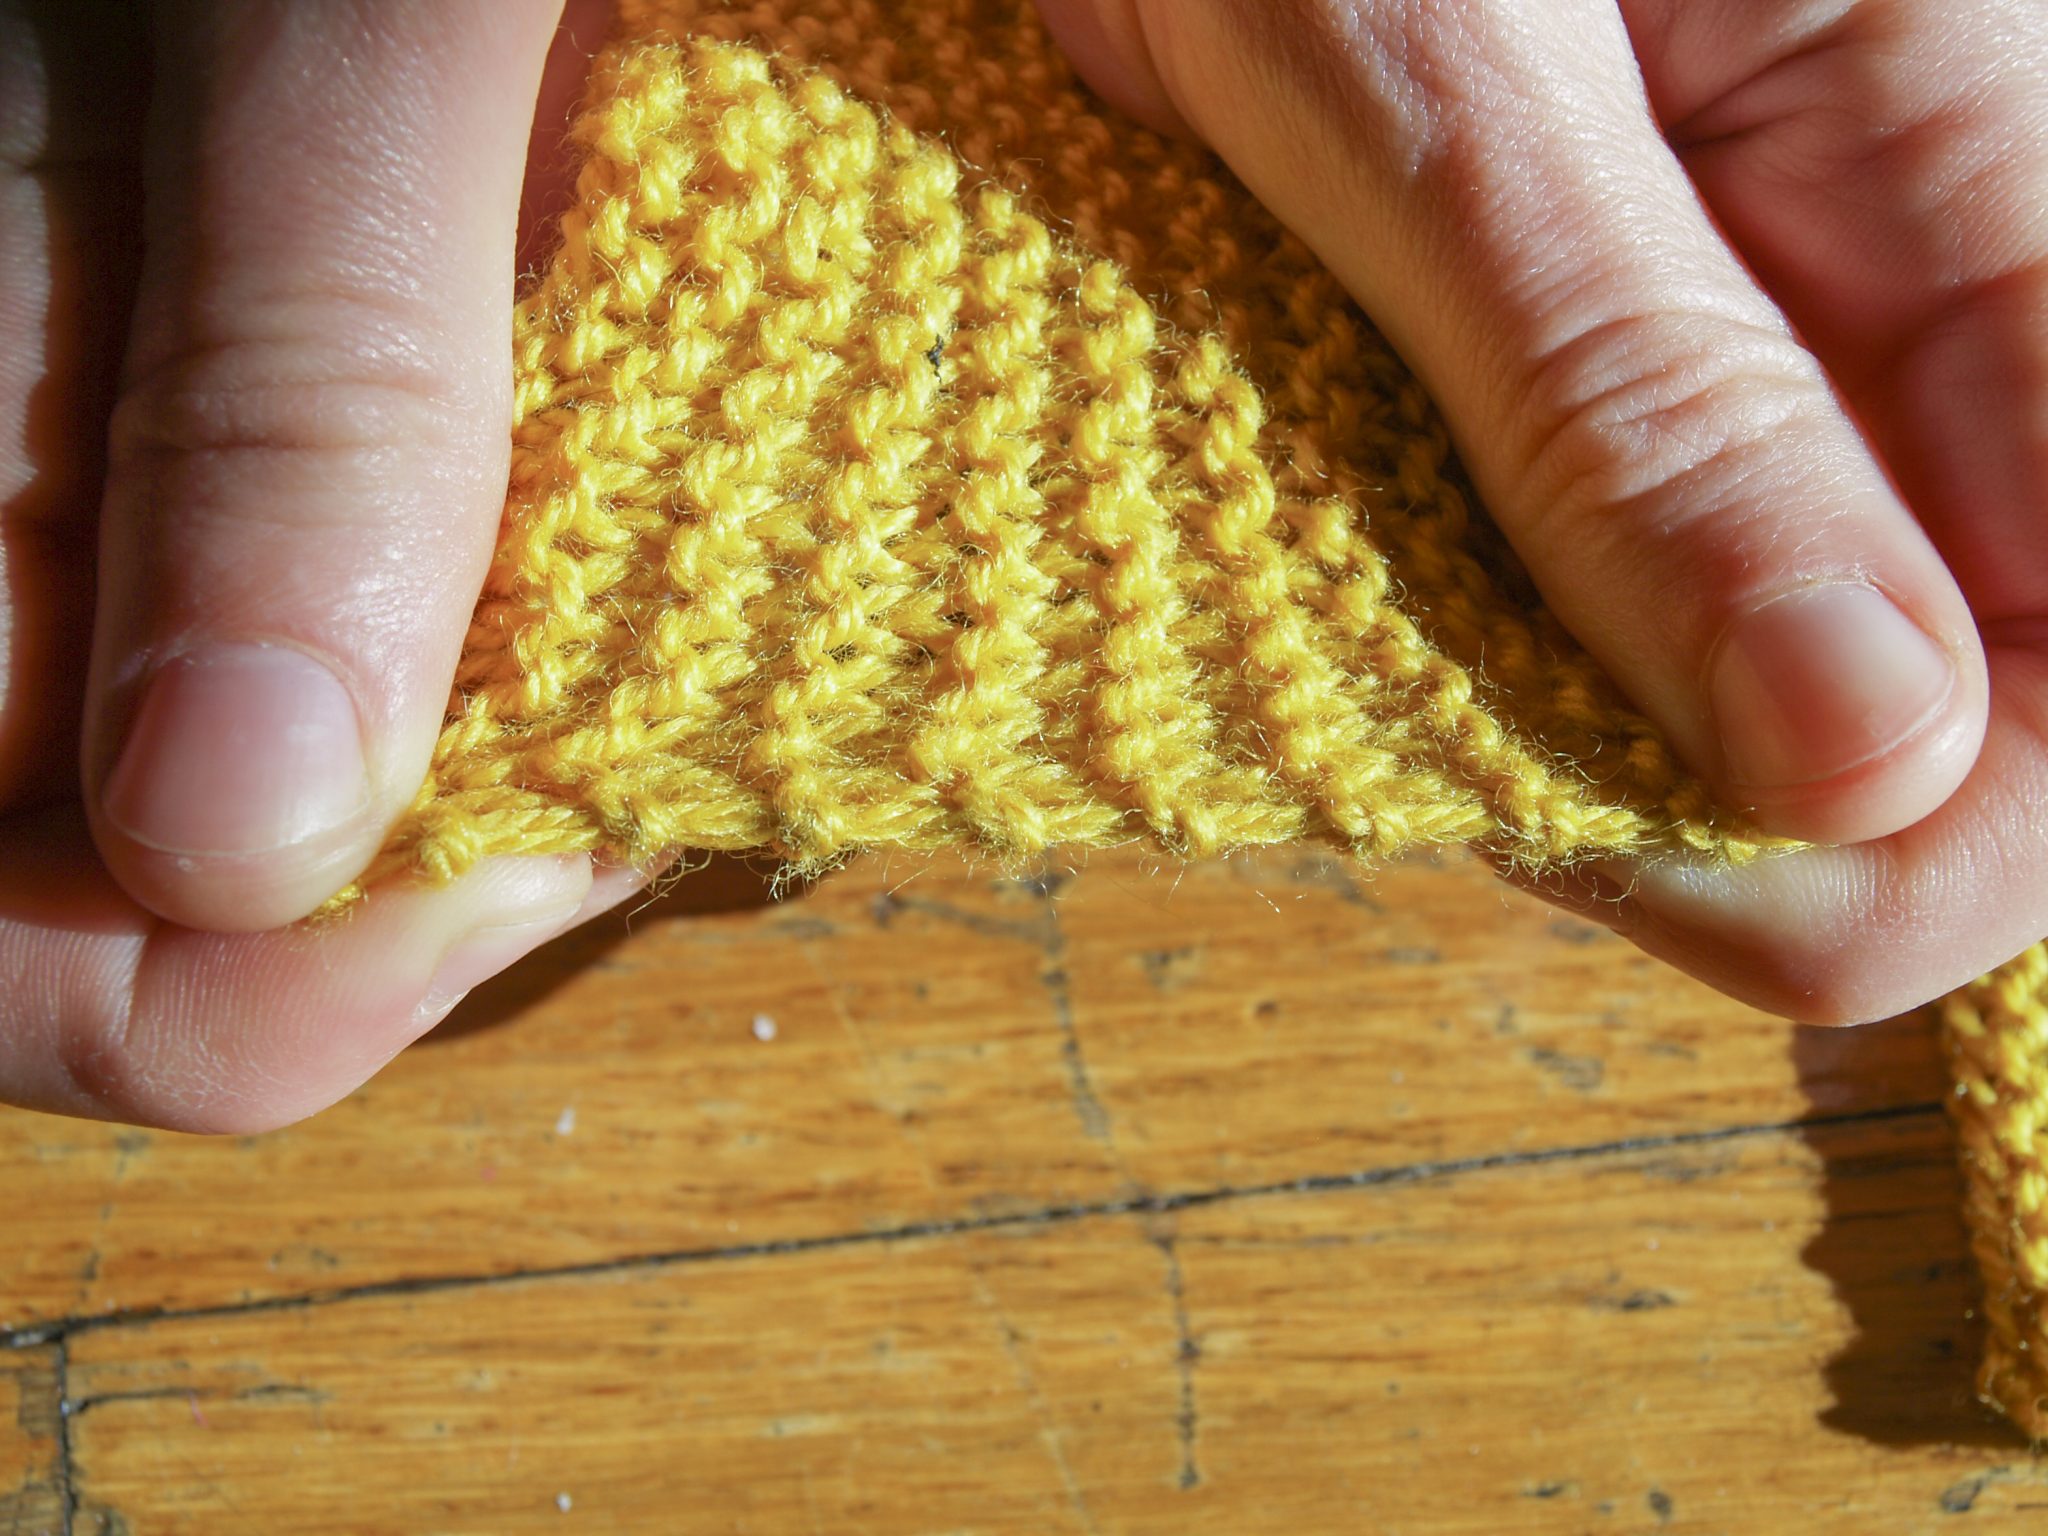
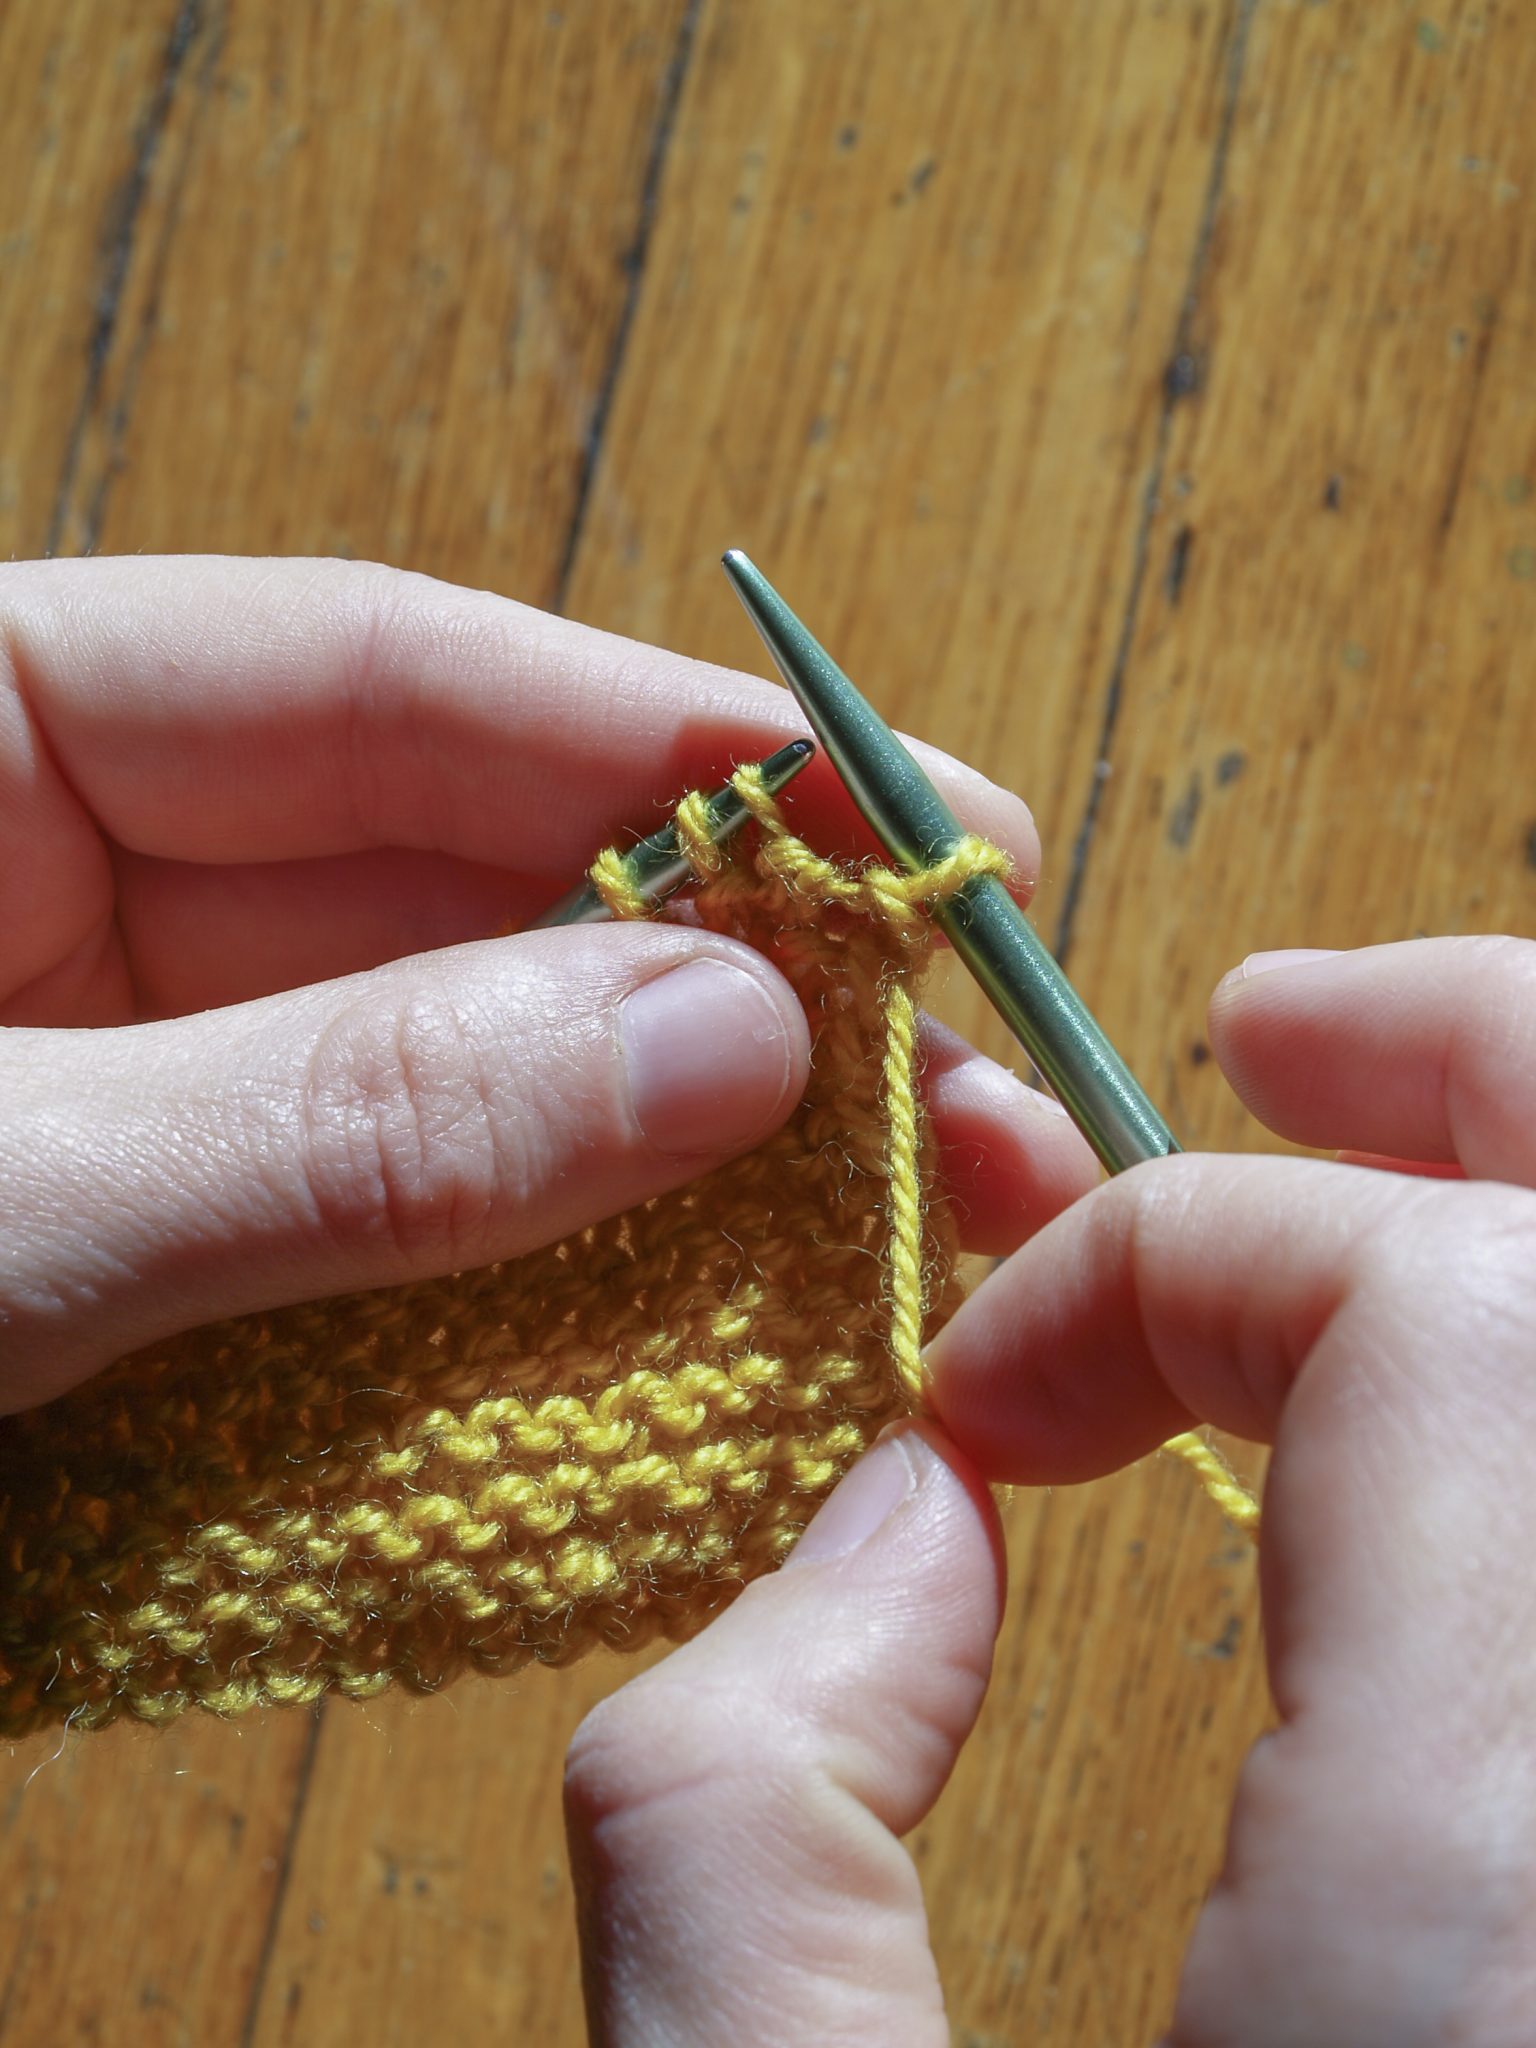
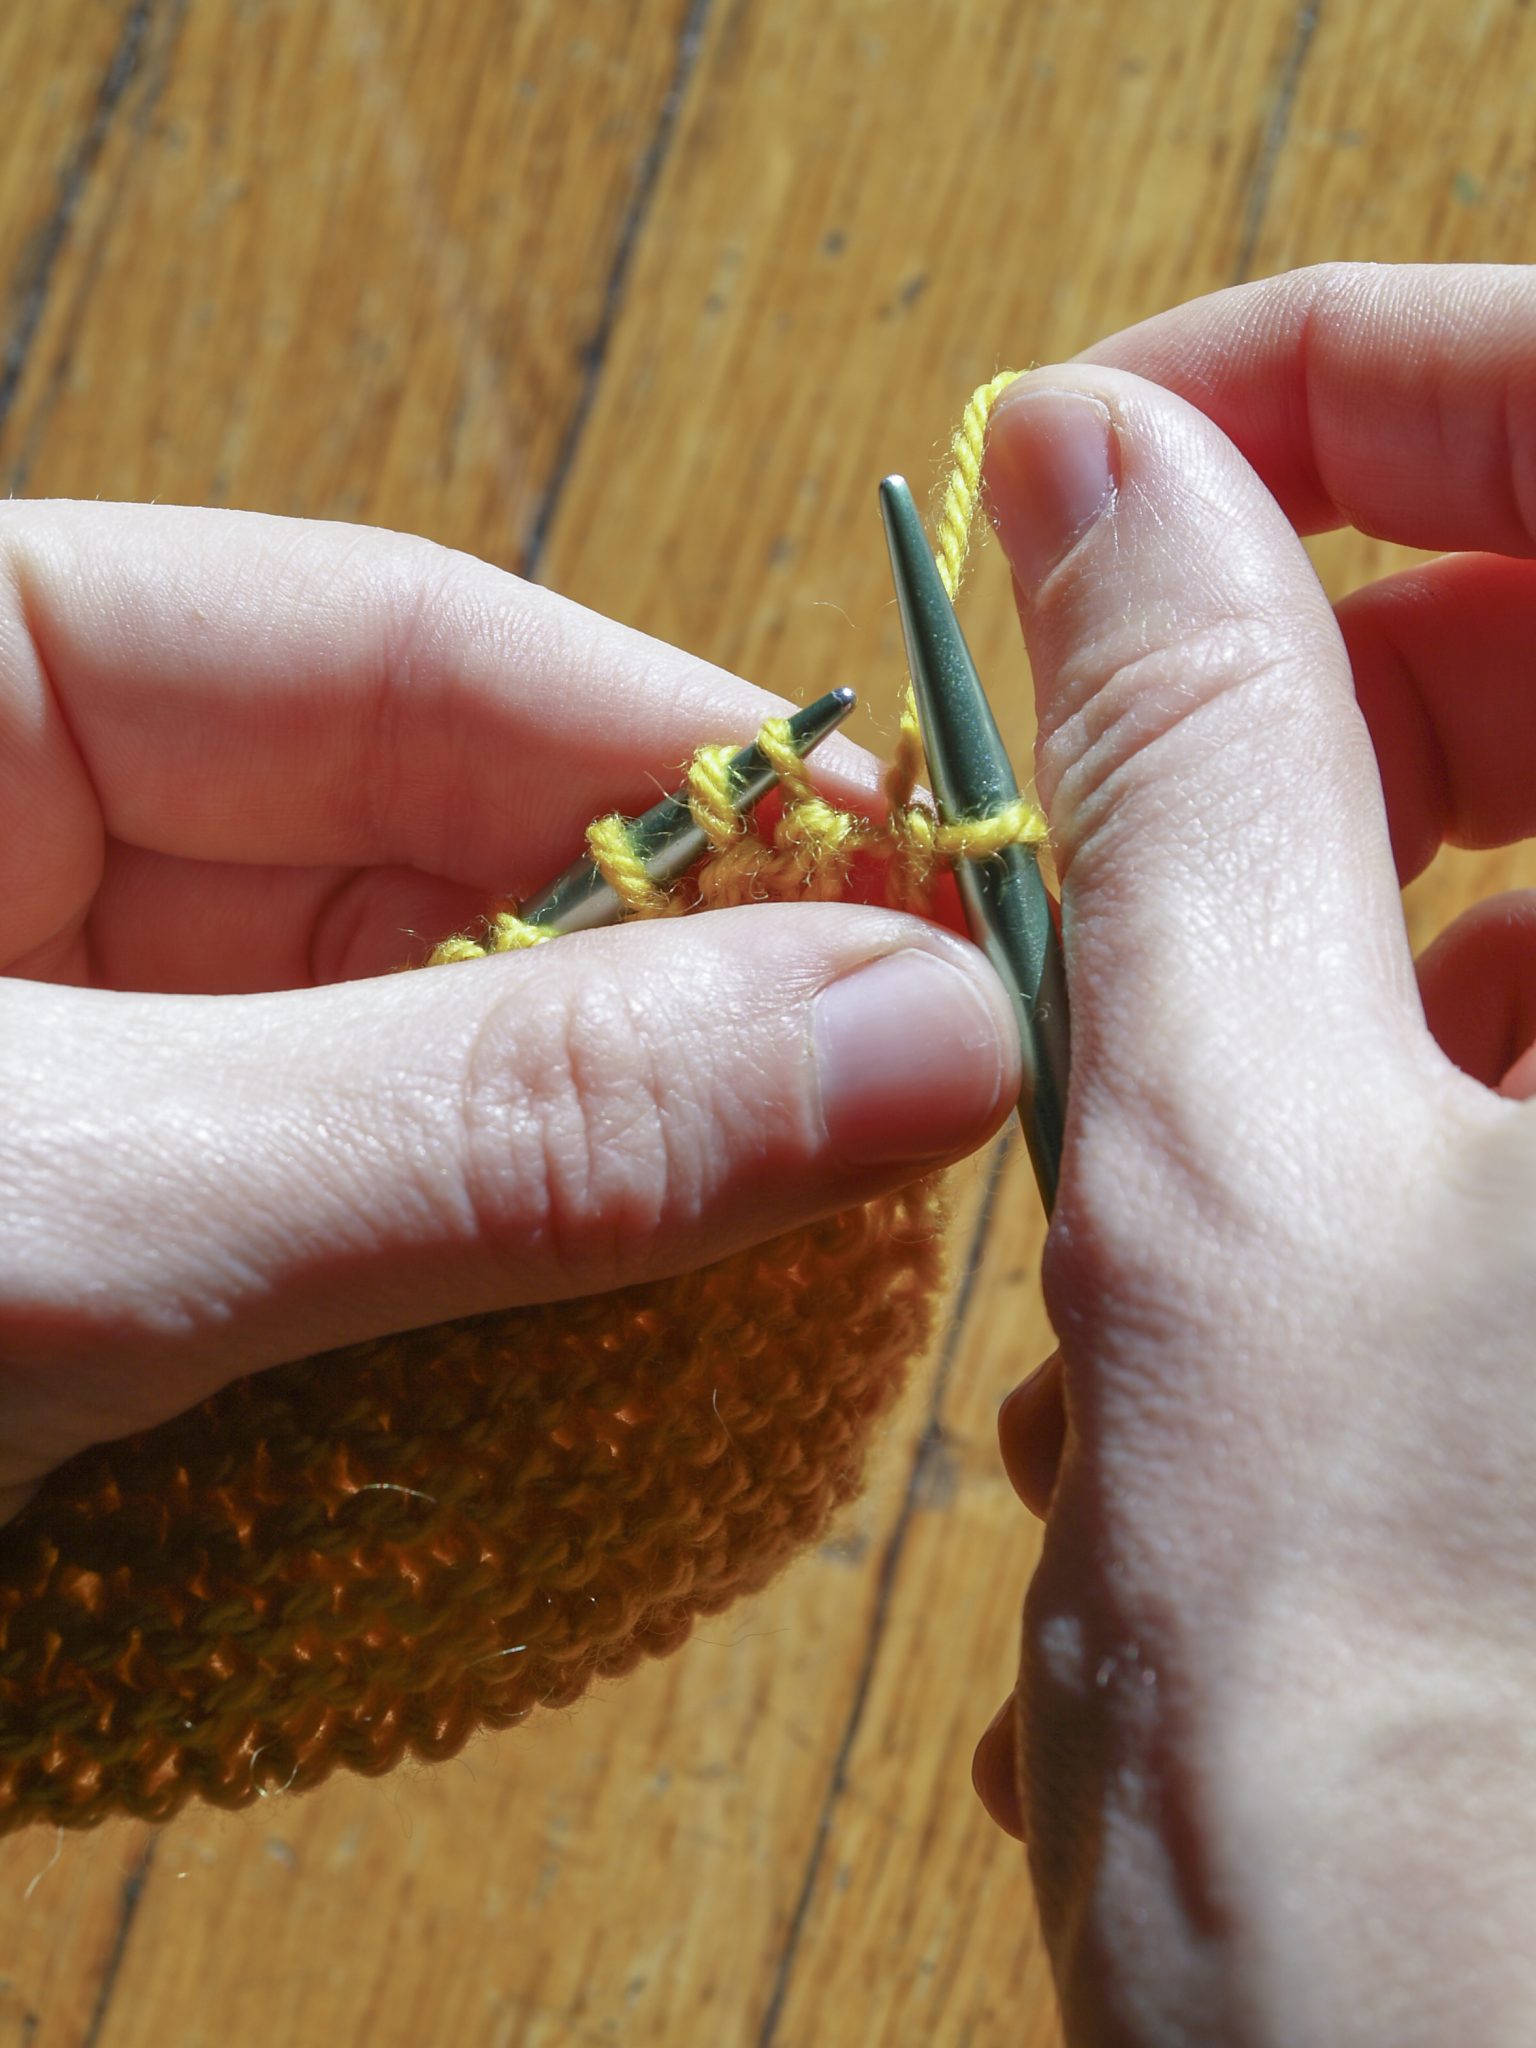
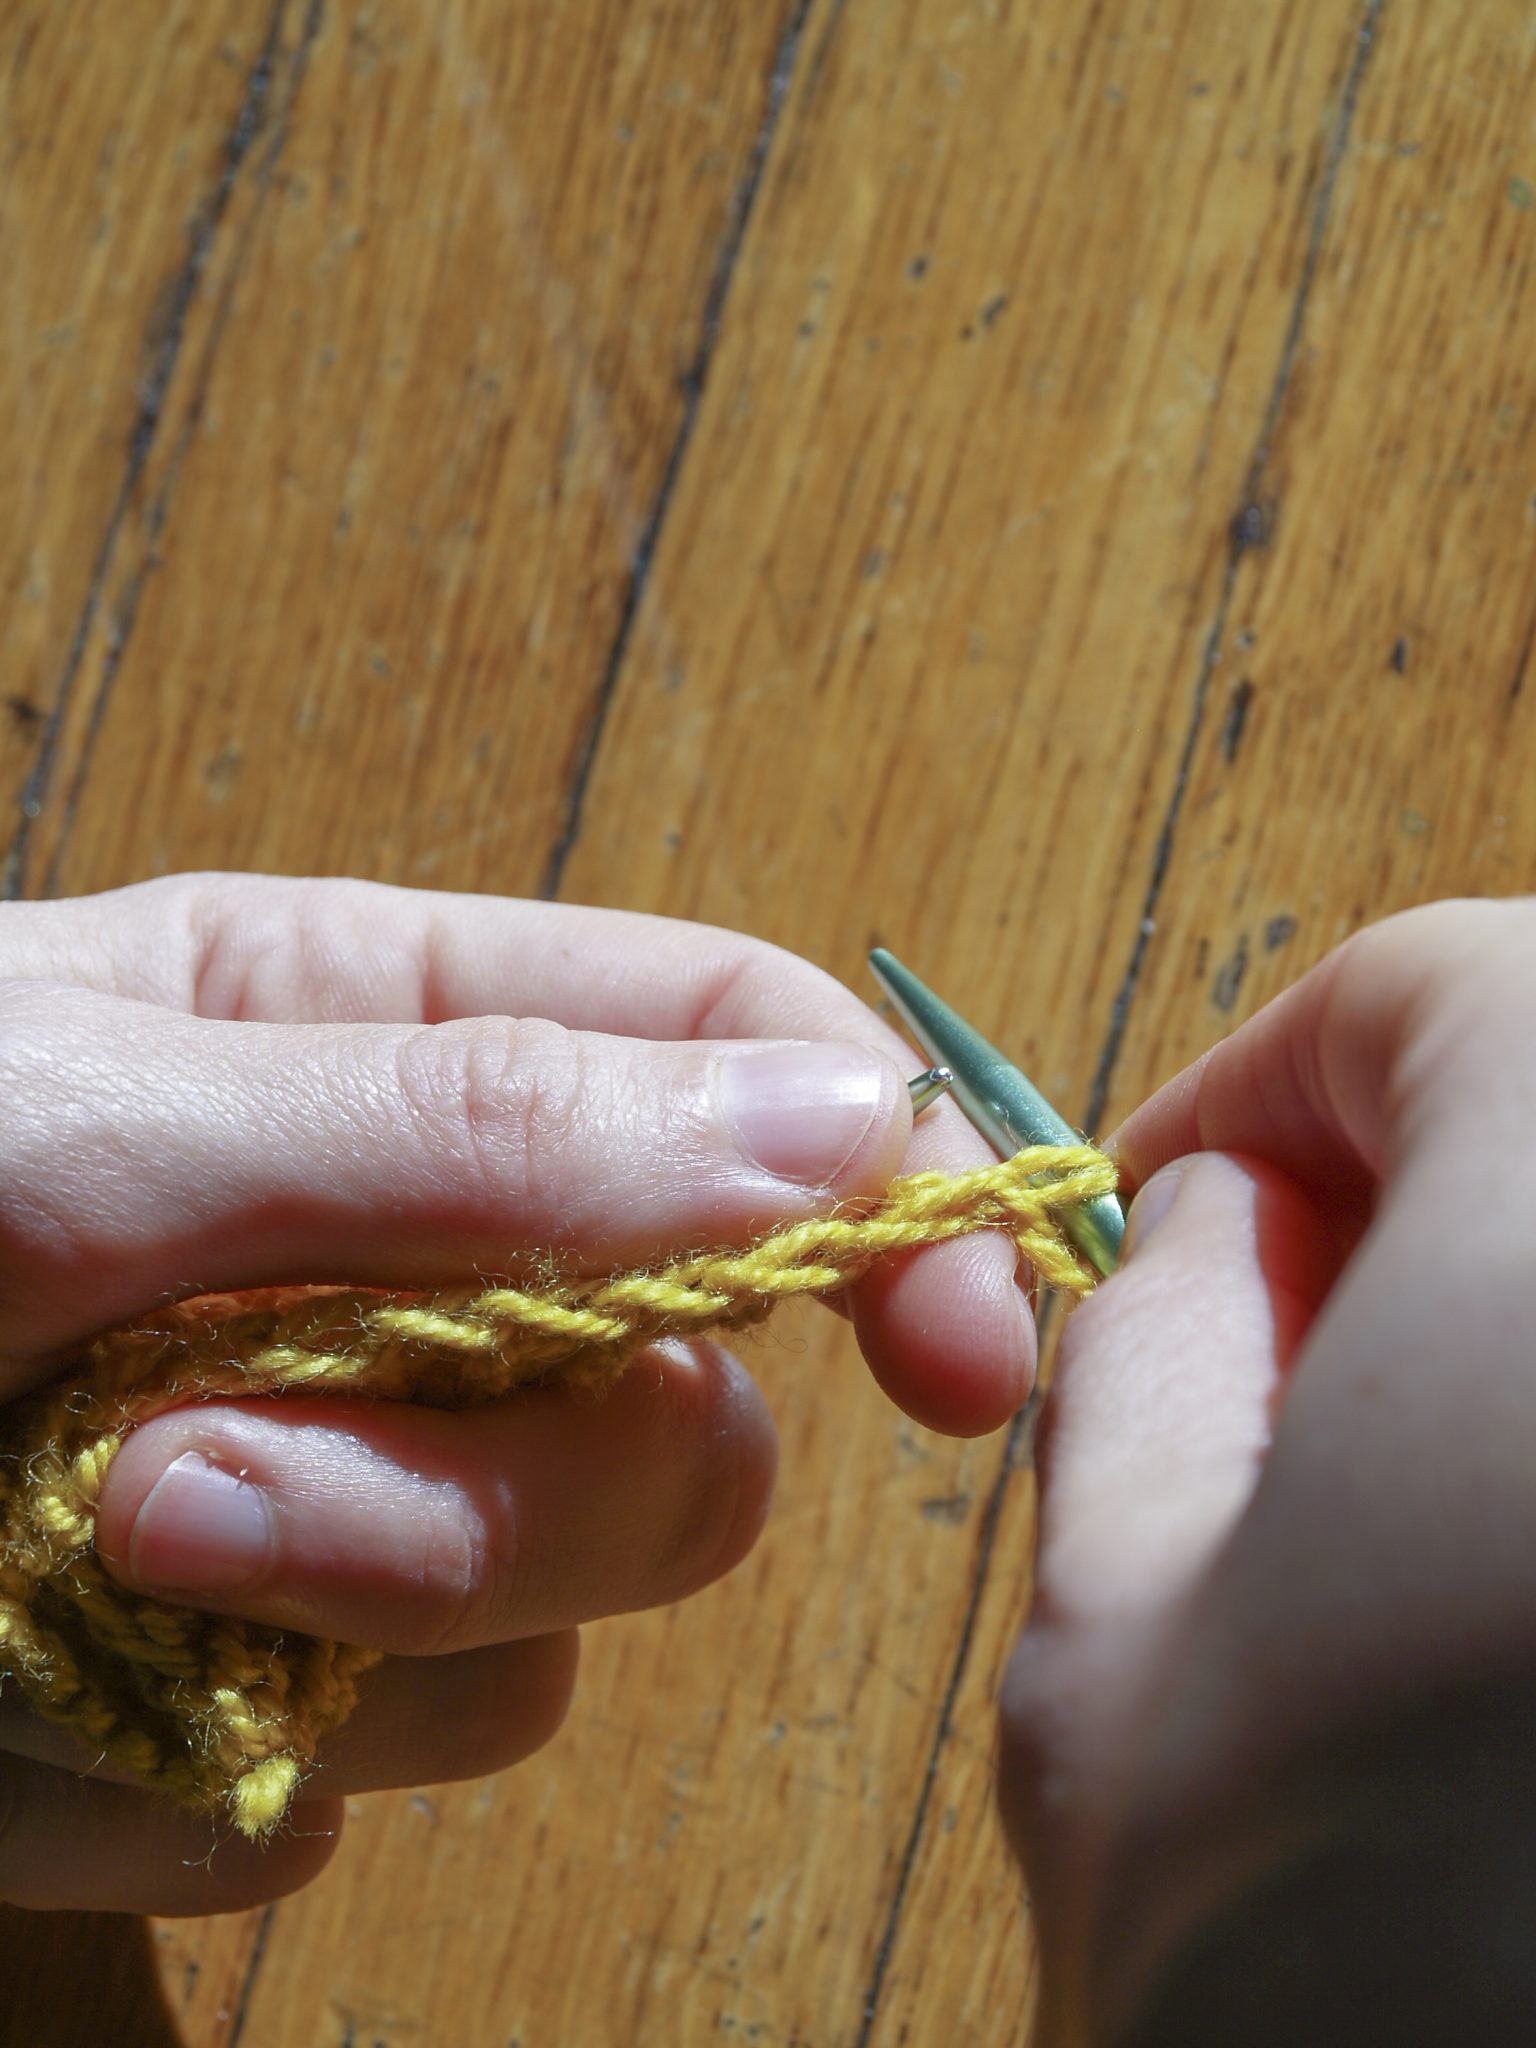
3. Slip the first stitch of each row purlwise with yarn in front.
This edge is different from the previous two, visually and structurally. Visually, it looks like a line of Vs, rather than a line of bumps, running up the side of the work. I like to use this technique on the edges of shawls and scarves. Structurally, it’s looser than the previous two techniques. For this reason, I recommend avoiding this technique along edges that you have to seam or along which you need to pick up stitches. Your seam or pickup edge will be looser and have more obvious gaps than if you use one of the previous two techniques.
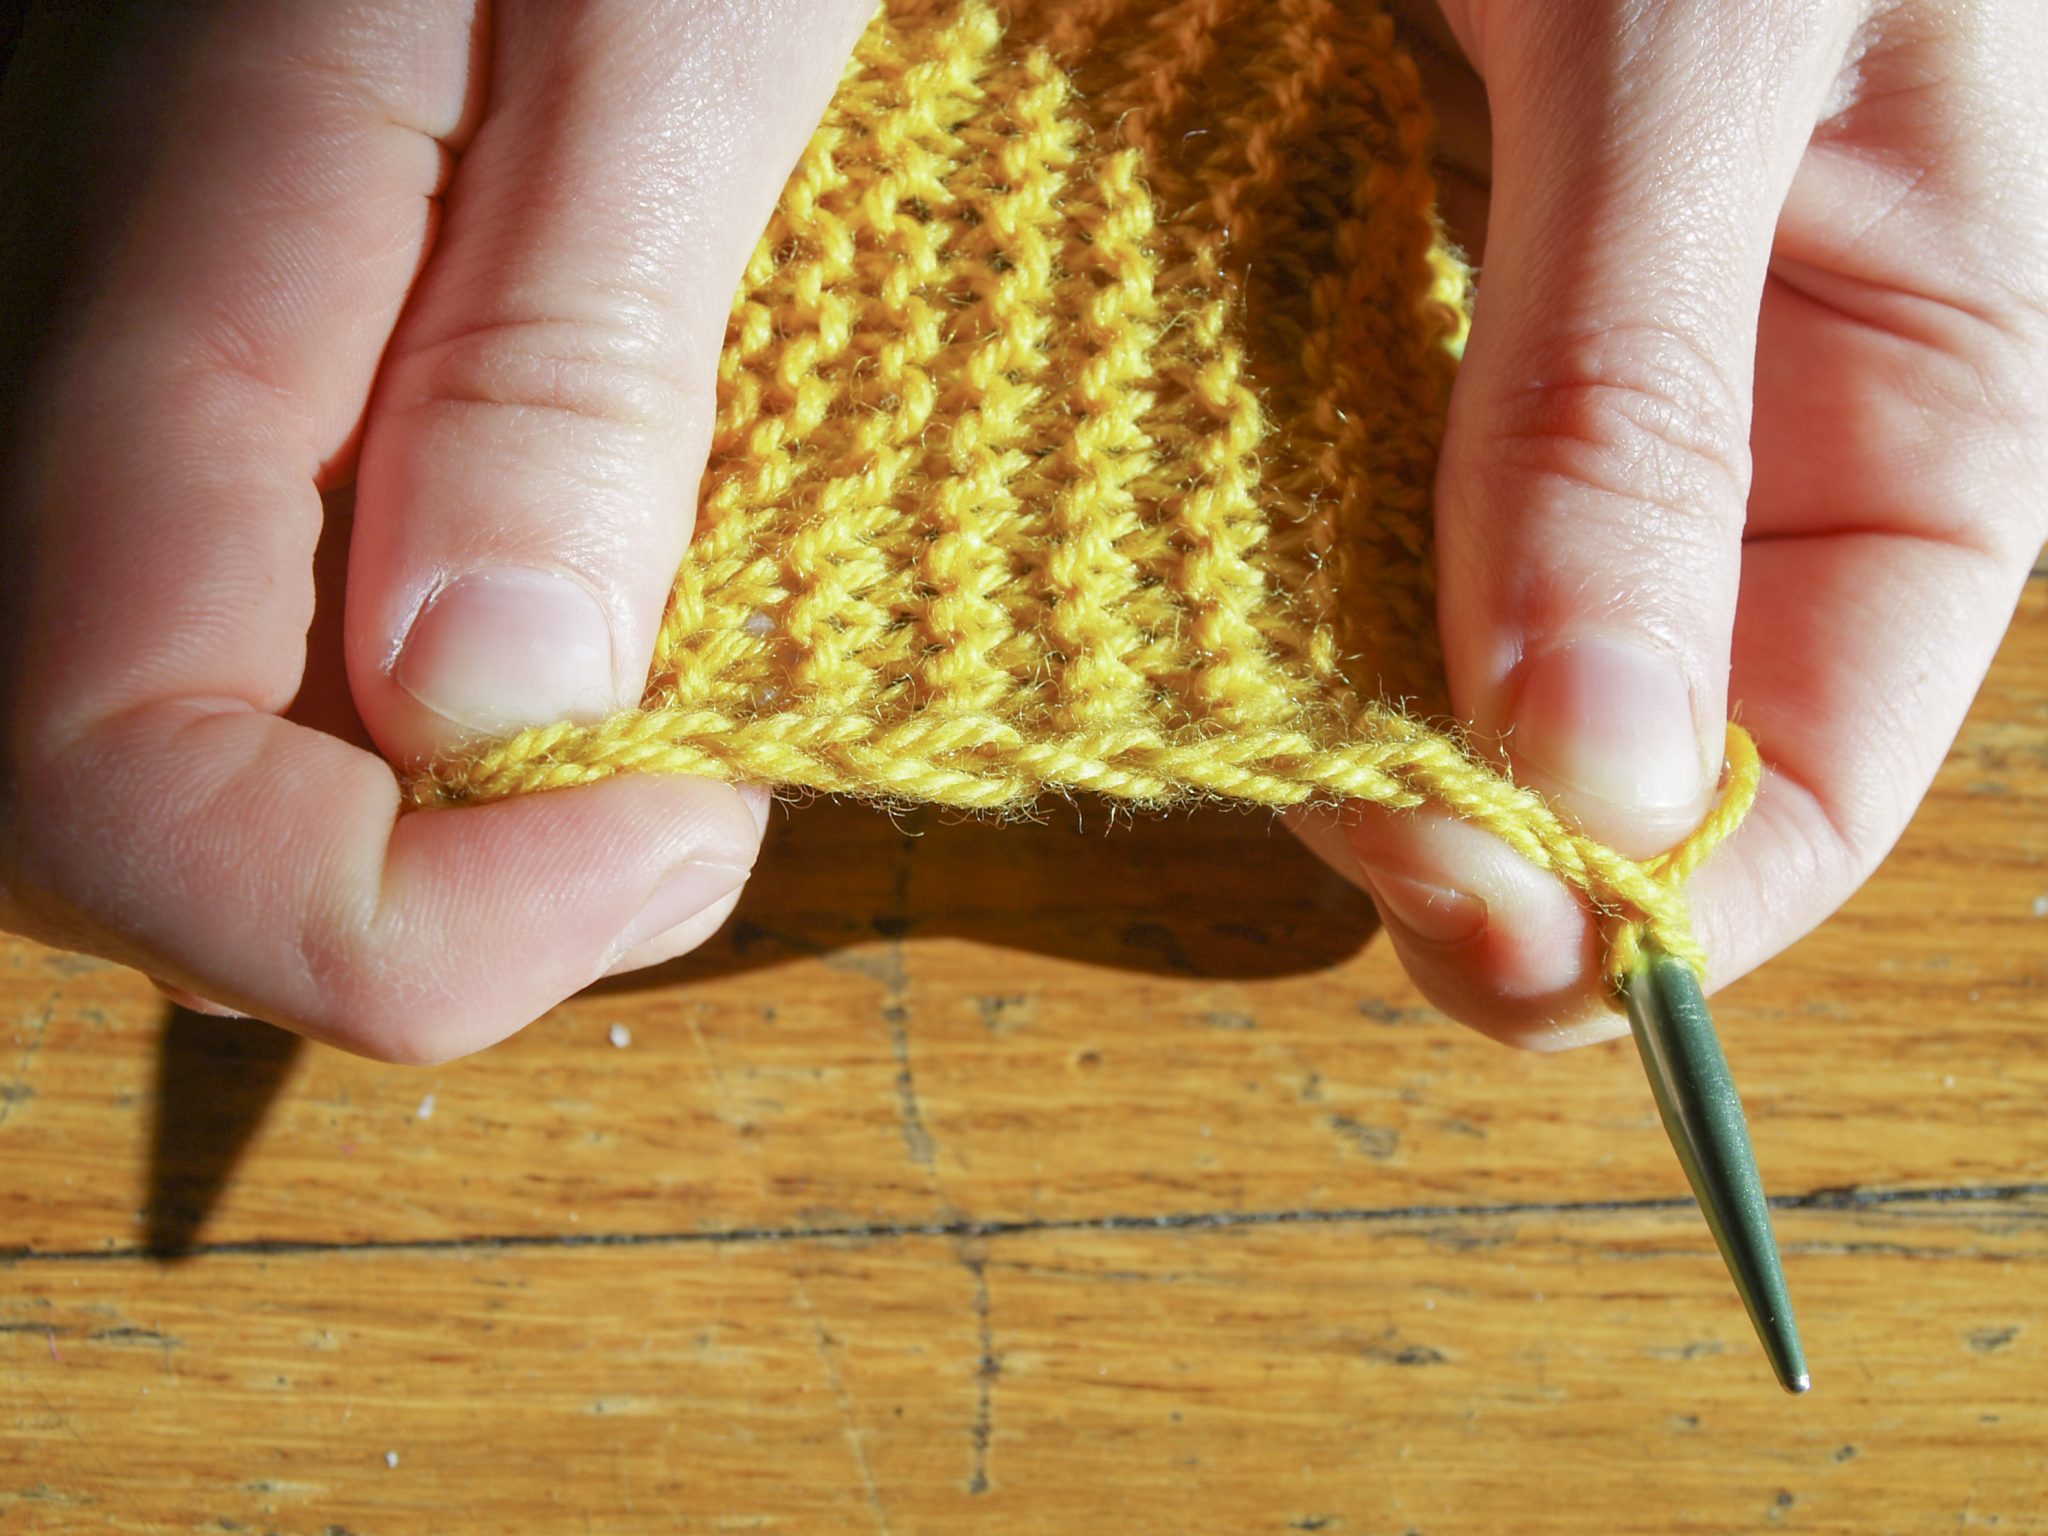
How to do this: In photos for this one, because it’s not intuitive.
I hope this has been educational! I’ll admit, I was surprised how comparable the edges are from a distance of even a foot or two, so there’s no wrong way to start a row. Make your knitting the best it can be: First, consider where your edge will be and what function it will serve. Second, be consistent!
