 Hi Everyone! Welcome to the Fall Knit-a-Long at fibre space. For those of you just joining in, you can find all the details here.
I’m super excited about the Terra knit-a-long this fall, and will be blogging a long with helpful tips and tricks as we knit our sweaters together. I was thrilled that Terra now comes in 196 yard skeins because I really like it when I have fewer ends to weave in!
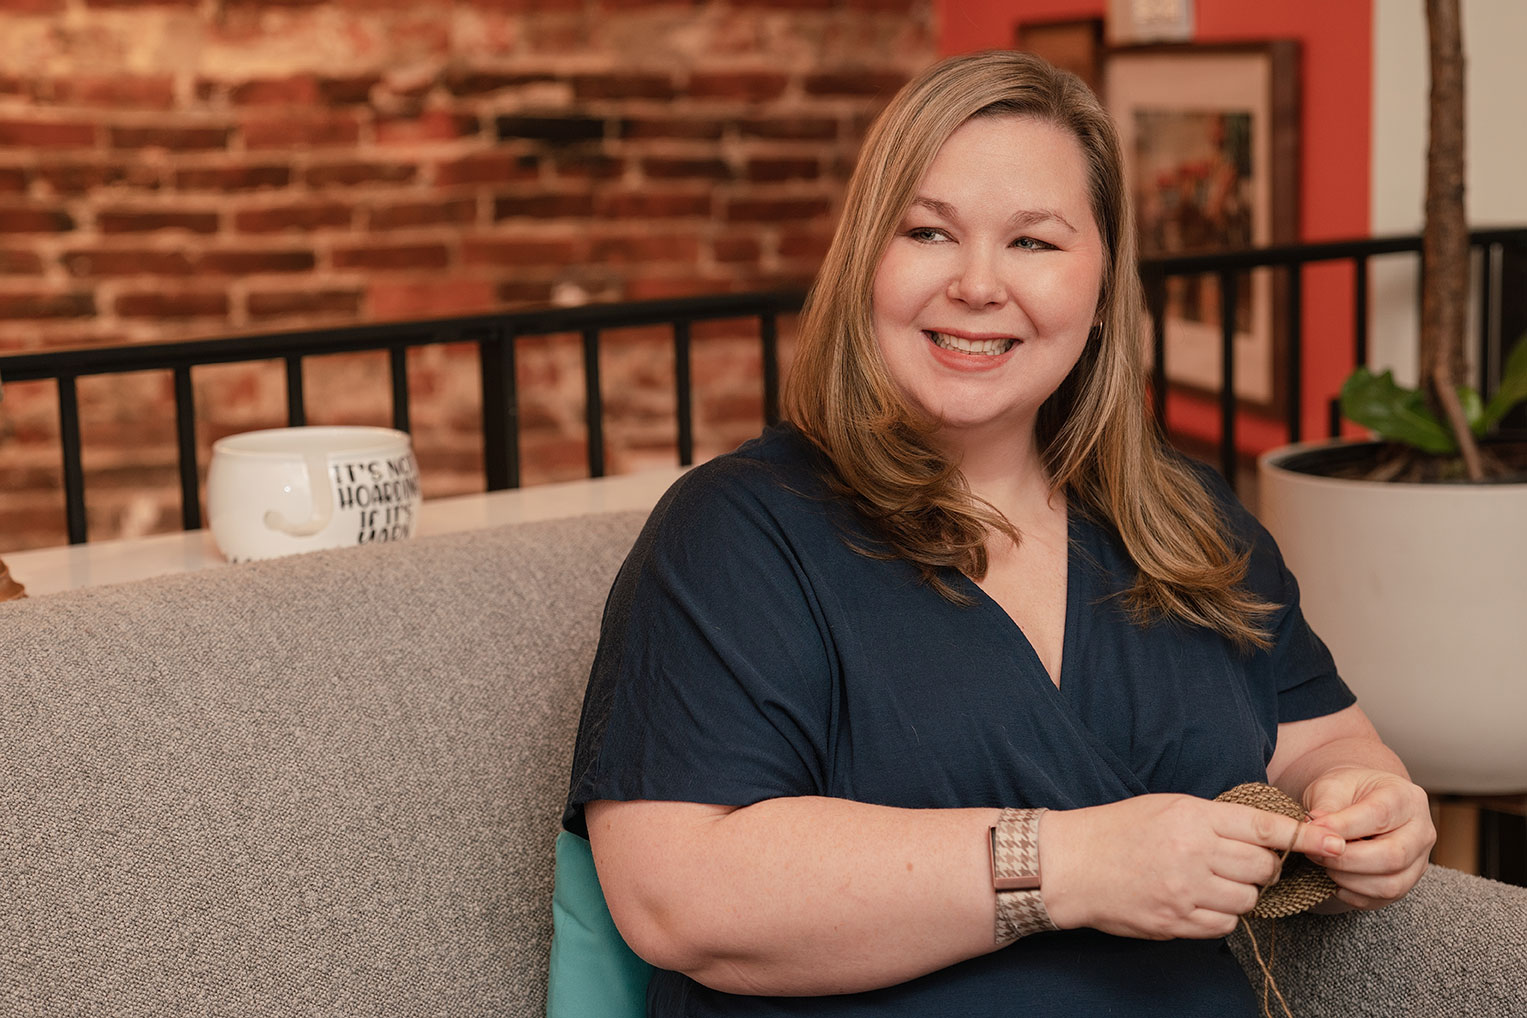
Unlike other KALs, this one offers a little choice. Because there were three options, I had a little bit of a tough time picking between them all. In the end, I decided to go with the Barn Sweater because it’s exactly the type of cardigan that I love to wear every day in colder months. As an avid sweater knitter, I also wanted to think a lot about fit. So as I pondered colors, I was trying to determine exactly how much yardage I would need. First, I had to consider my full-bust measurement because I want the sweater to close. And, because the Barn Sweater comes in two sleeve lengths I had to be honest with myself about which one I would prefer – I’ll be knitting the 3/4 length sleeves. I’m a habitual sleeve-pusher and it’s just not really my style to wear long sleeve sweaters most of the time. And lastly, per this lovely blog post by Amy Herzog, I took into consideration that because this sweater is a top-down raglan, I really want the shoulders to fit well. So, I took my upper torso measurement into account as well. (for those who may not know me – this is especially important as I have a full-busted figure and narrow shoulders, which means finding the right fit may be a little tricksy.) In the end, I’m knitting the third size for the sweater, which is a closer fit to my upper torso measurement (37.5″) than my full bust (40″). And, I went with the seven skeins of the color Madder, which is a lovely red with pink flecked highlights.
After I got the yarn sorted out, it was time to wind for swatching. As we like to say over and over again at the shop, the first step to a garment that fits (especially a sweater!) is to swatch. Swatching is key! I know that most of us (myself included) often want to dive into a new project – waiting can be such a drag, we could be spending that time knitting, right? Except, gauge (stitches per inch and rows per inch) is so essential to making sure a garment fits. And gauge is extremely personal. This instagram picture demonstrates really well how much gauge can vary from knitter to knitter. The hat on the left is loose, and the hat on the right is tight. When we swatch we’re trying to assess our own gauge in relation to that of the pattern, so we can make adjustments to match it as best we can. This is important because if our gauge is too loose, the garment will be much larger than expected and if our gauge is too tight the garment will turn out itty-bitty in comparison to our expectations.
I’ve always been somewhat of a reluctant swatcher (see the part above about wanting to start the new project RIGHT NOW), but since having Amy Herzog train us on CustomFit, I’ve become more diligent generally. She has some great tips about swatching here, which I used in making my own swatch. One of the best tips Amy has for swatching, is to make your swatch LARGER than the usual tiny 4″ x 4″ square. So, the because project gauge was 18 stitches over 4″ I cast on 40 stitches (18 x 2 + 4 garter edge stitches to keep the swatch from rolling) and I knit the swatch 8″ long before binding off. I always knit a couple of rows in garter (knitting all the stitches) on the top and bottom, as well as a two stitch garter border on either side to keep the swatch from rolling. Then, once knit, I wash it and lay it flat to dry (note: I don’t pin or stretch the fabric, I just smooth it out).
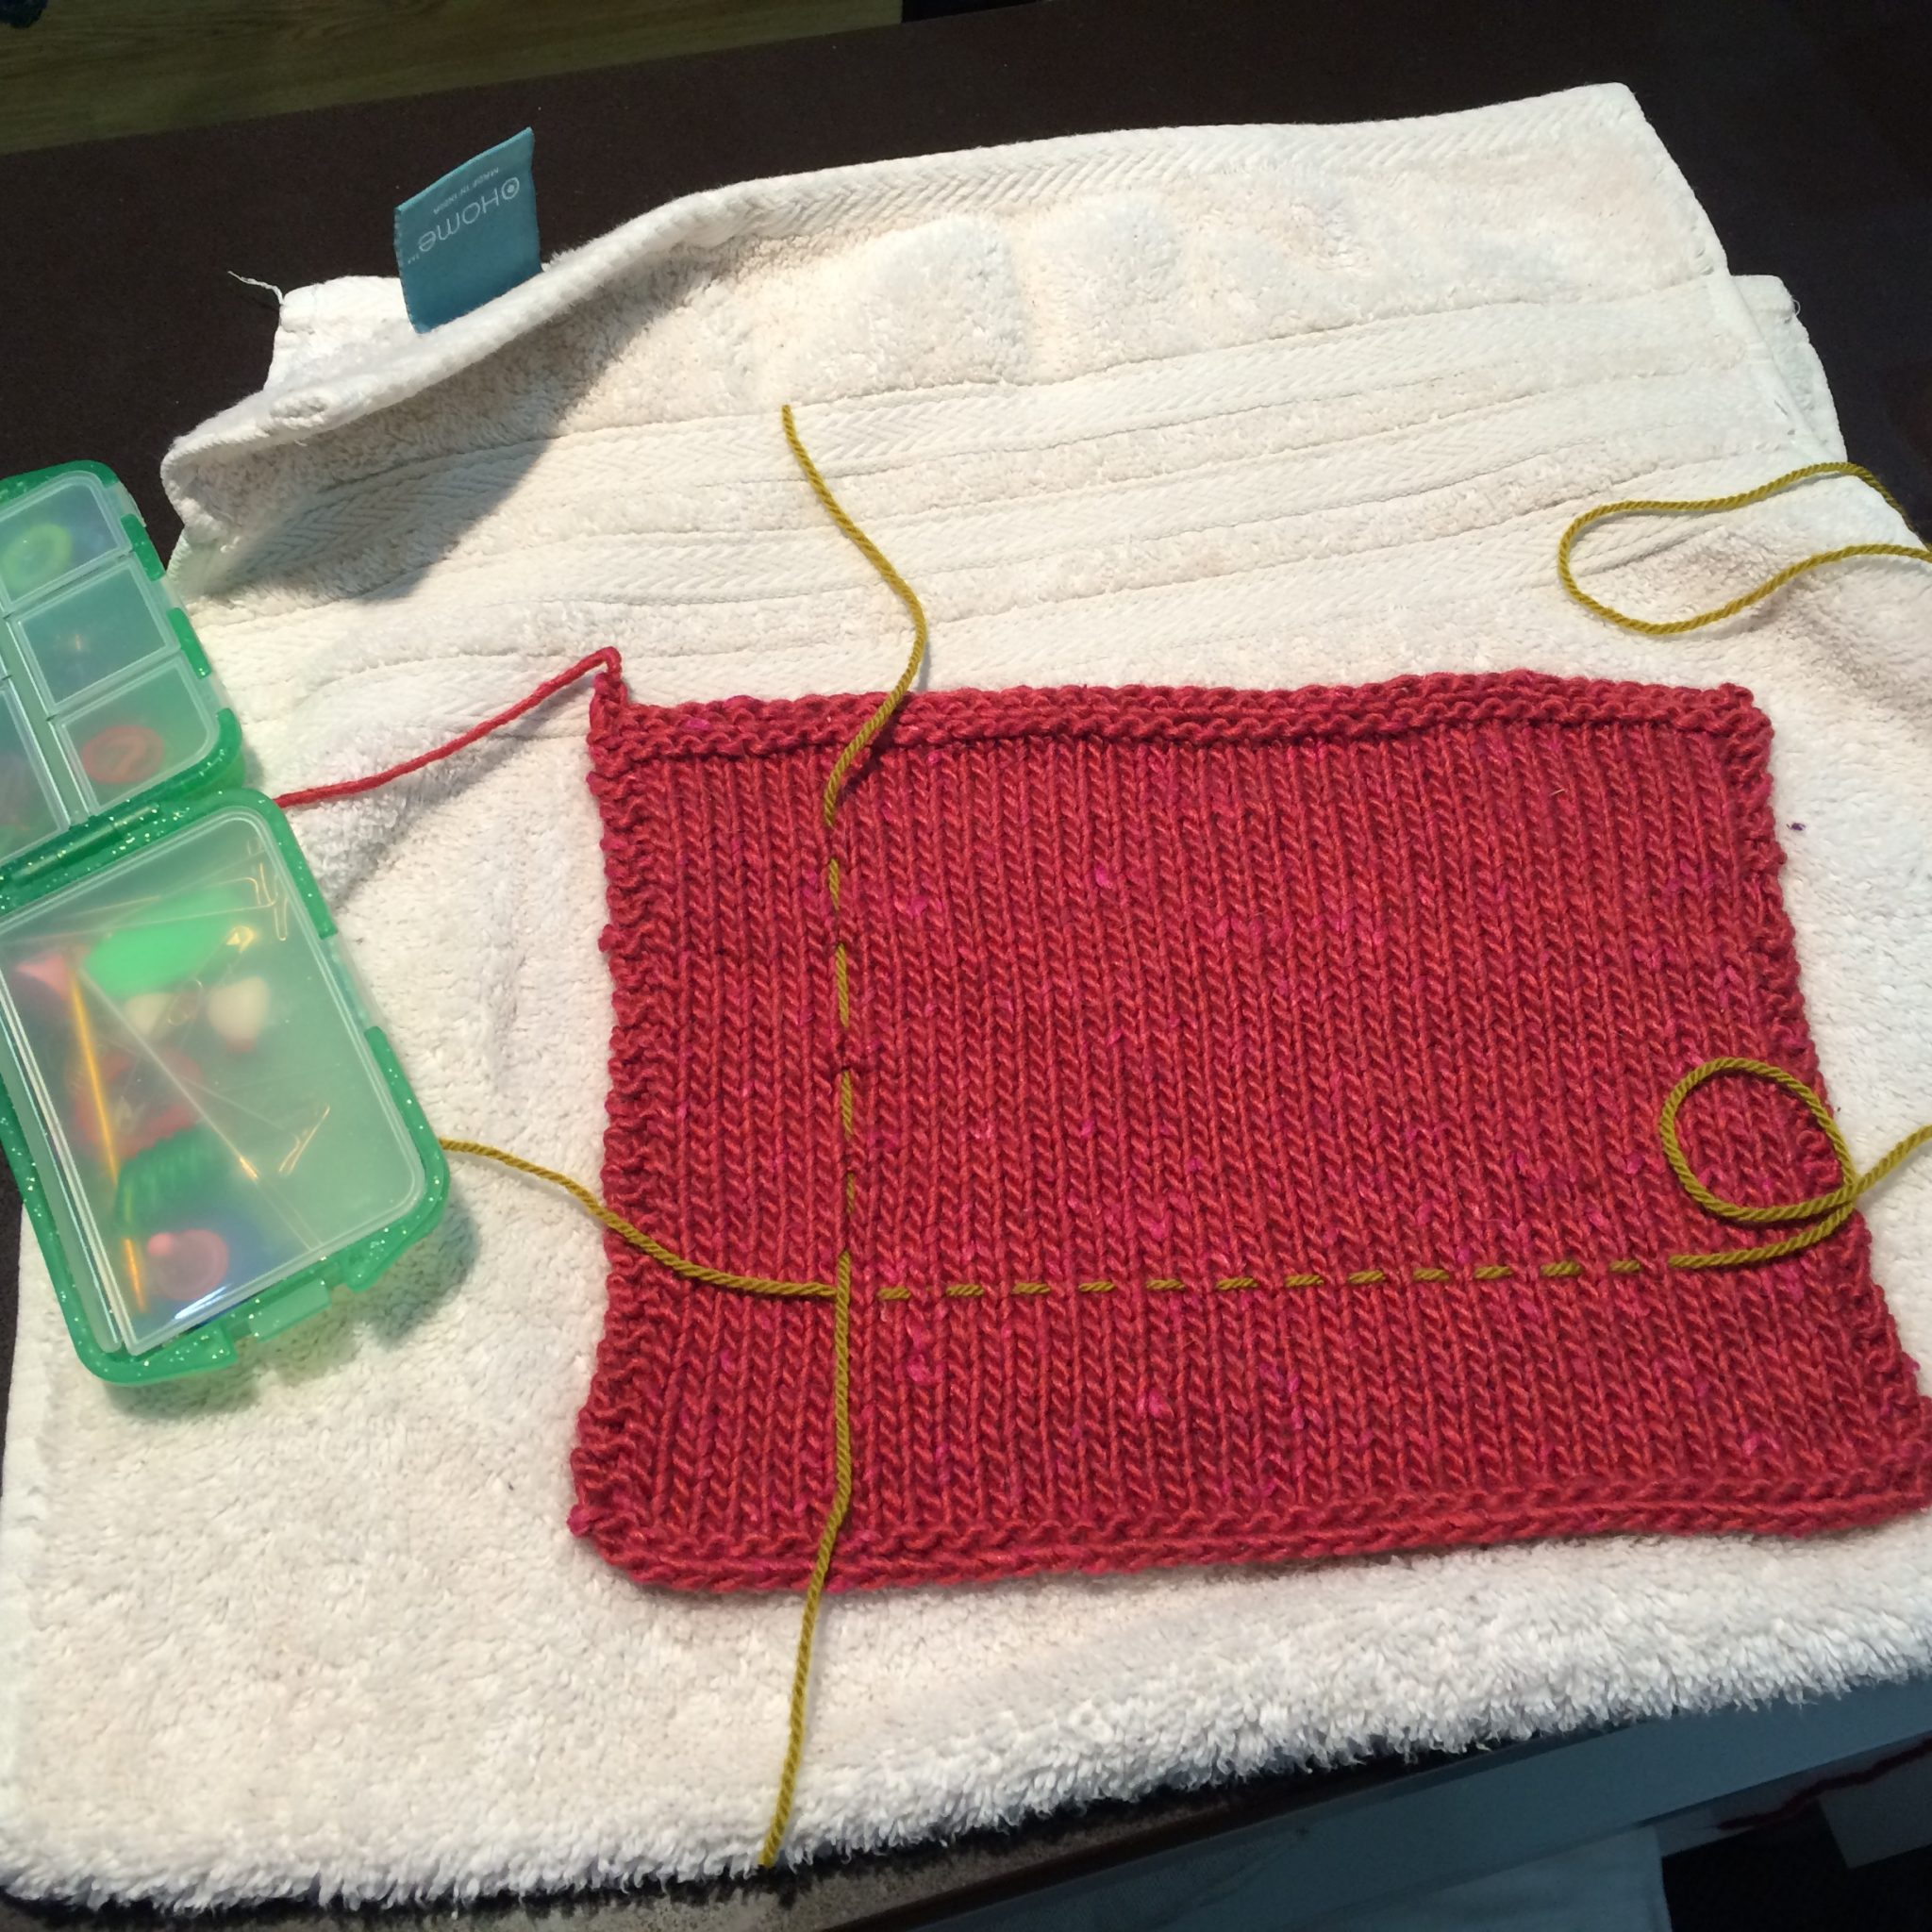
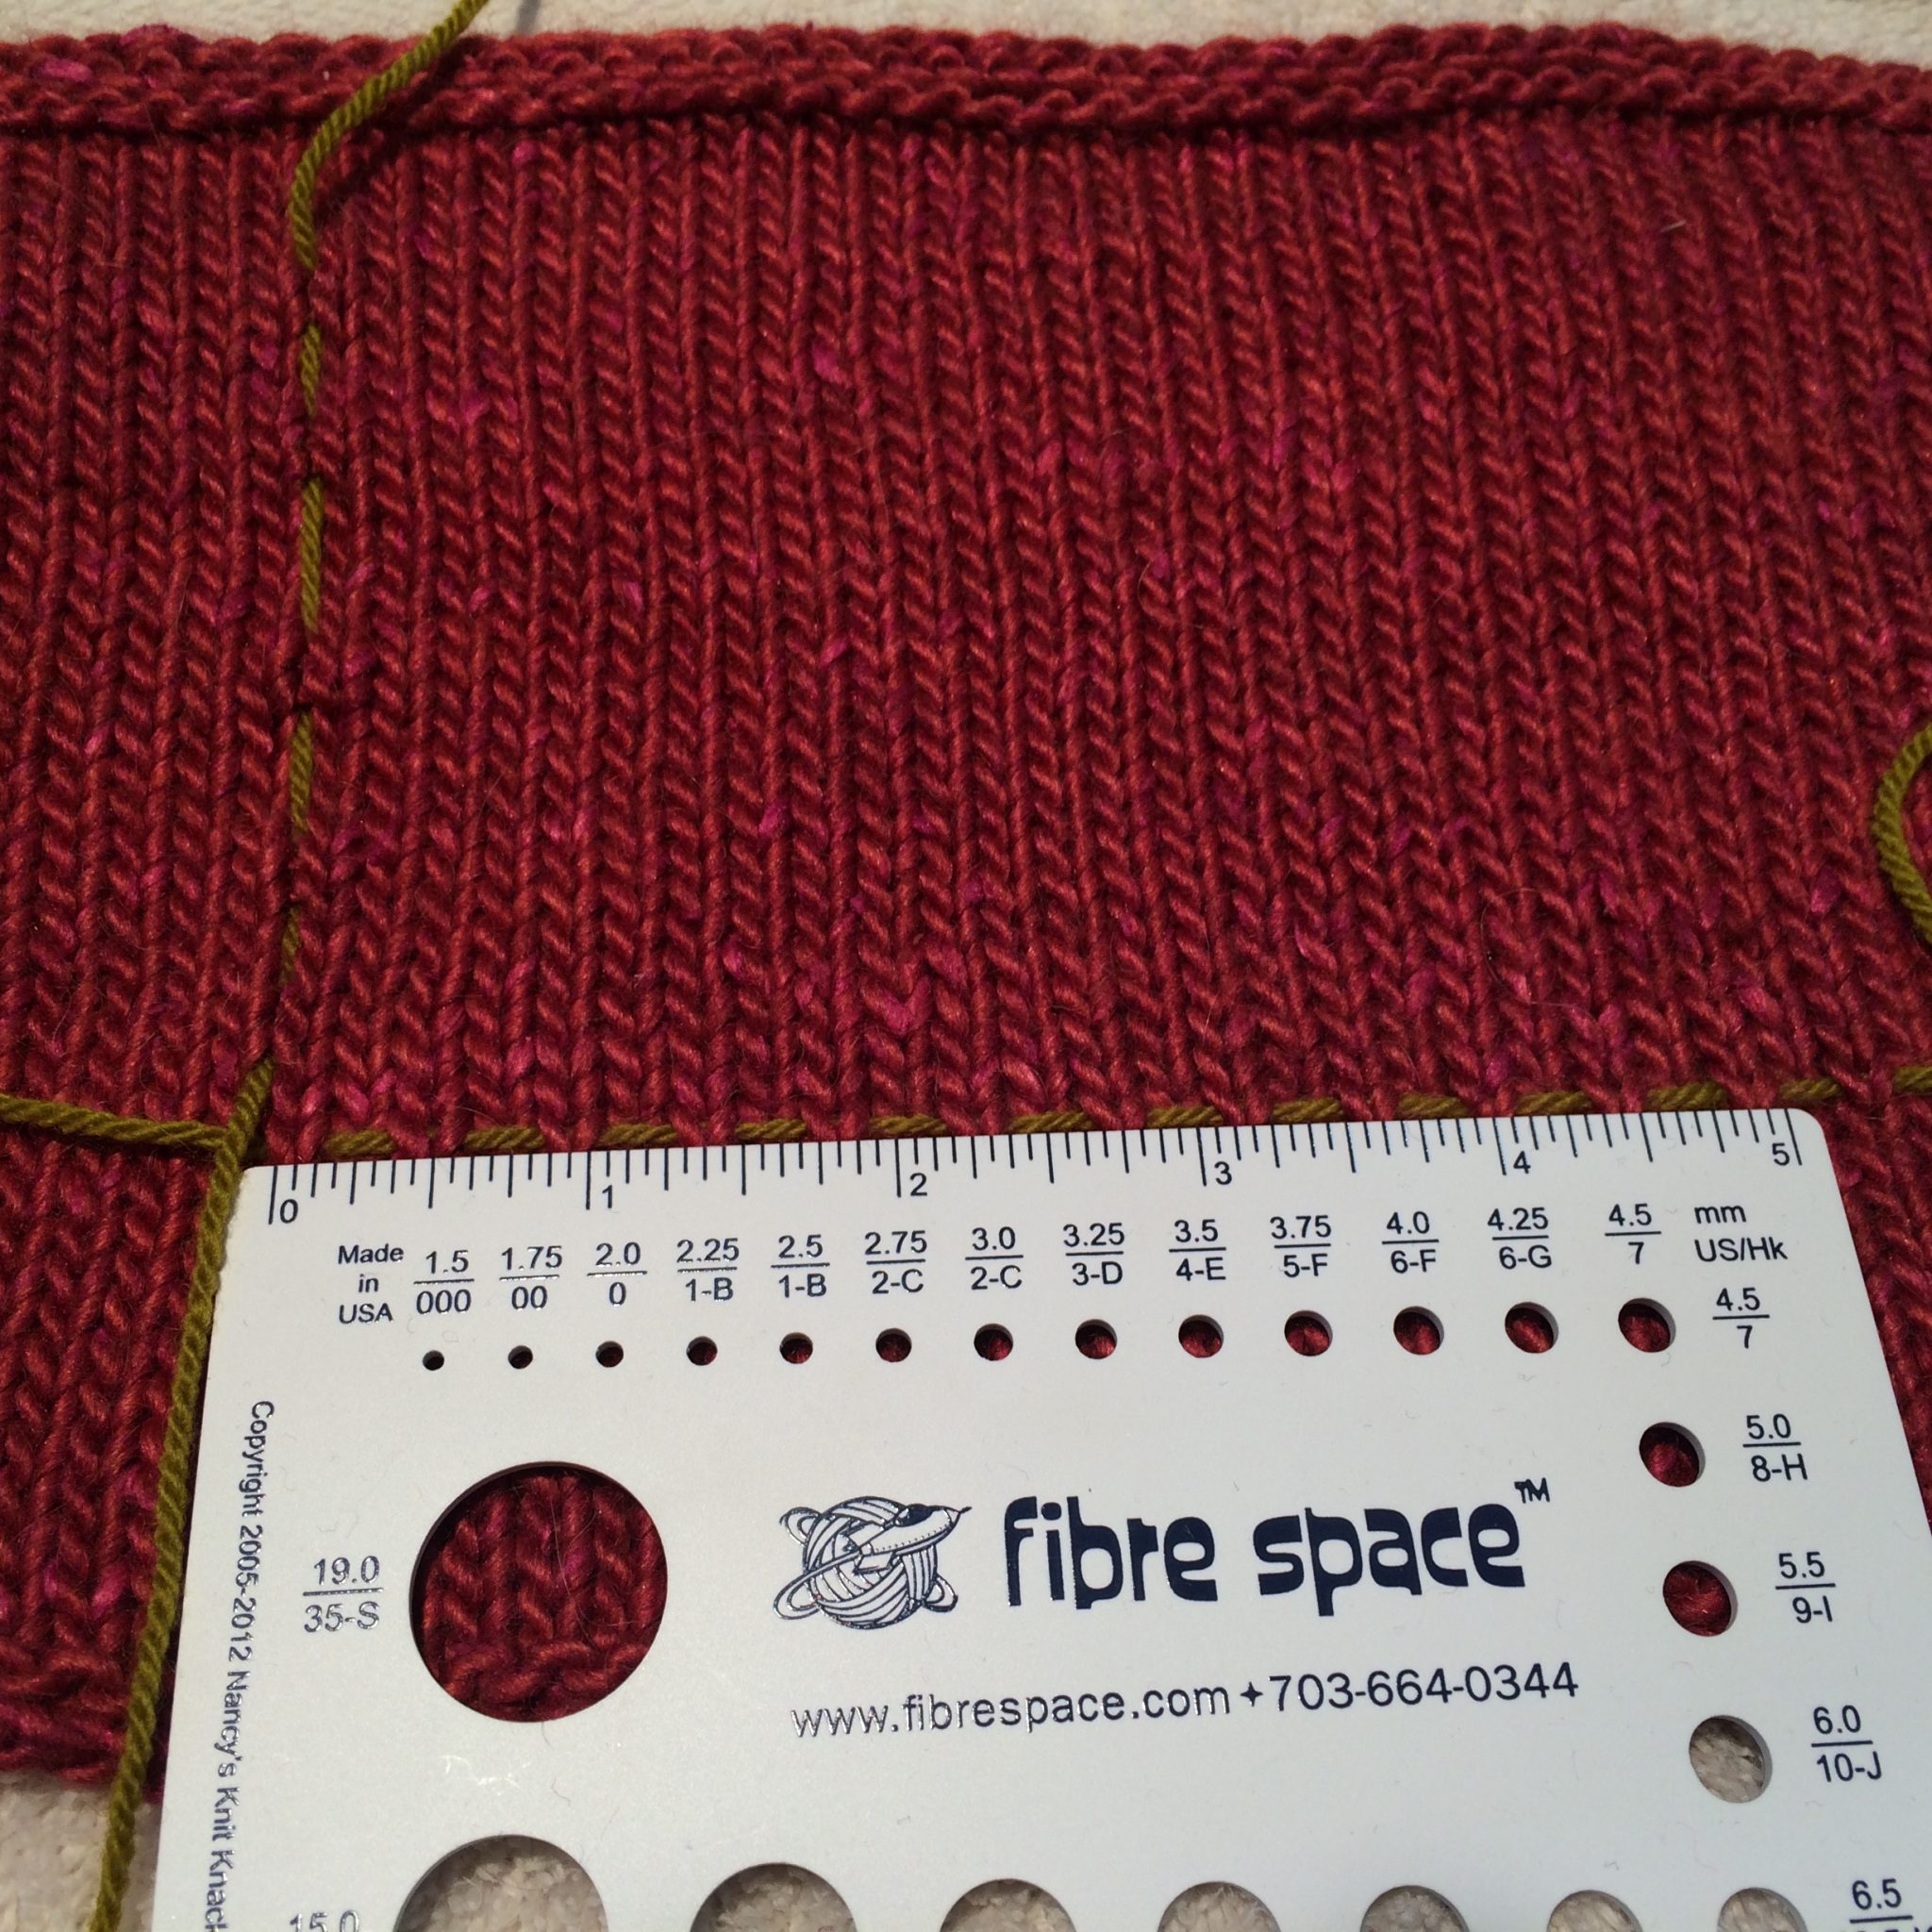
You can see my finished swatch here, after it dried over night – I had to wait for it to be completely dry before attempting to measure it. We always want to wash our swatch so we can tell if the yarn is going to grow when we finish our sweaters. This is vital, because who wants to finish a perfectly lovely sweater, block it, and have it become suddenly too large!
In order to help myself measure more accurately, I threaded some waste yarn along a horizontal row and up a vertical row. I then used this waste yarn as a guide for my ruler. In the end, my gauge measured spot on (wooo!). However, if it hadn’t I could have made some easy adjustments. First, if my gauge had been too loose (too few stitches per inch) I would have reduced my needle size and swatched again to check (yes, again!). And if my gauge had been too tight (too many stitches per inch) I would have increased my needle size. Now, if your pattern calls for multiple needle sizes (the Barn Sweater uses two) you have to remember to adjust BOTH needles by the same ratio, so if you reduce your main needle by 1 size, you have to reduce the other needles by 1 size.
Now that my gauge swatch is measured, I’m ready to cast on! See you all next week when we talk about raglan shaping and pattern reading tips.