
It’s the last day in June. How’s your shawl?!? Around the shop, we’re all really pleased with our shawls (some of us liked the pattern so much we made a second one). There have been some beautiful shawls posted in the Ravelry thread and on Instagram using the hashtag #duaneparkknitalong. Don’t forget to share your finished shawl to be entered in our drawings for a $50 gift card.

We also thought it might be helpful to refresh the blocking process for a shawl like this. Some objects such as hats and cowls without a lot of lace don’t require much in terms of precision. A finer weight shawl with lace involved does. On the off chance that it’s been a minute since you’ve really had to block something, here’s a basic rundown of the process.
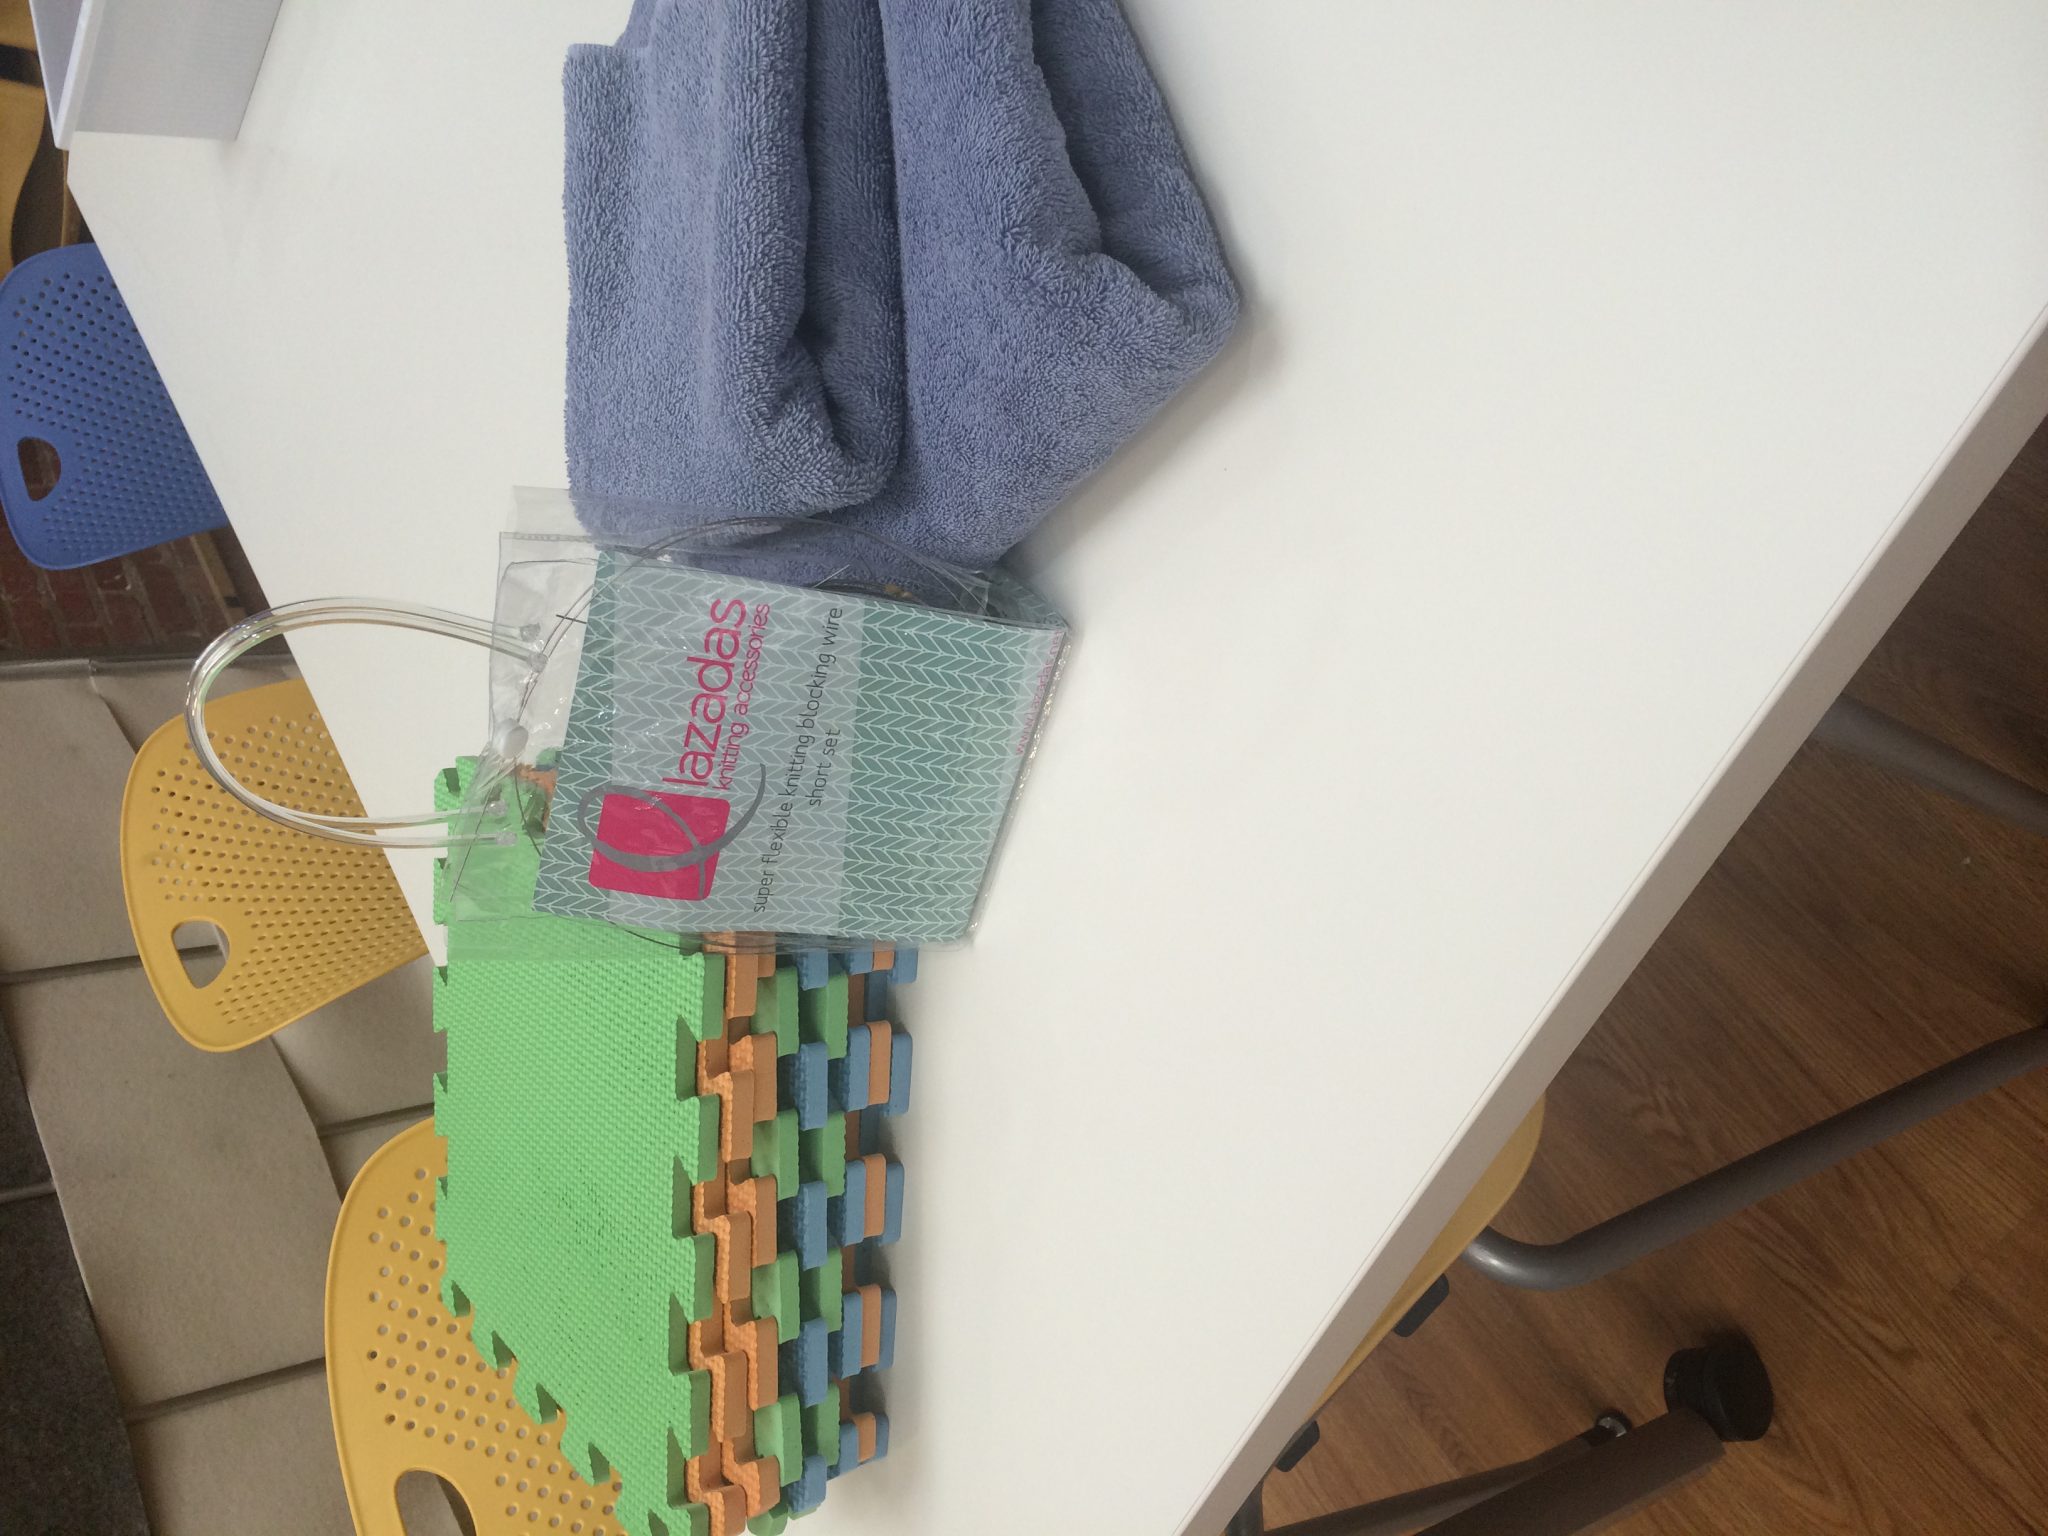
To start, you need your finished shawl, wool wash, a tub or container, water, towels, blocking mats, wires, and pins. It sounds like a lot, but once you’ve got it on hand, it really isn’t much to keep around. Having the right tool for the job makes everything in life simpler, right?
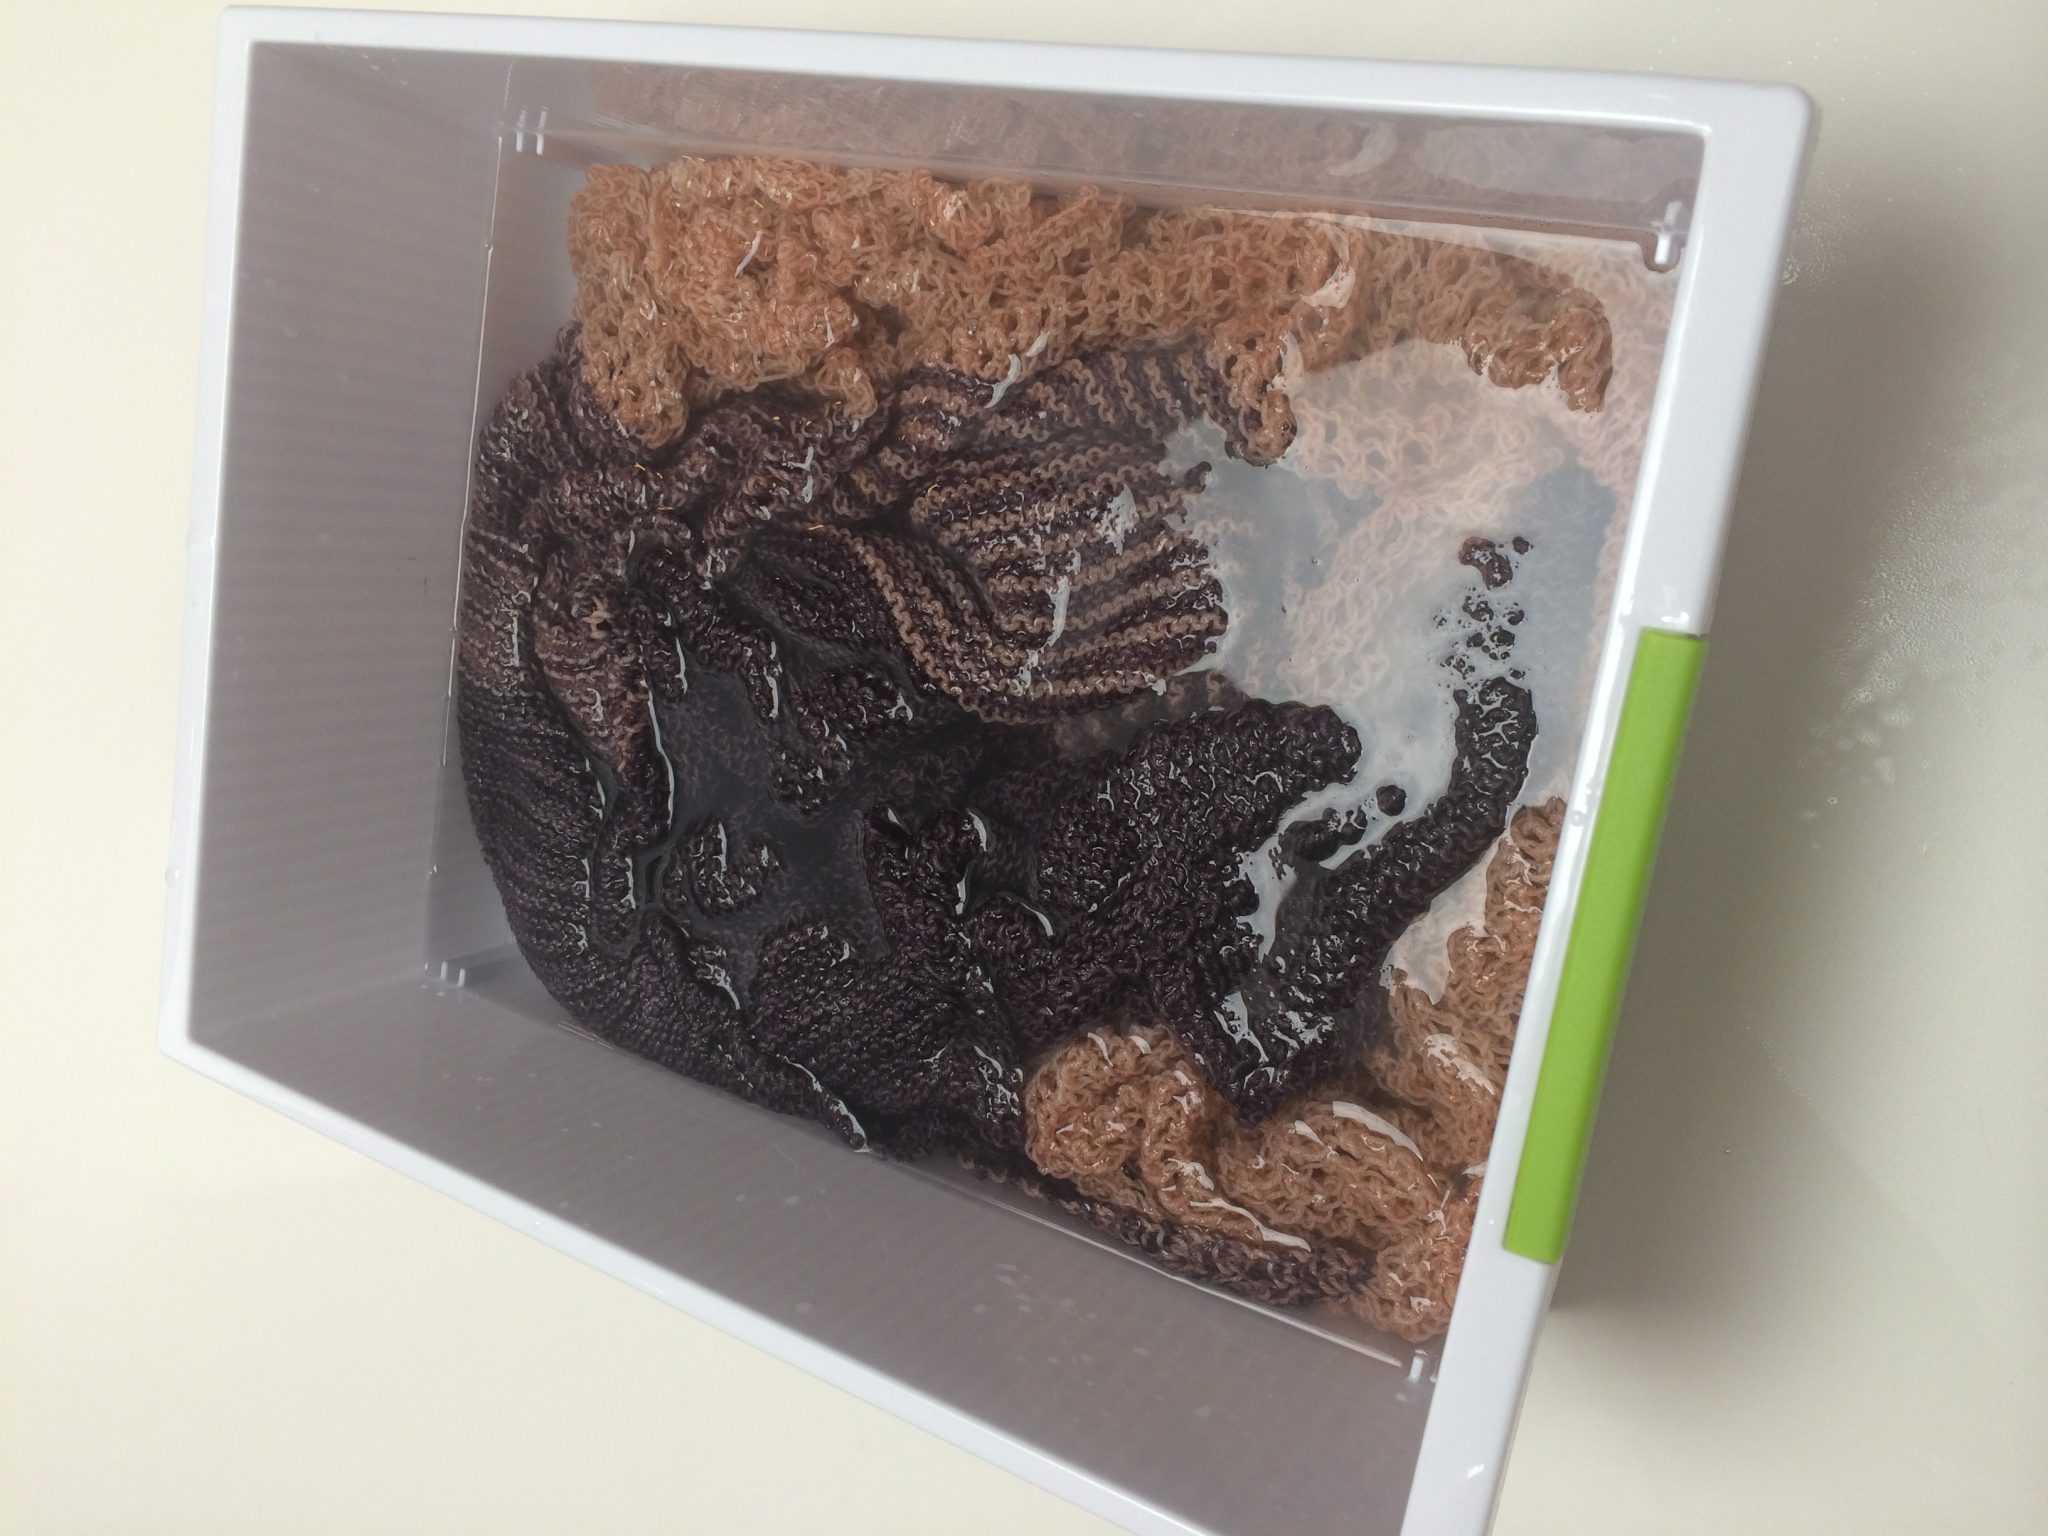
Fill your container with enough water to cover your item. Add a little wool wash to the water, roughly a teaspoon for each gallon of water. Let your item soak for 10-15 minutes. You can let it sit for longer if you’d like (or forget). The point is to let the yarn sit in the water long enough to open up and really get thoroughly wet.
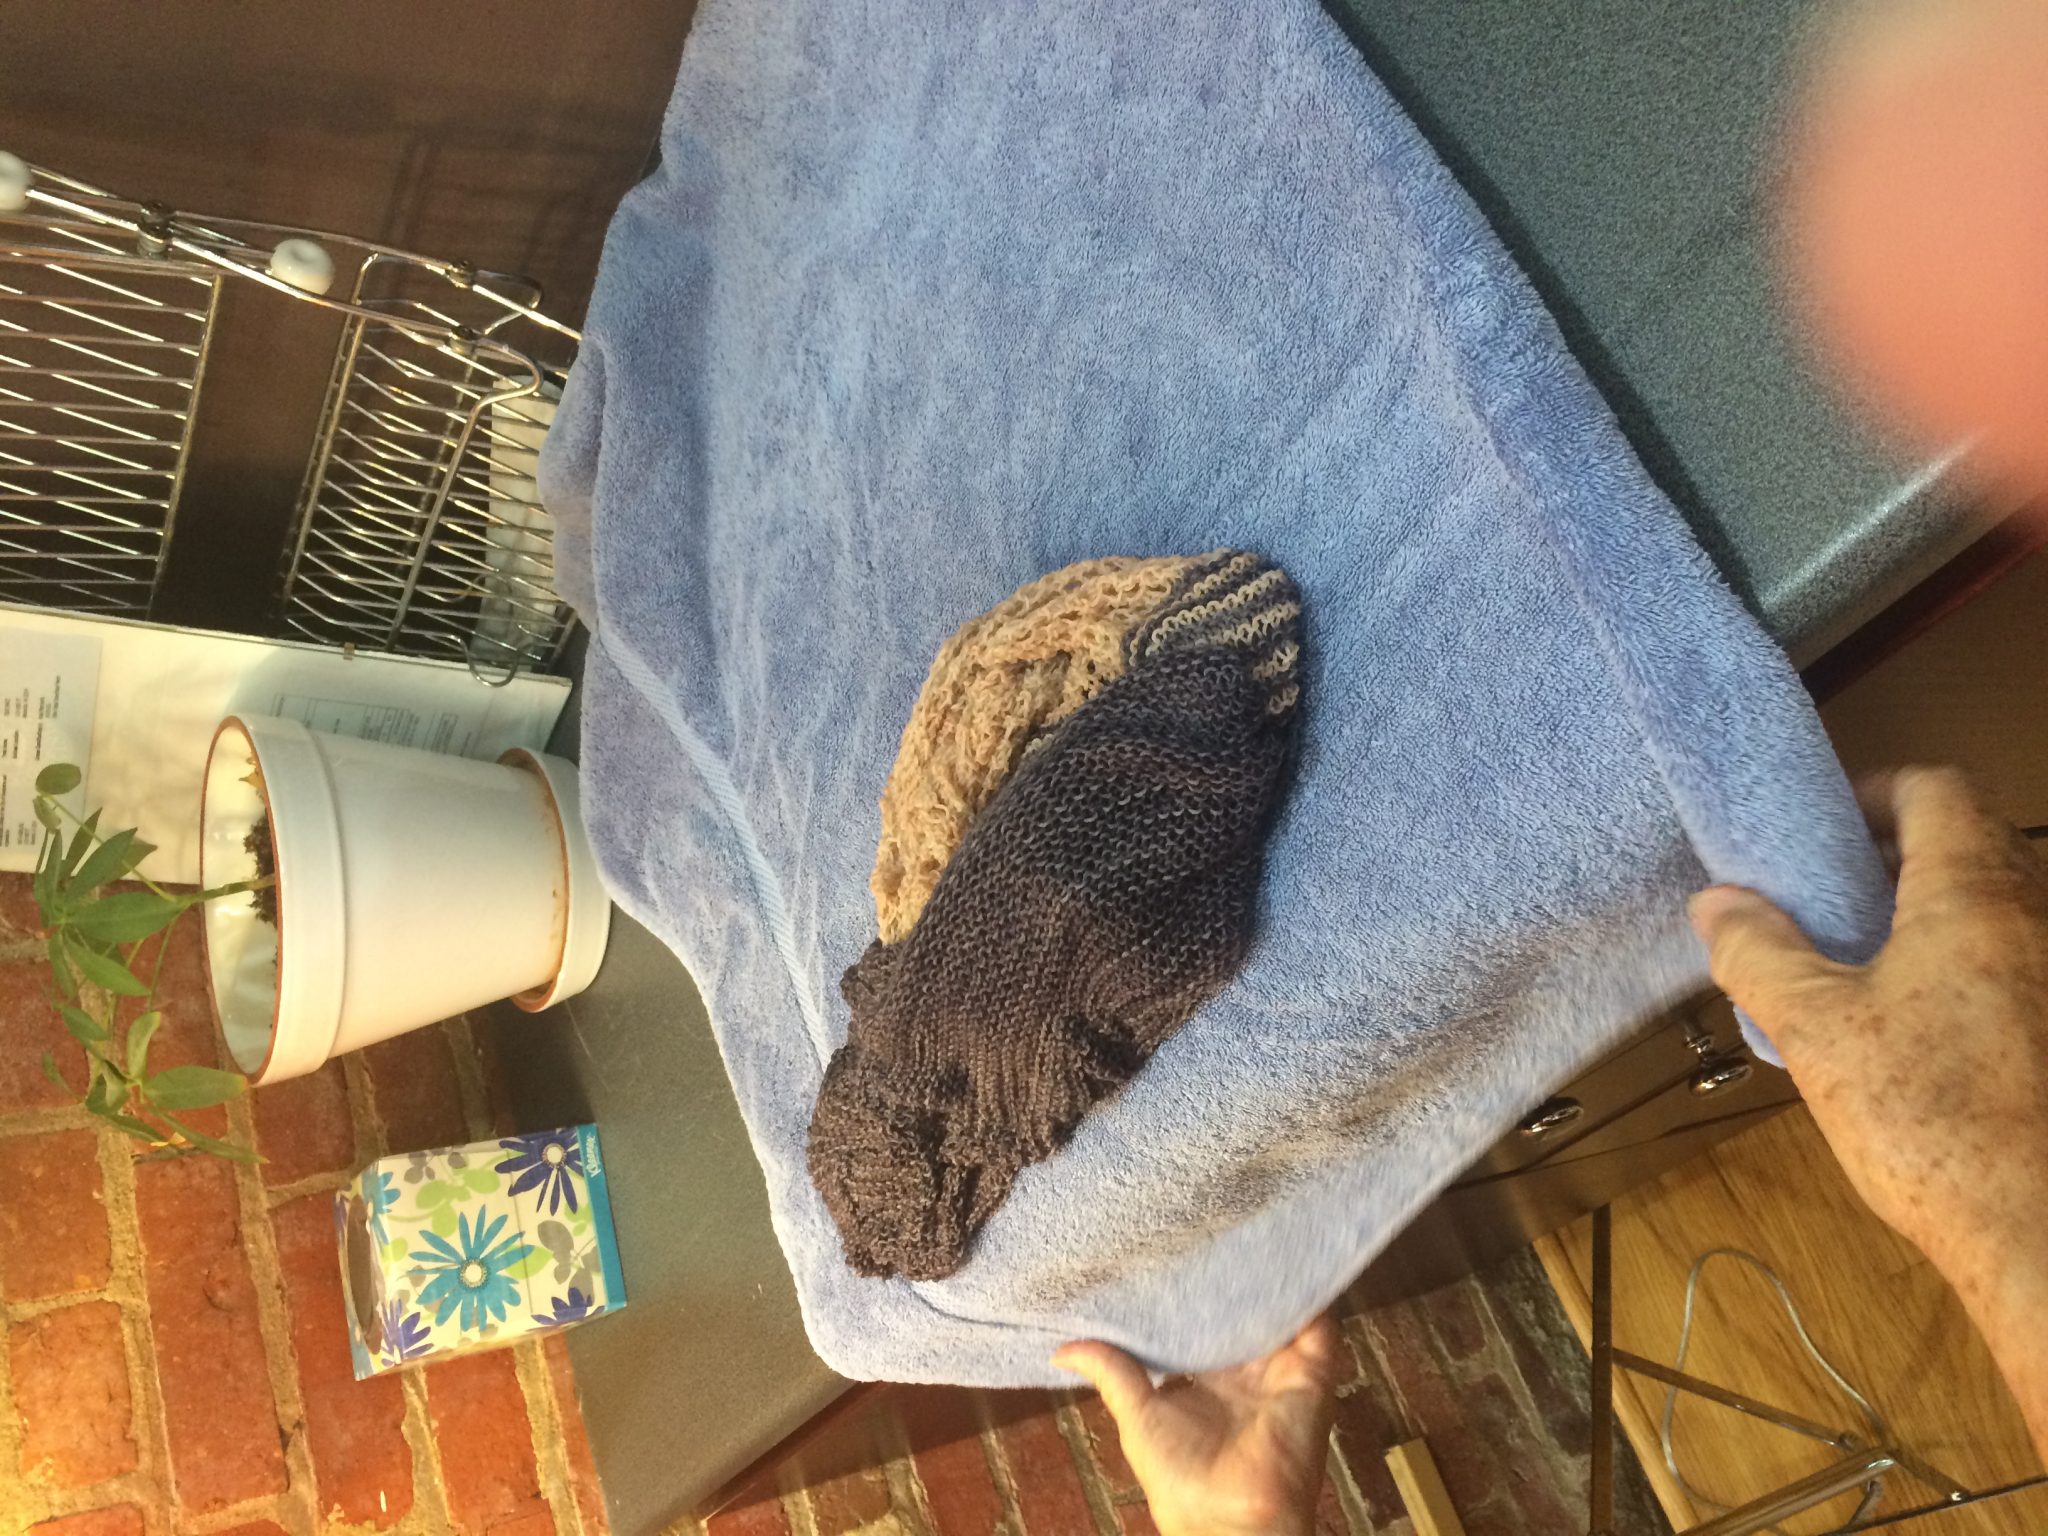
Next, take the item out of the water and place it on your towel. Roll the item in the towel like a soft taco or a jelly roll, using pressure to wring water out. It’s important to use a towel for this step instead of simply wringing the water out with your hands because the towel won’t distort the fabric that you’ve worked hard to make.
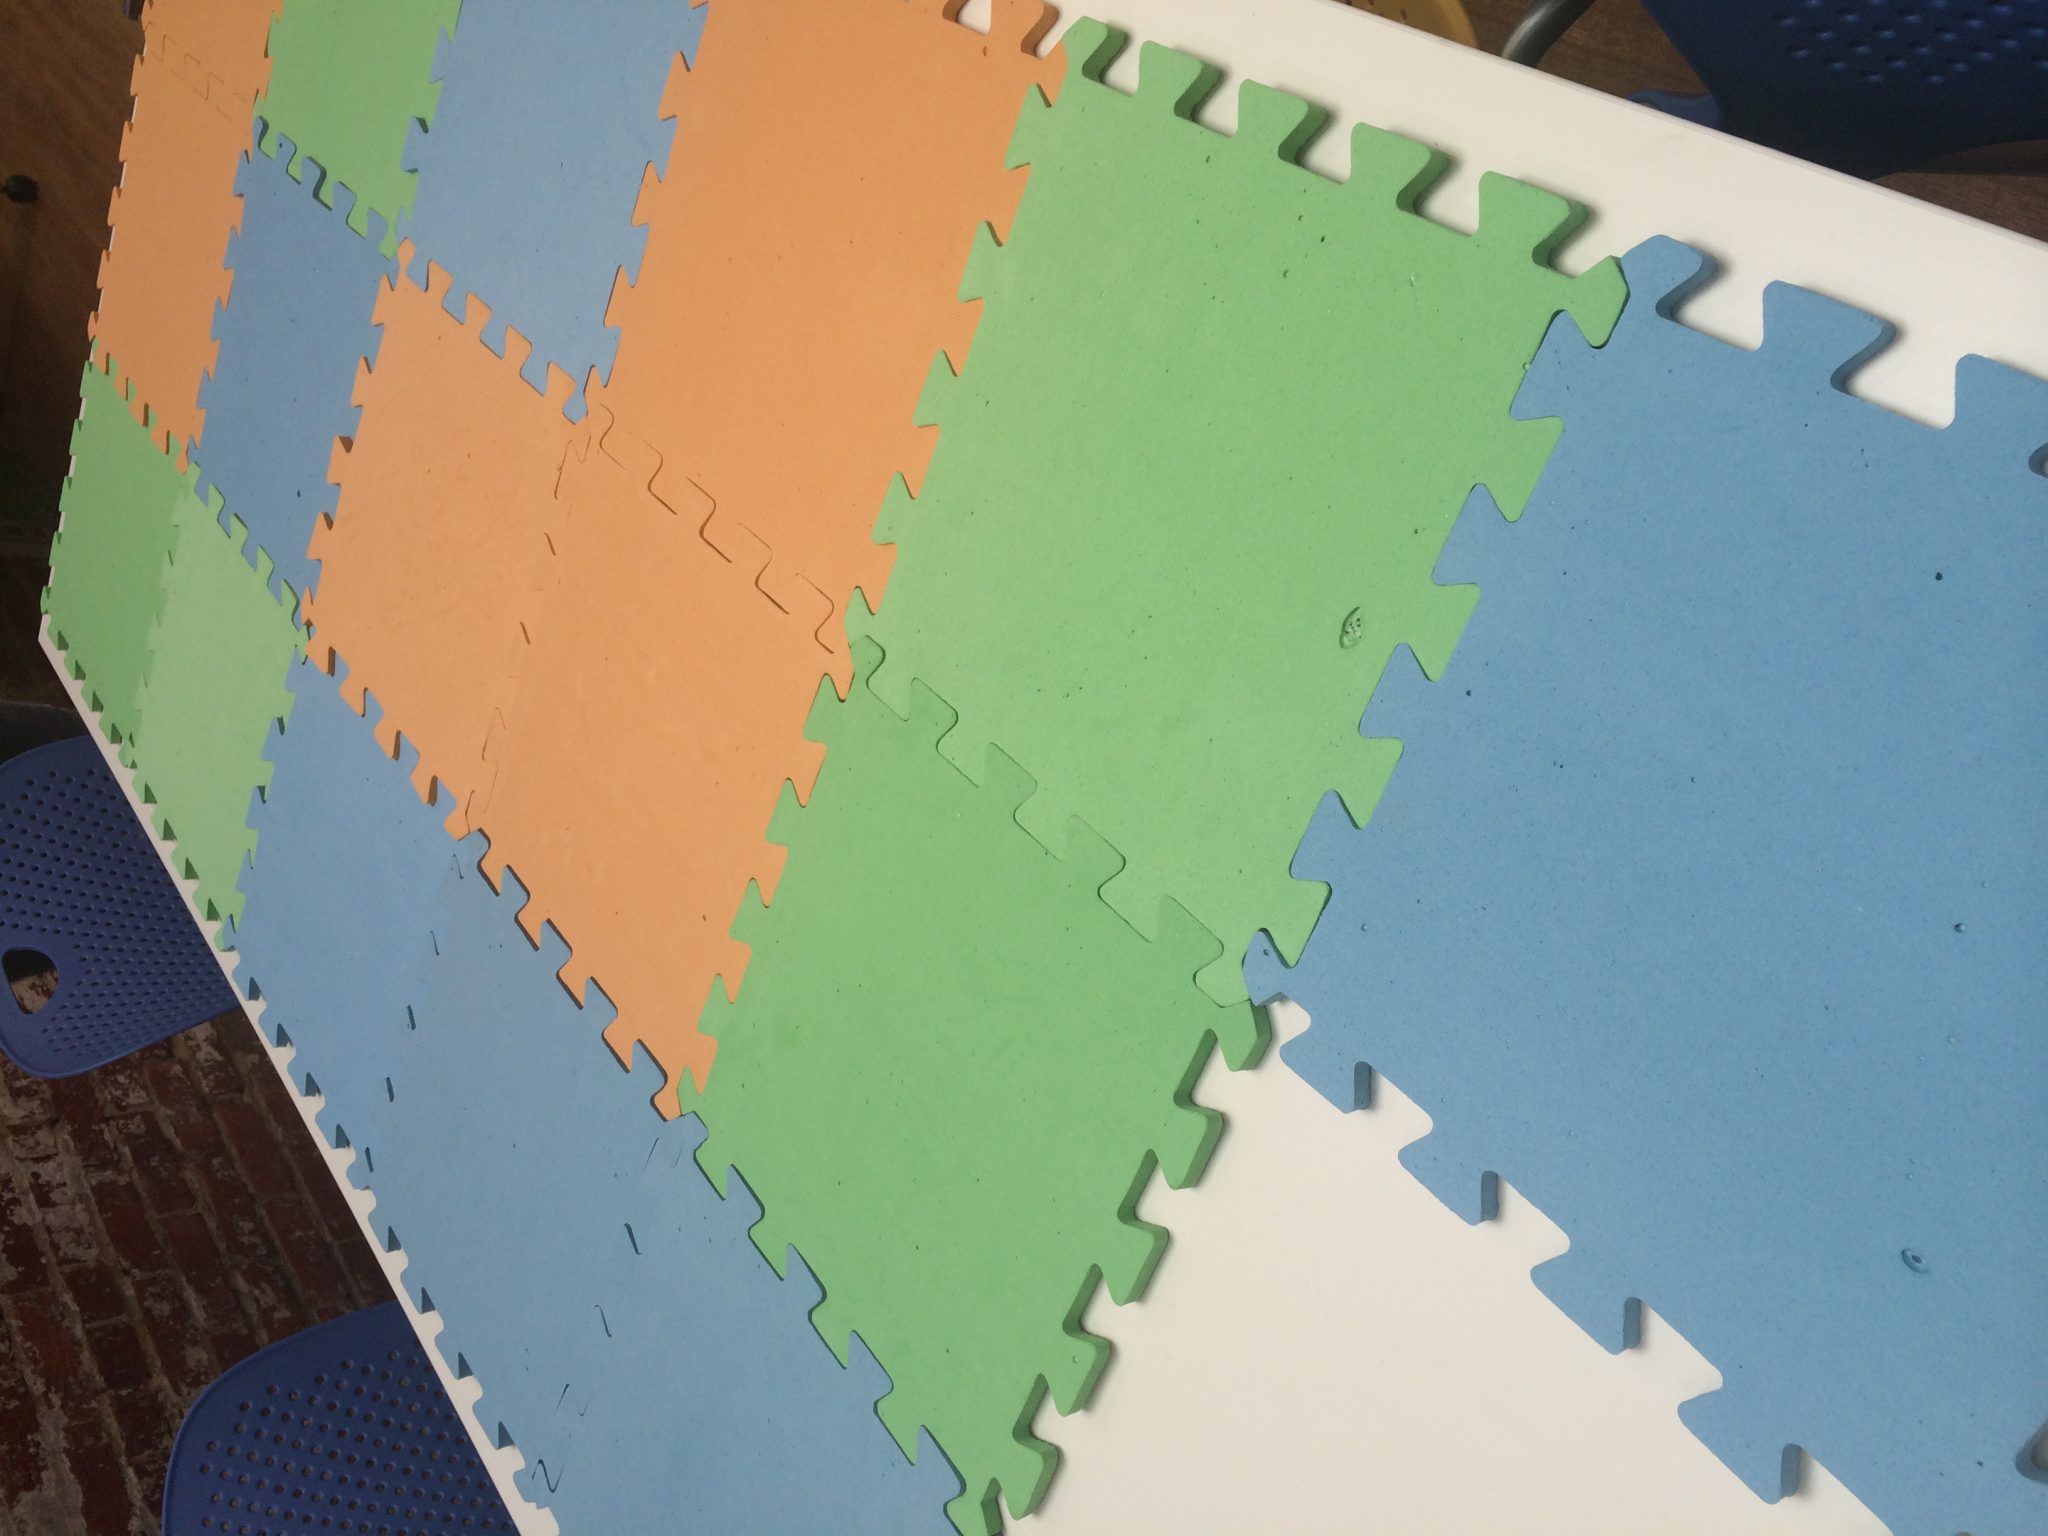
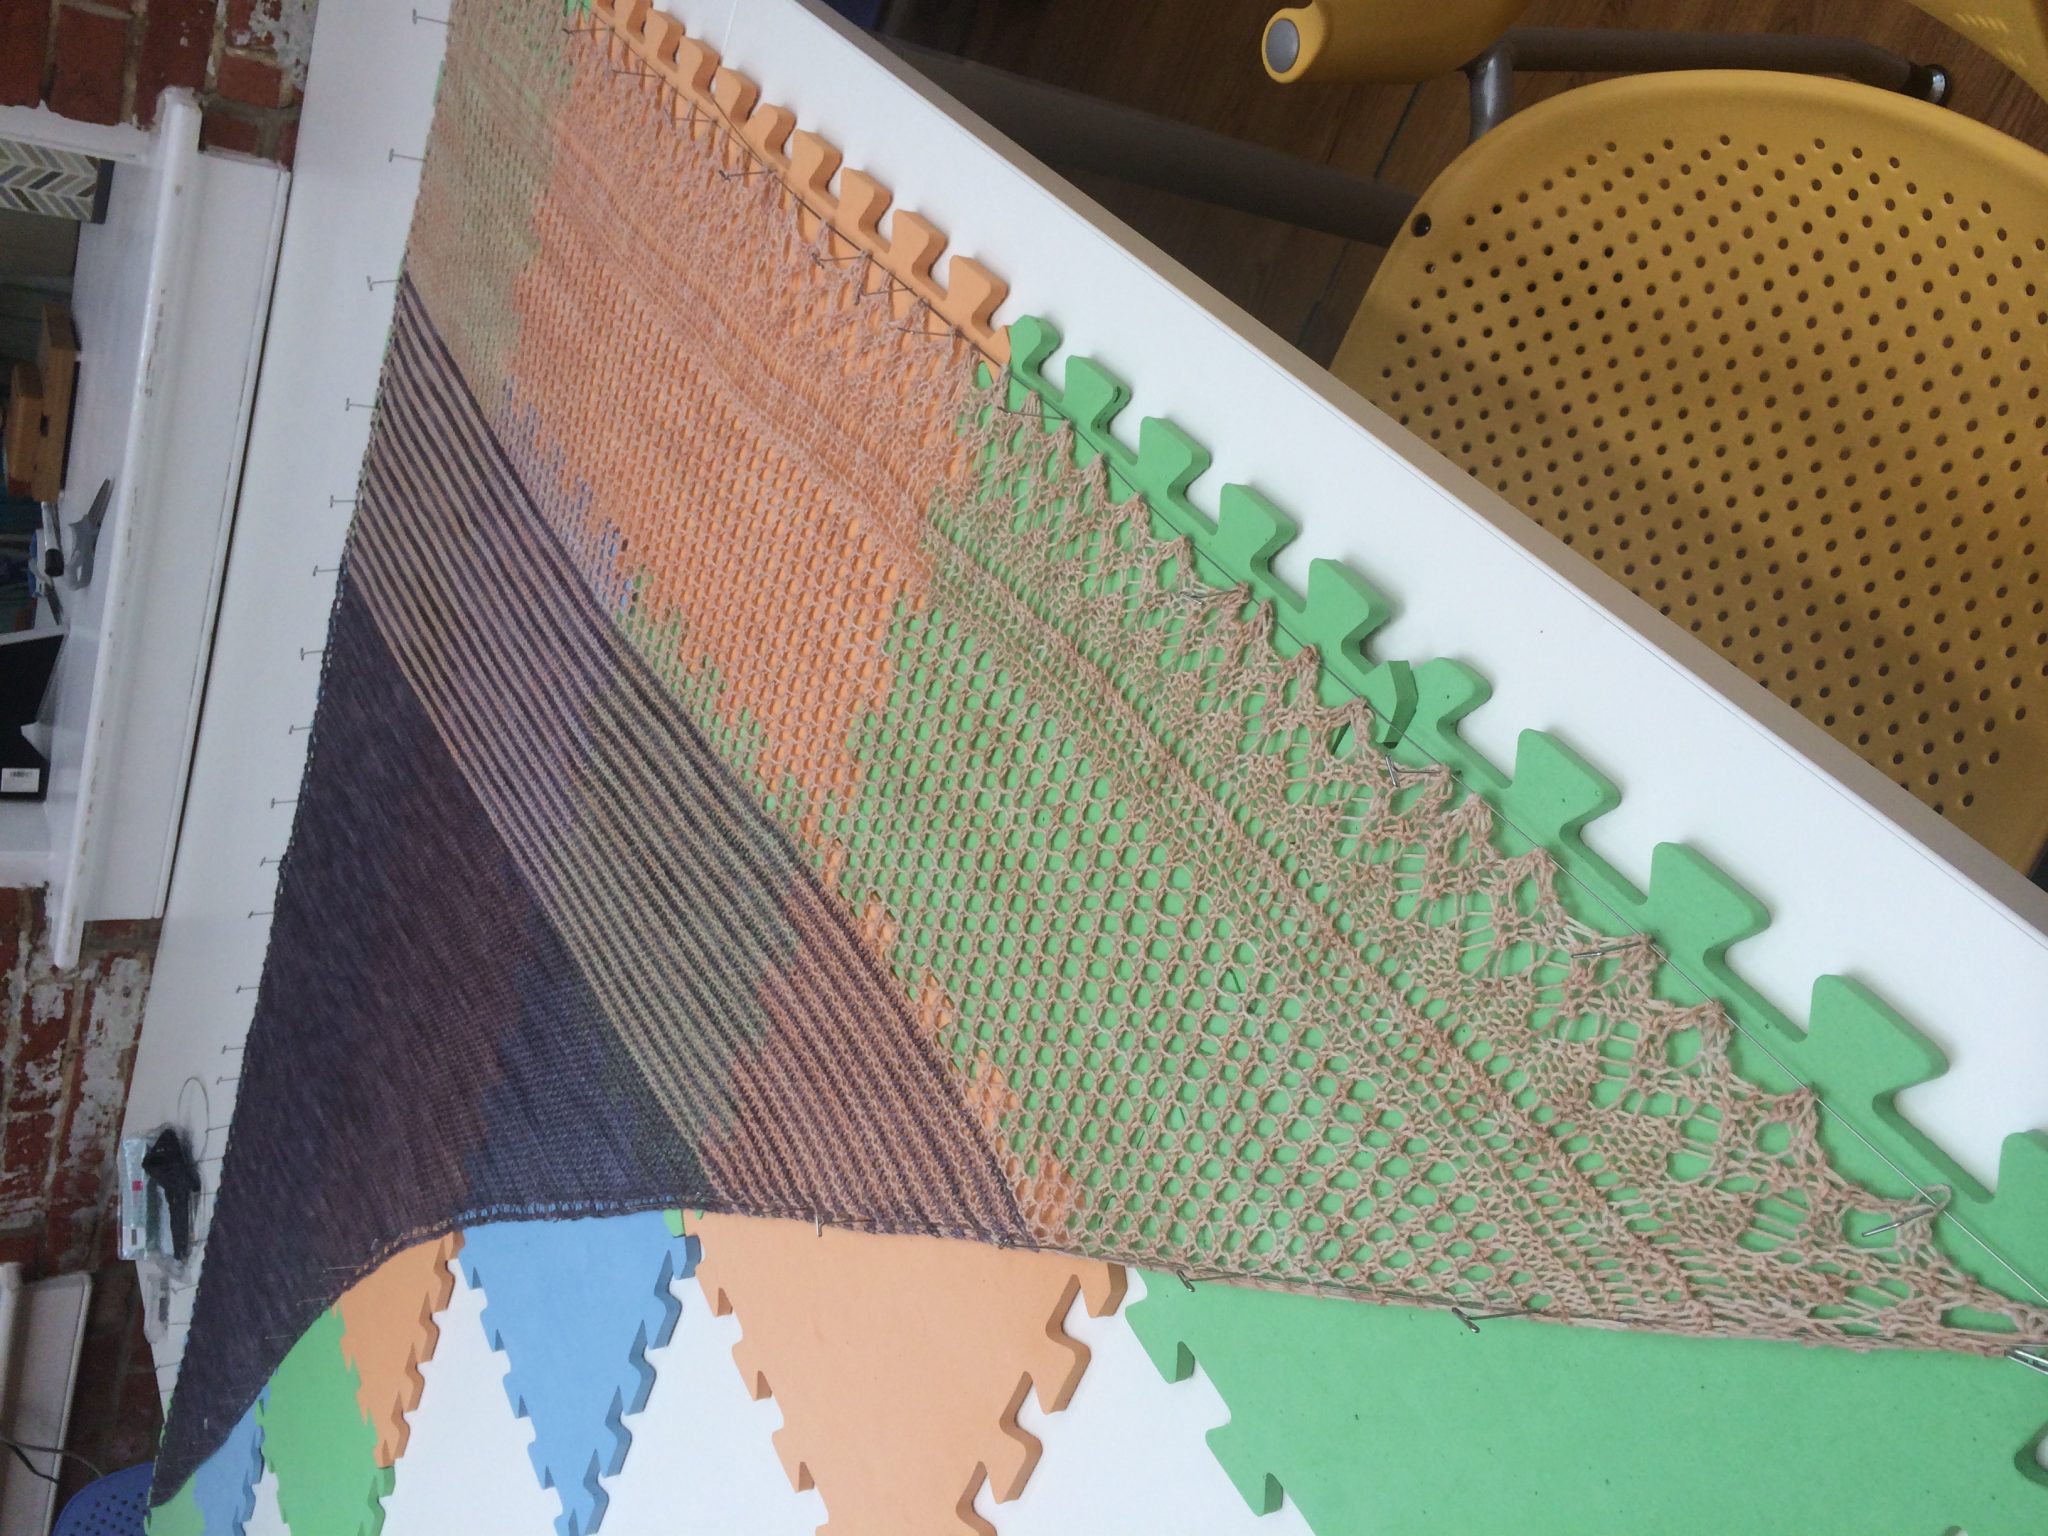
Lay out your blocking mats. The main benefit of modular blocking mats is that they can be arranged to fit the shape you’re blocking, such as a huge triangle.
Lay out your shawl on the mats and thread the blocking wires along the perimeter. This doesn’t have to be right along the edge, though it could be. Here, it was easiest to use the eyelets created by the yarn overs on one side and the garter ridges on the other. This process is the most hands-on time consuming of the steps, but it pays off in the long run.
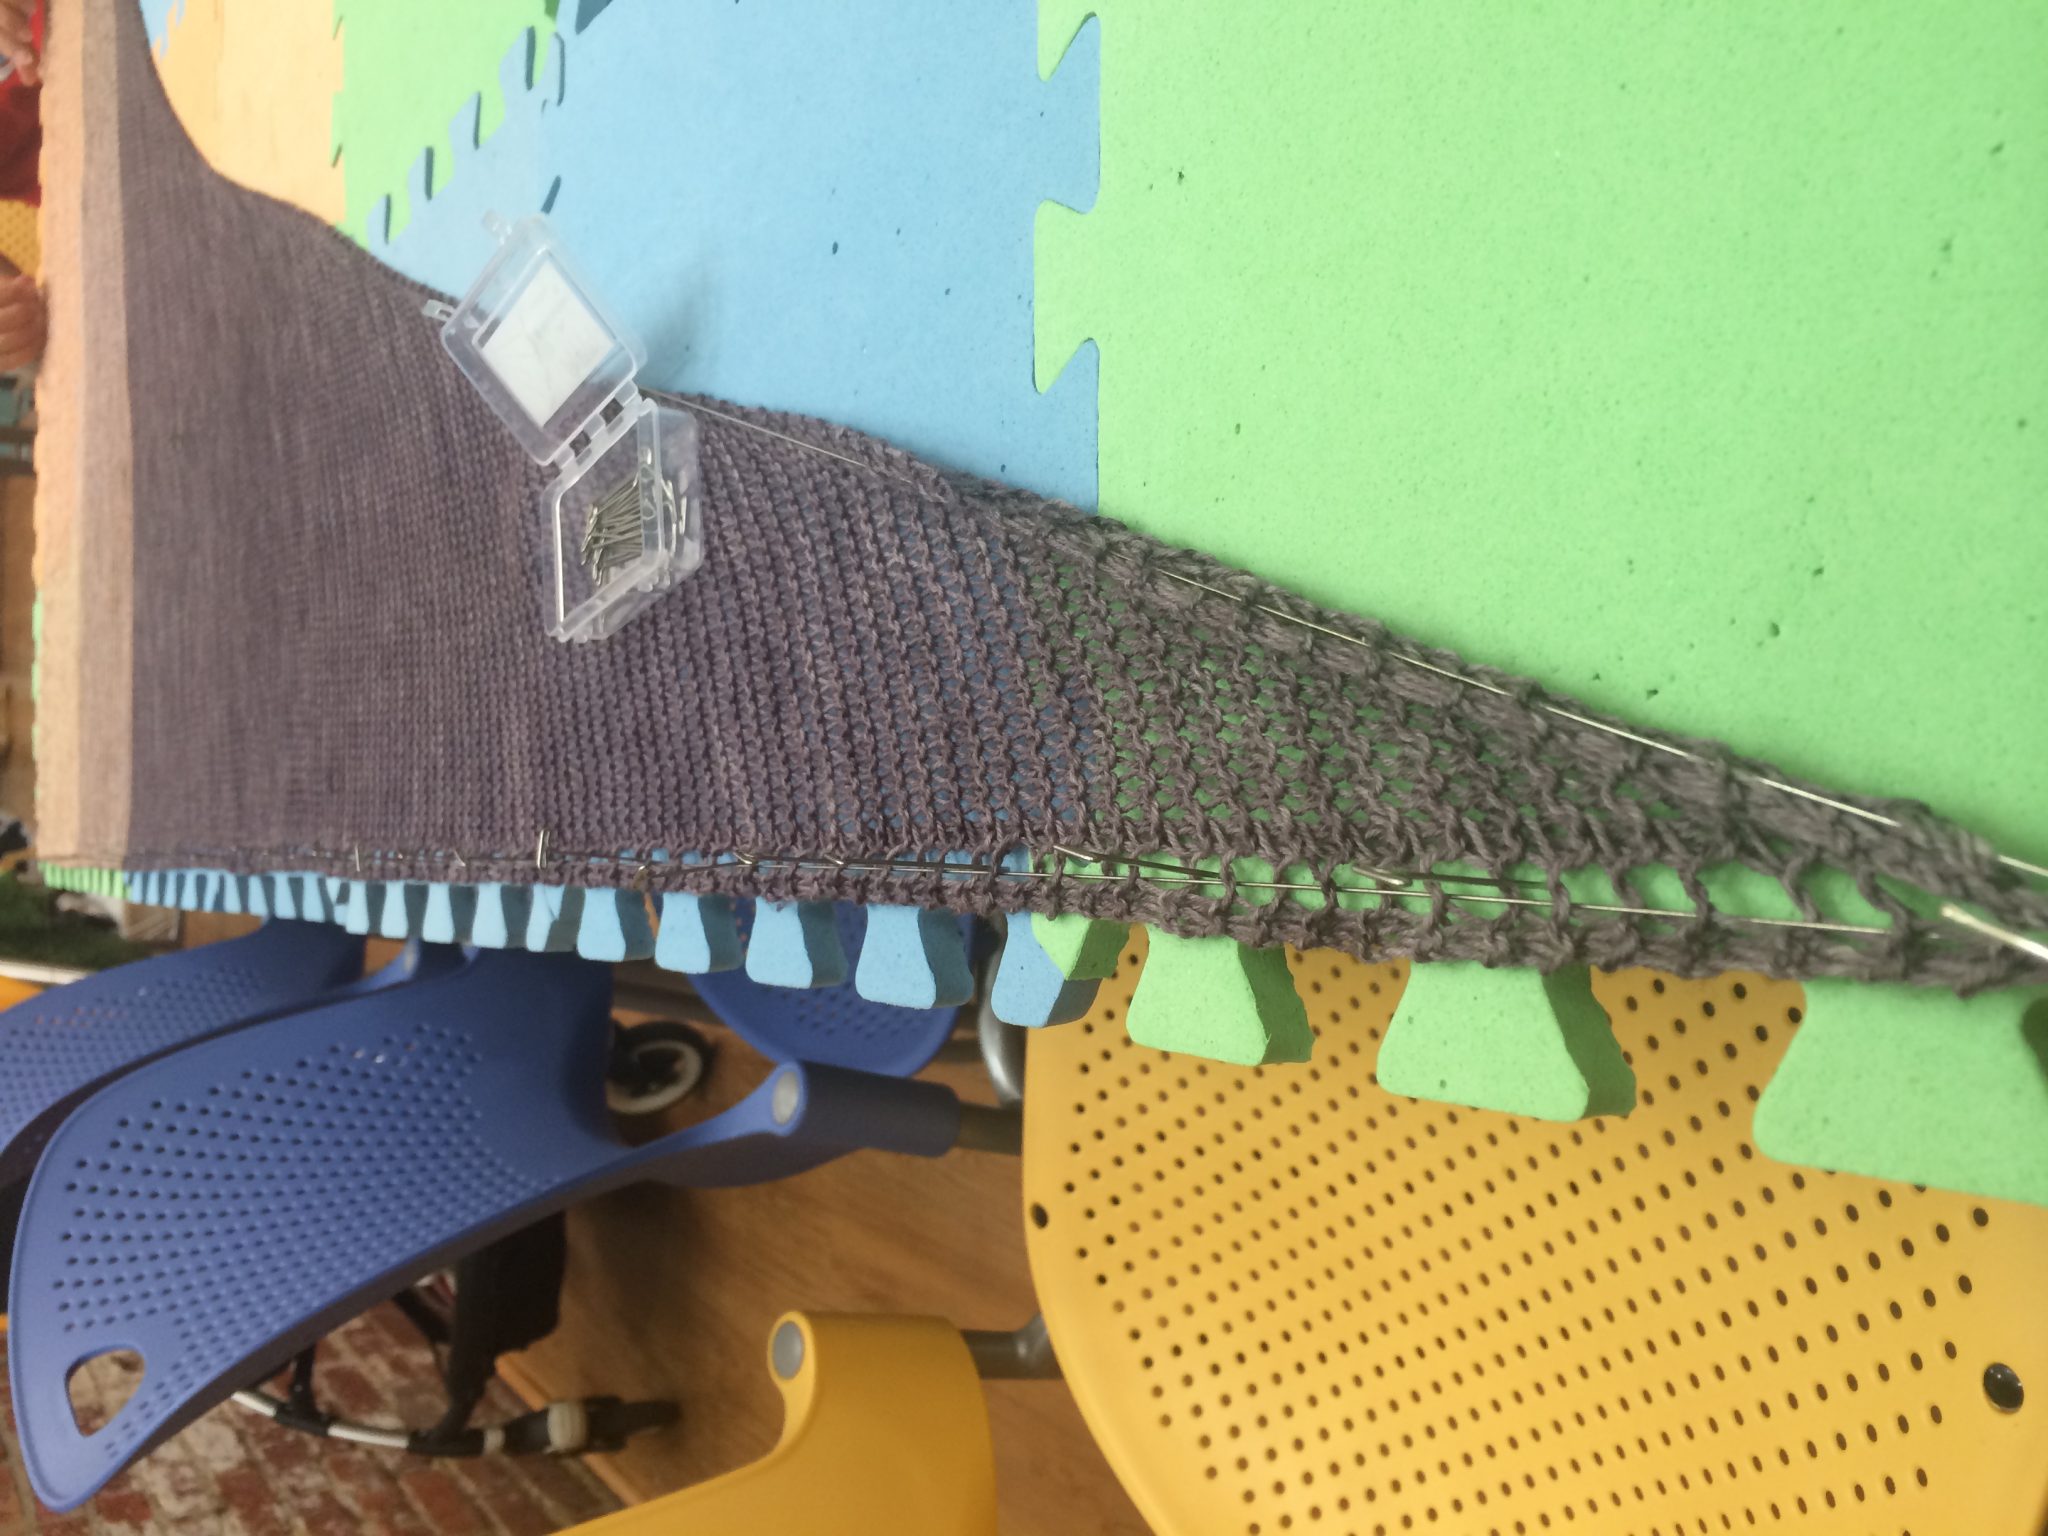
When you get to the lace section of the shawl, thread the wires through the points of the pattern. Once the wires are in your shawl, adjusting the wire will pull all of the points out to your desired length or appearance.

Pin all the wires in place and leave to dry. This shawl should dry over several hours assuming the room isn’t particularly humid. Placing a fan over the object will help it dry faster.
Once everything’s dry, take out the pins and wires and enjoy with gusto!
Thanks for knitting along with us this month. We hope you’ve enjoyed the project as much as we have. Please don’t forget to share your shawls on Ravelry and Instagram. Happy stitching. We’ll see you in space!
