Eastside KAL 3: The Twisted Loop Pattern

Eastside KAL 3: The Twisted Loop Pattern

After working your welts, you’ll reach a section of the Eastside cowl that uses a stitch I’ve called the Twisted Loop Pattern. The pattern is difficult to put into words, so here’s a photo tutorial of how to work the first two rounds. After working the first two rounds, you’ll be in the groove and the rest of it will be smooth sailing.

For Rnd 1, just knit every stitch, wrapping the yarn twice. This creates really loose stitches, because each stitch is twice as long as it would be if you wrapped the yarn once. This is important for Rnd 2. TIP: Work REALLY LOOSELY on all rounds of the Twisted Loop Pattern. Using pointy needles also is helpful.

Step 1a: Wrap yarn as if to knit.
Step 1a: Wrap yarn once as if to knit.
Step 1b: Wrap yarn a second time around the same stitch.
Step 2: Pull both loops through.


This is how double wraps look.

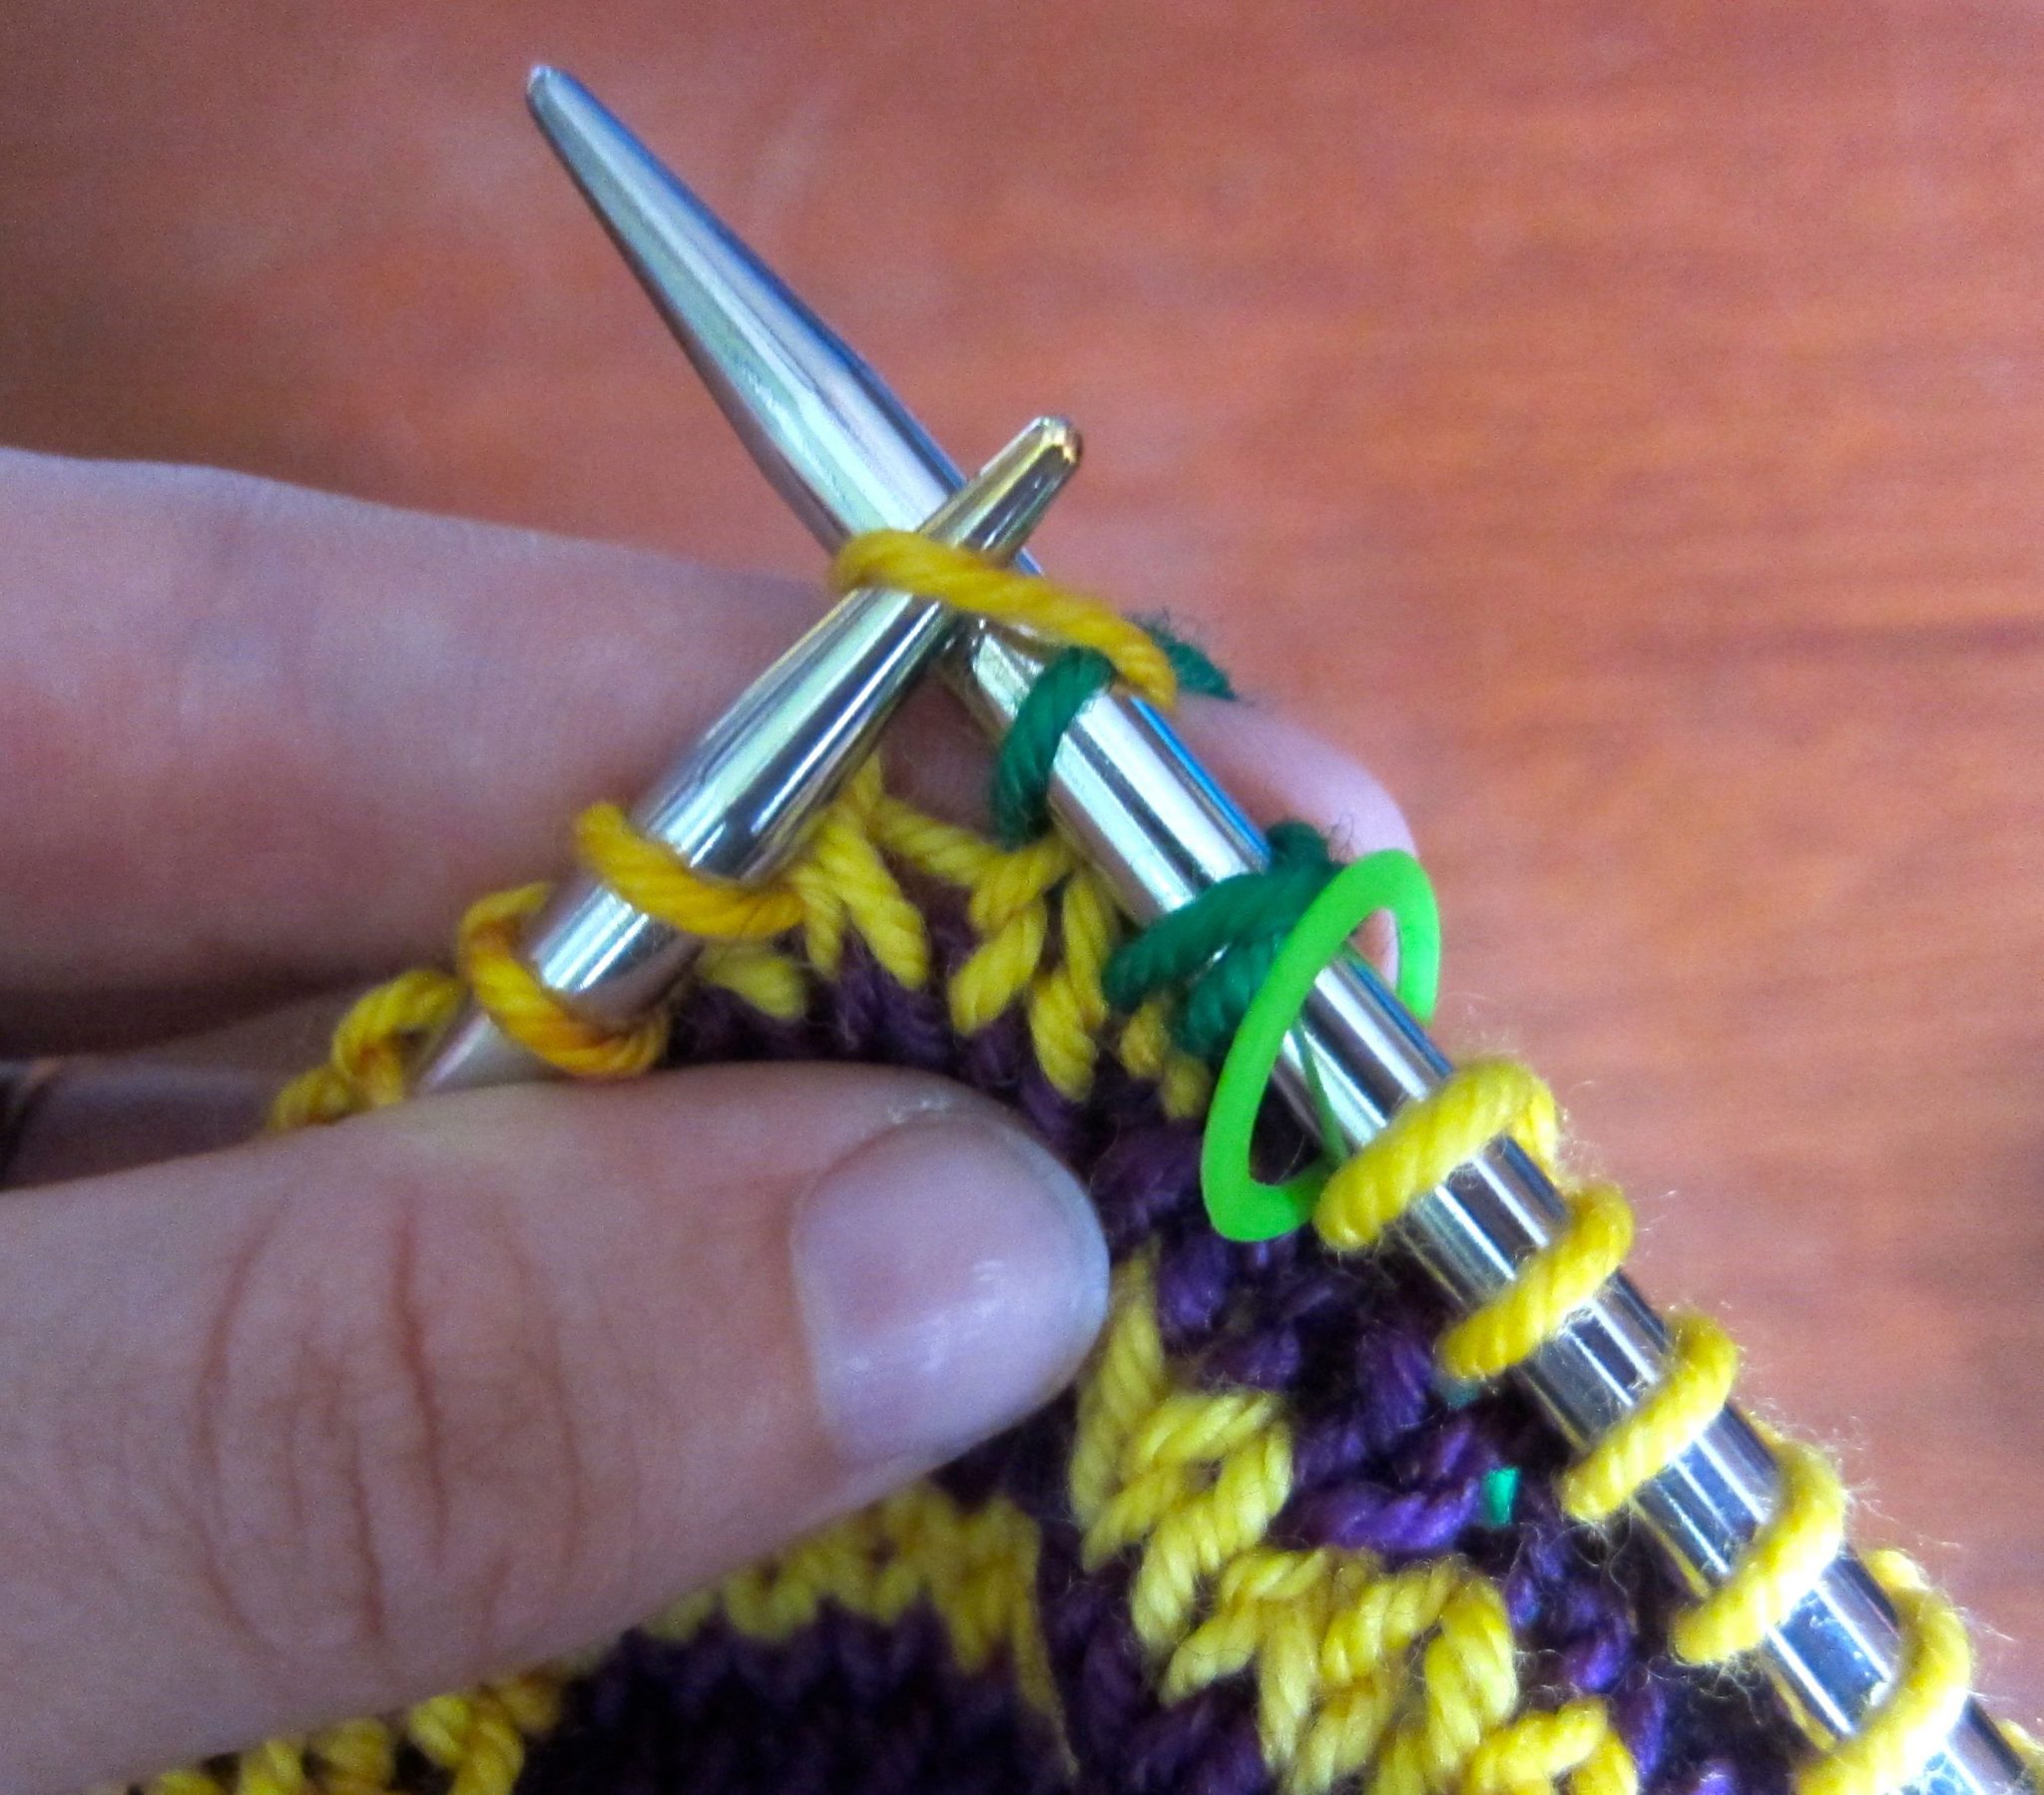
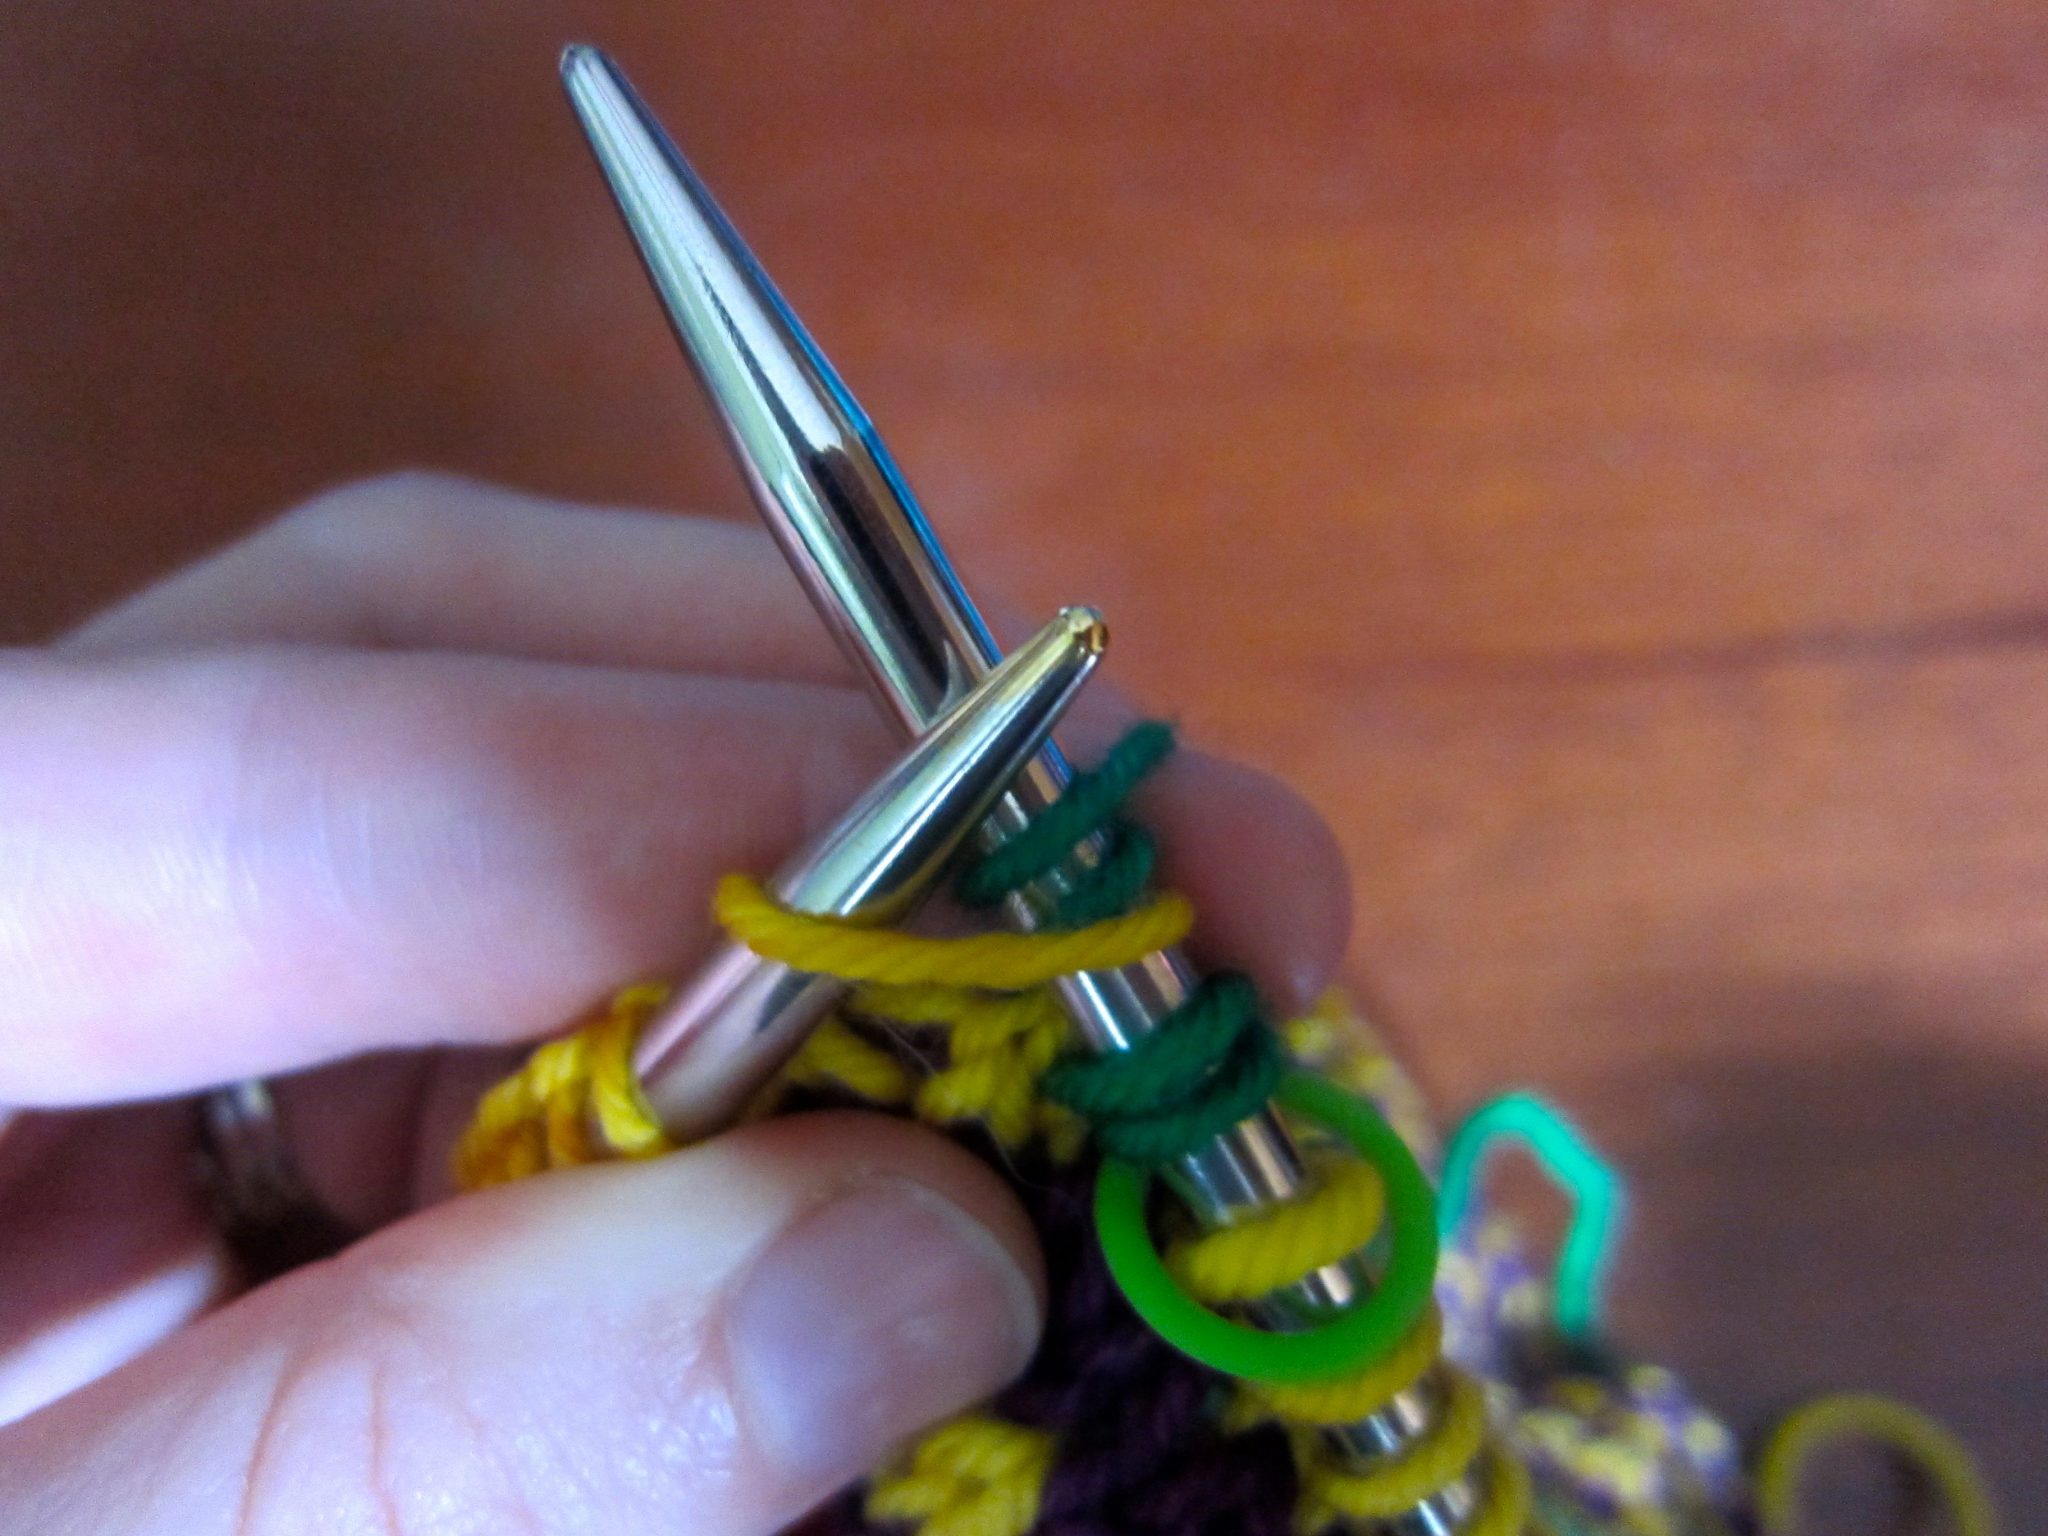
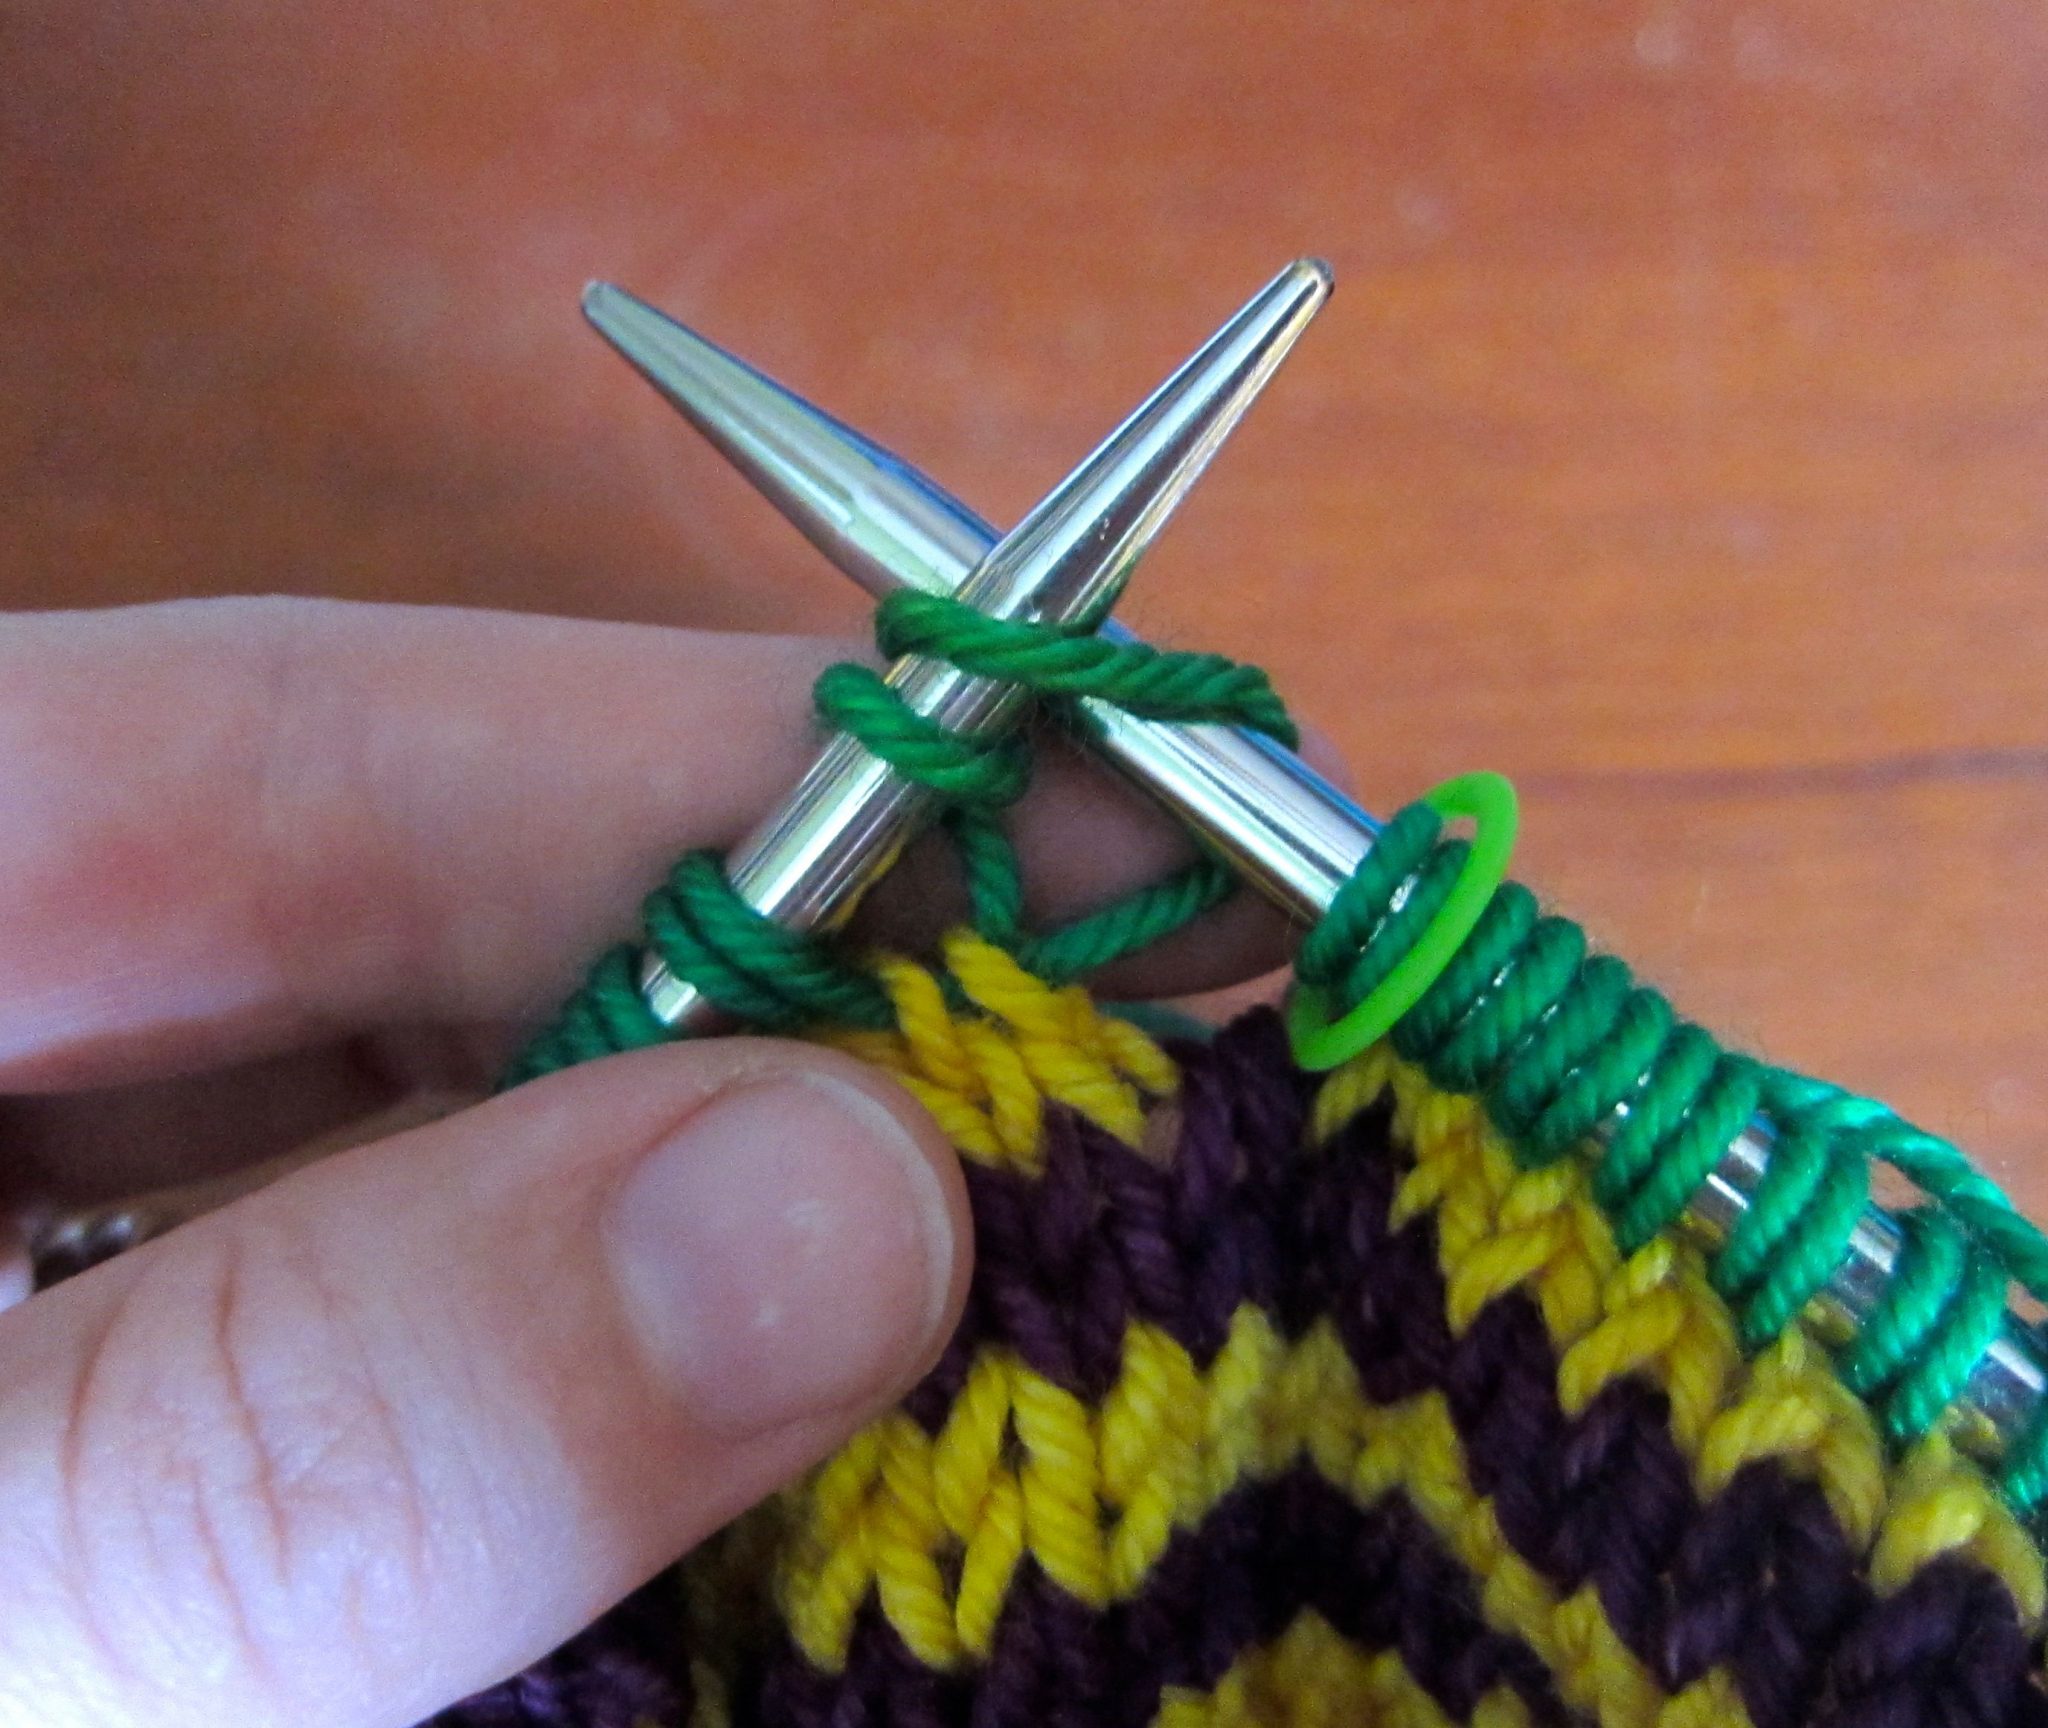
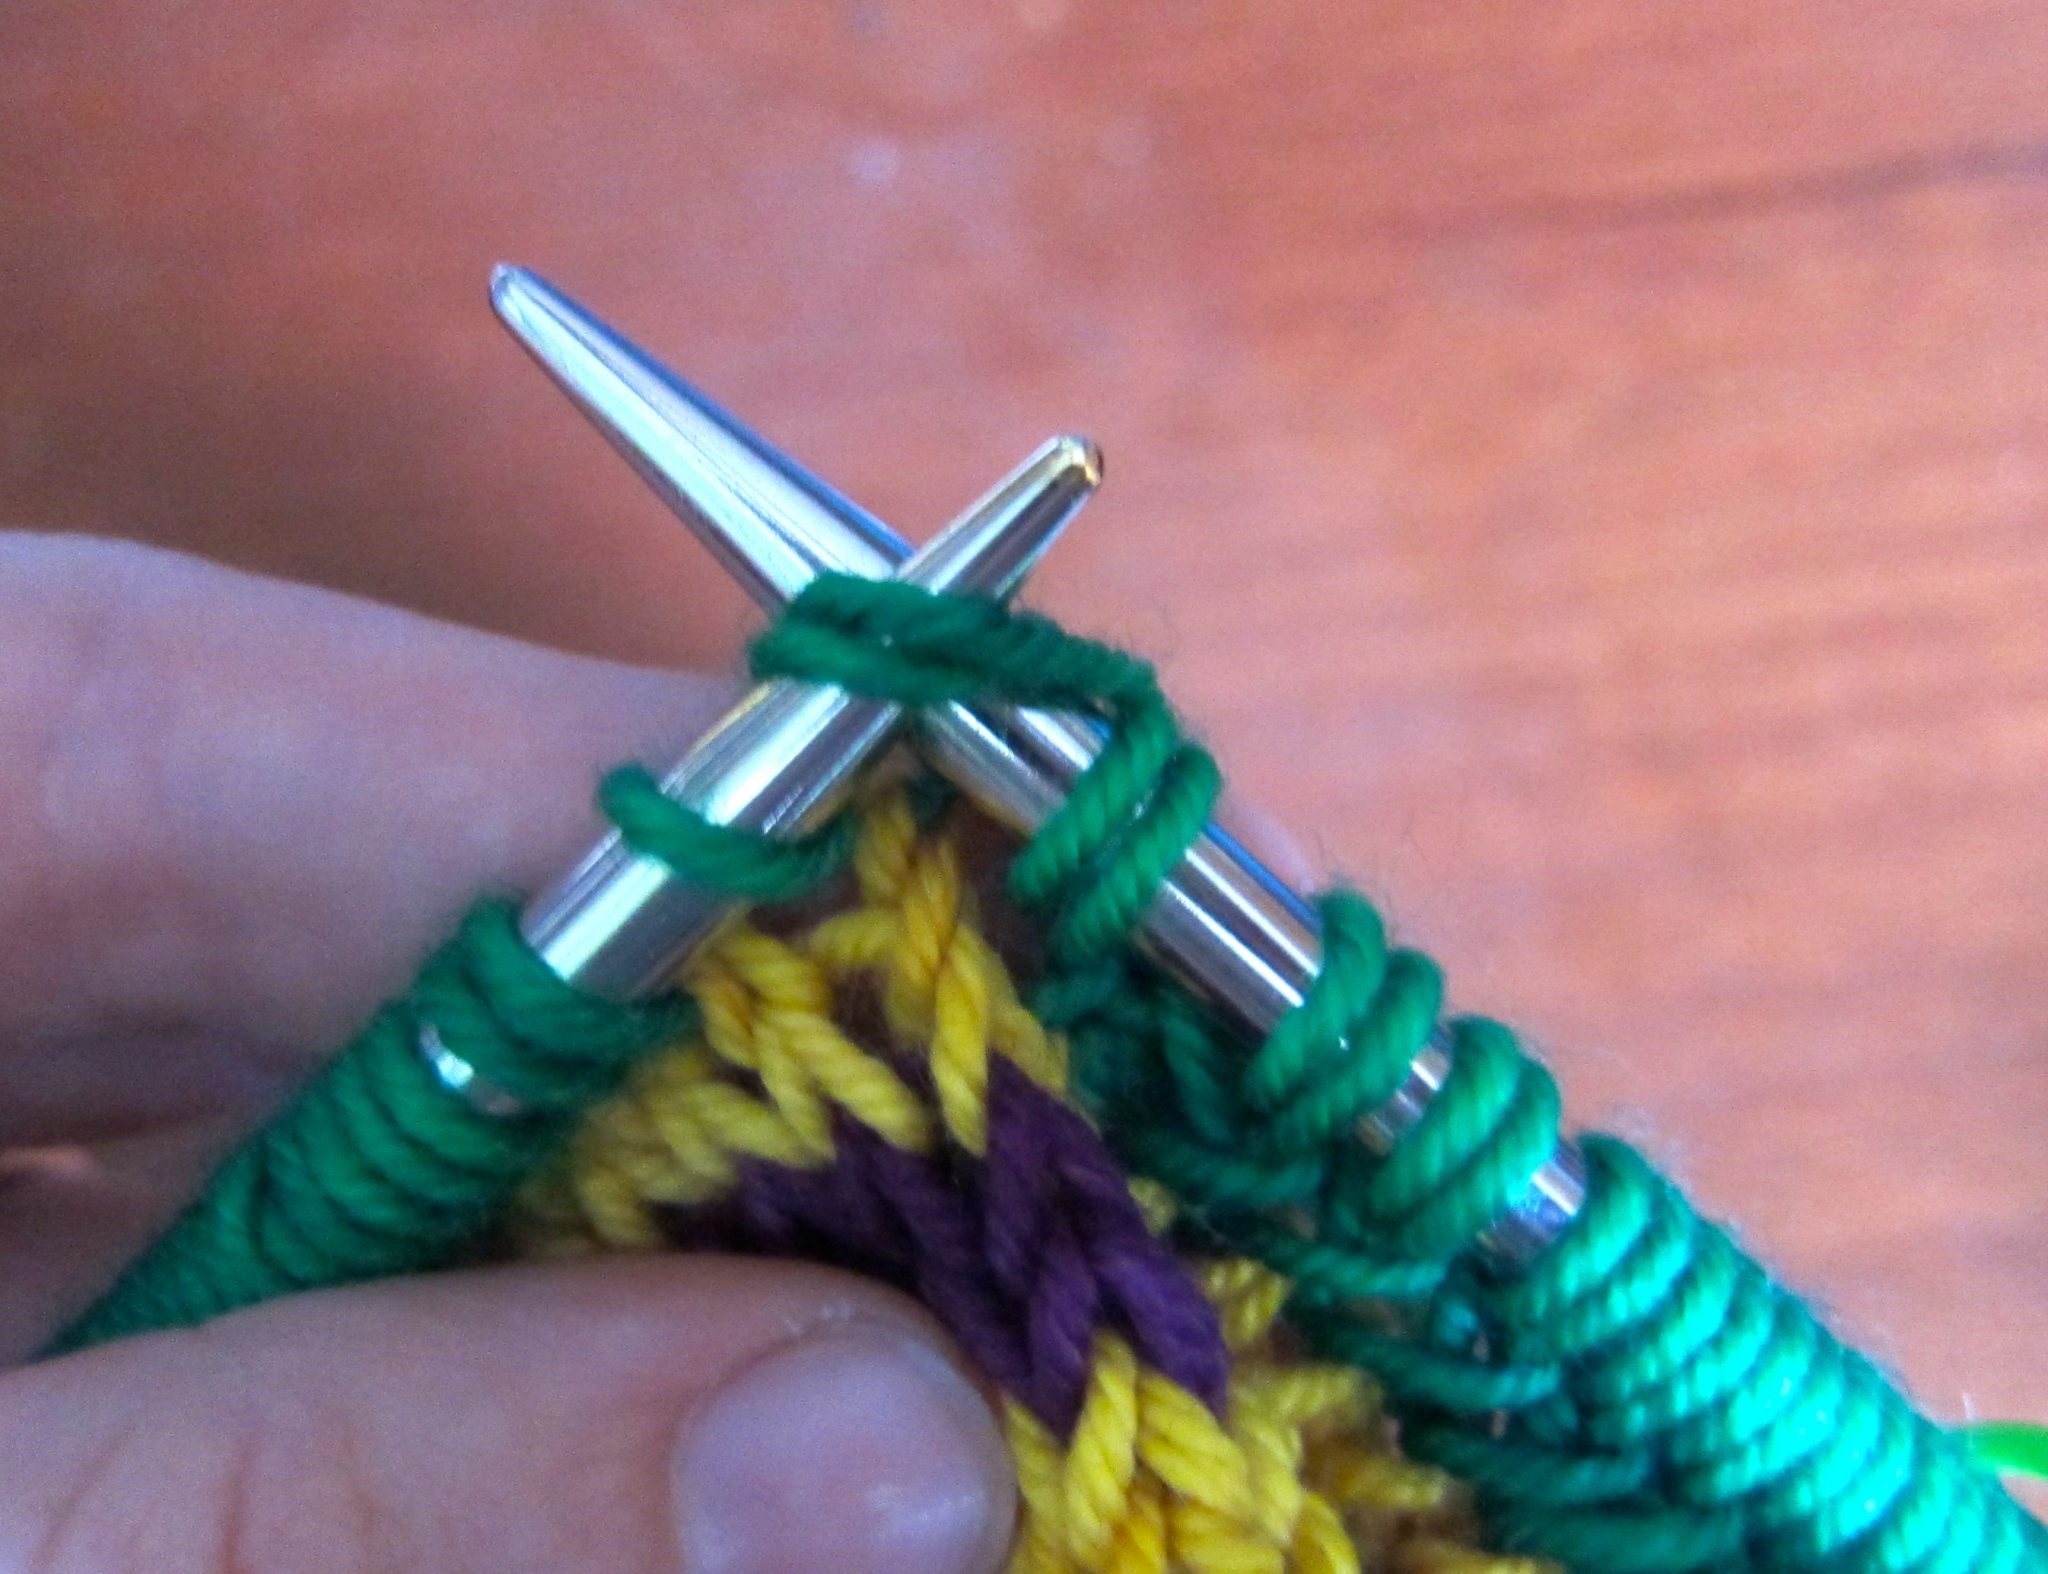
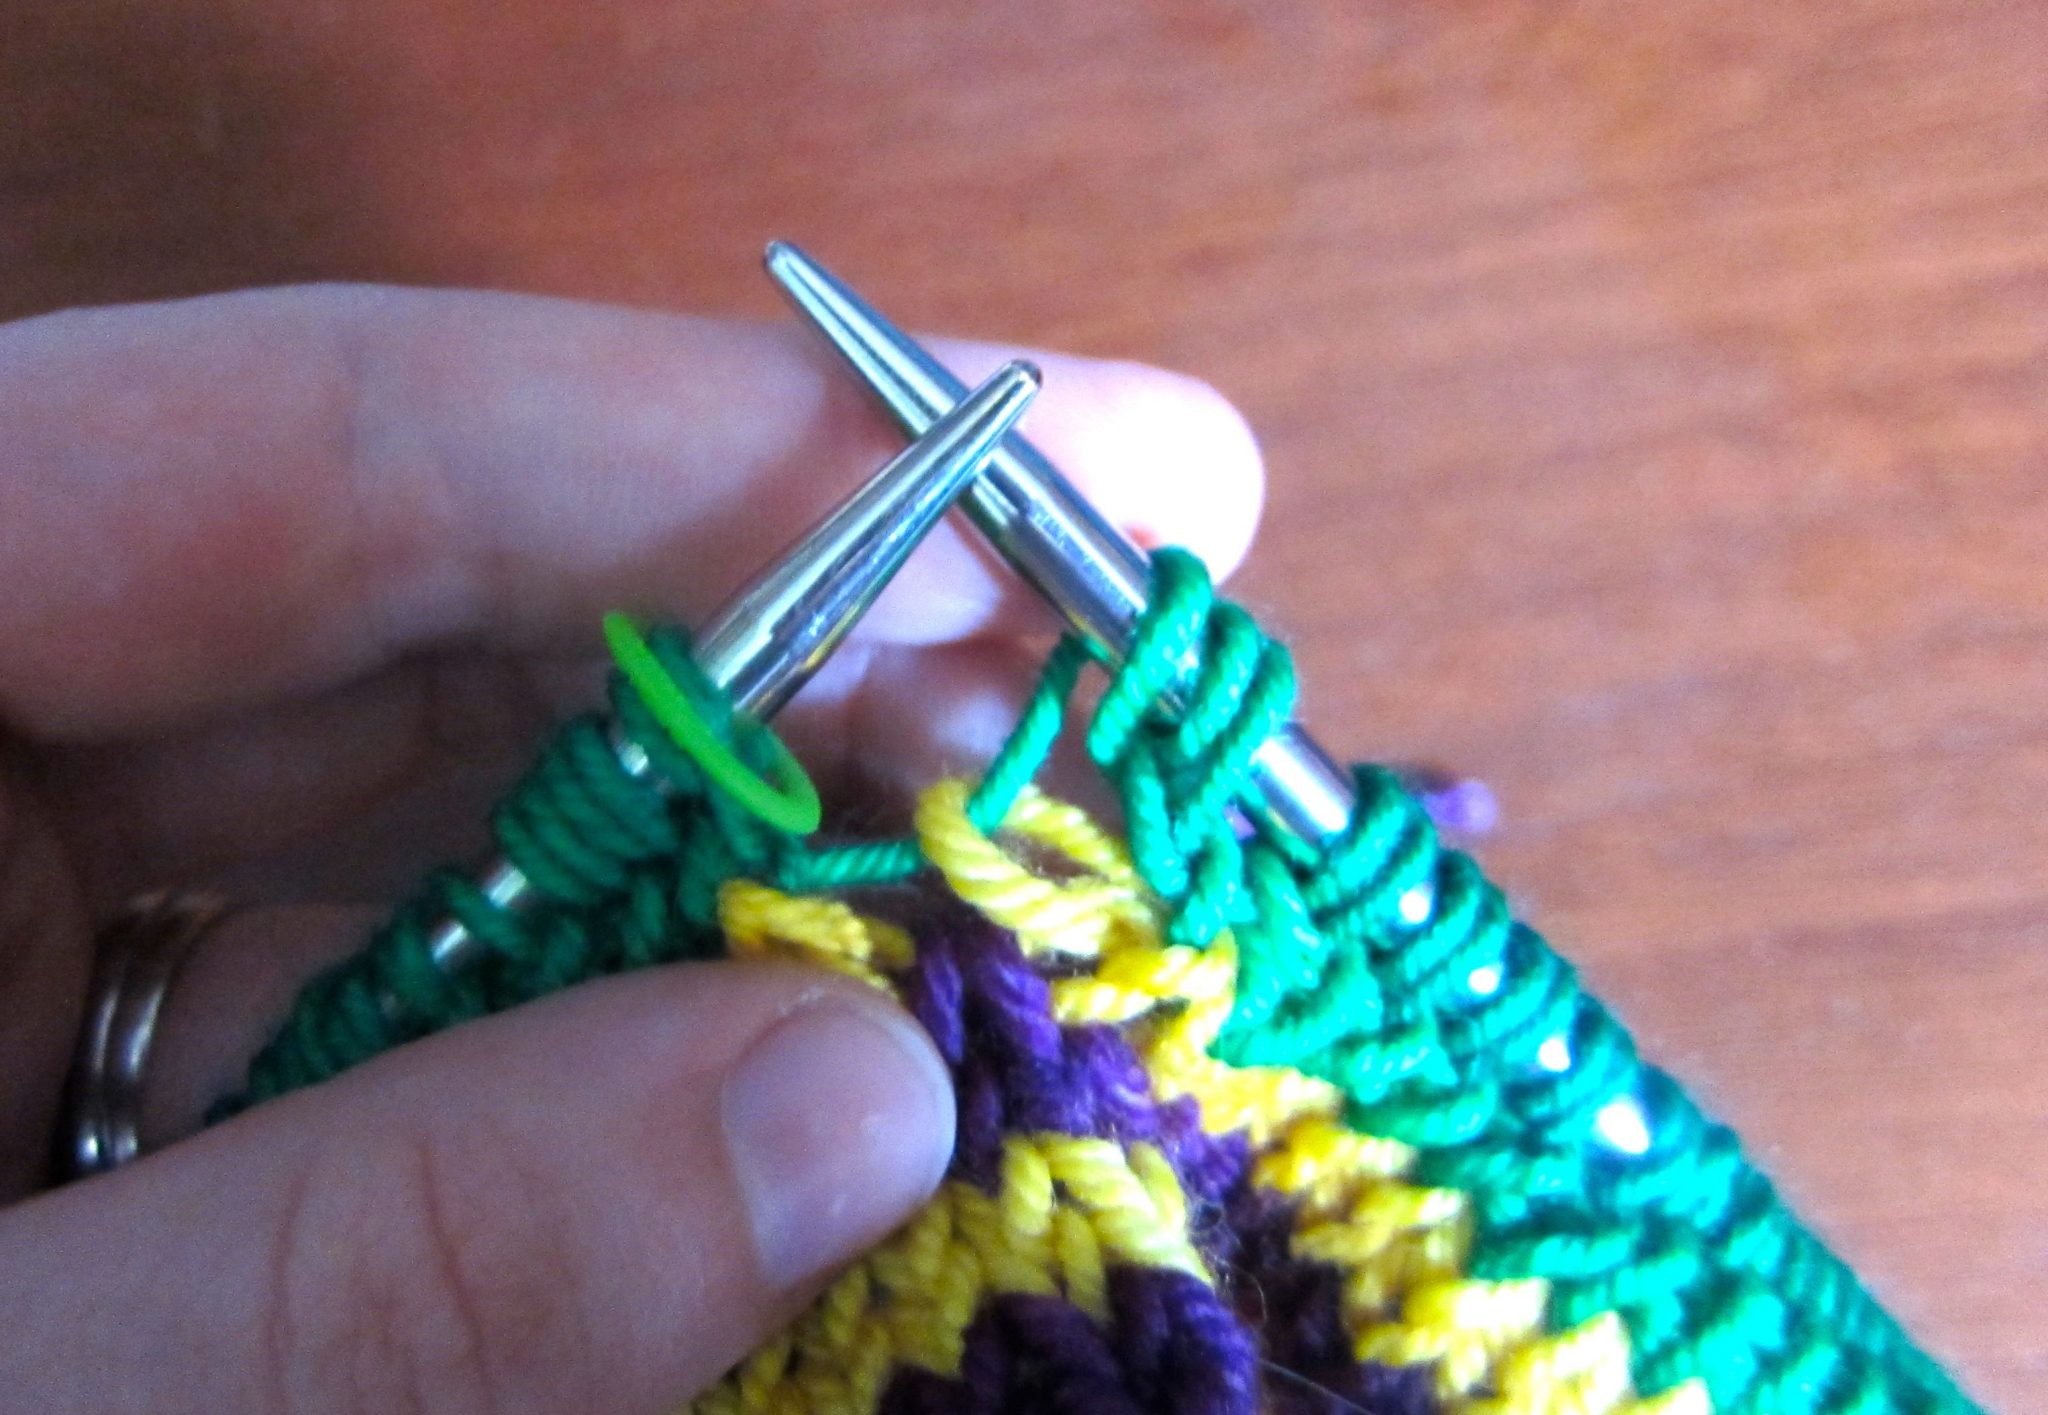
For Rnd 2, you will be knitting the second loop of each stitch together with the first loop of the next stitch. Here’s how that looks, step by step.

Because there is no second loop of a stitch to knit together with the first loop of the first stitch of the round, knit the first loop of the first stitch only, wrapping yarn twice. After this, you’ll be able to knit the second loop of each stitch together with the first loop of the following stitch all the way to the second loop of the last stitch of the round.

Begin Rnd 2: Knit into first loop of first stitch.
Begin Rnd 2: Knit into first loop of first stitch. The second loop of the first stitch is just to the left of the stitch into which I’ve inserted my needle. The two loops of the next stitch are just above my thumb.
Here you can see the second loop of one stitch (the first loop on the left needle) and the first loop of the following stitch (the loop just above my thumb).
This is how it looks to knit the second loop and following first loop together.


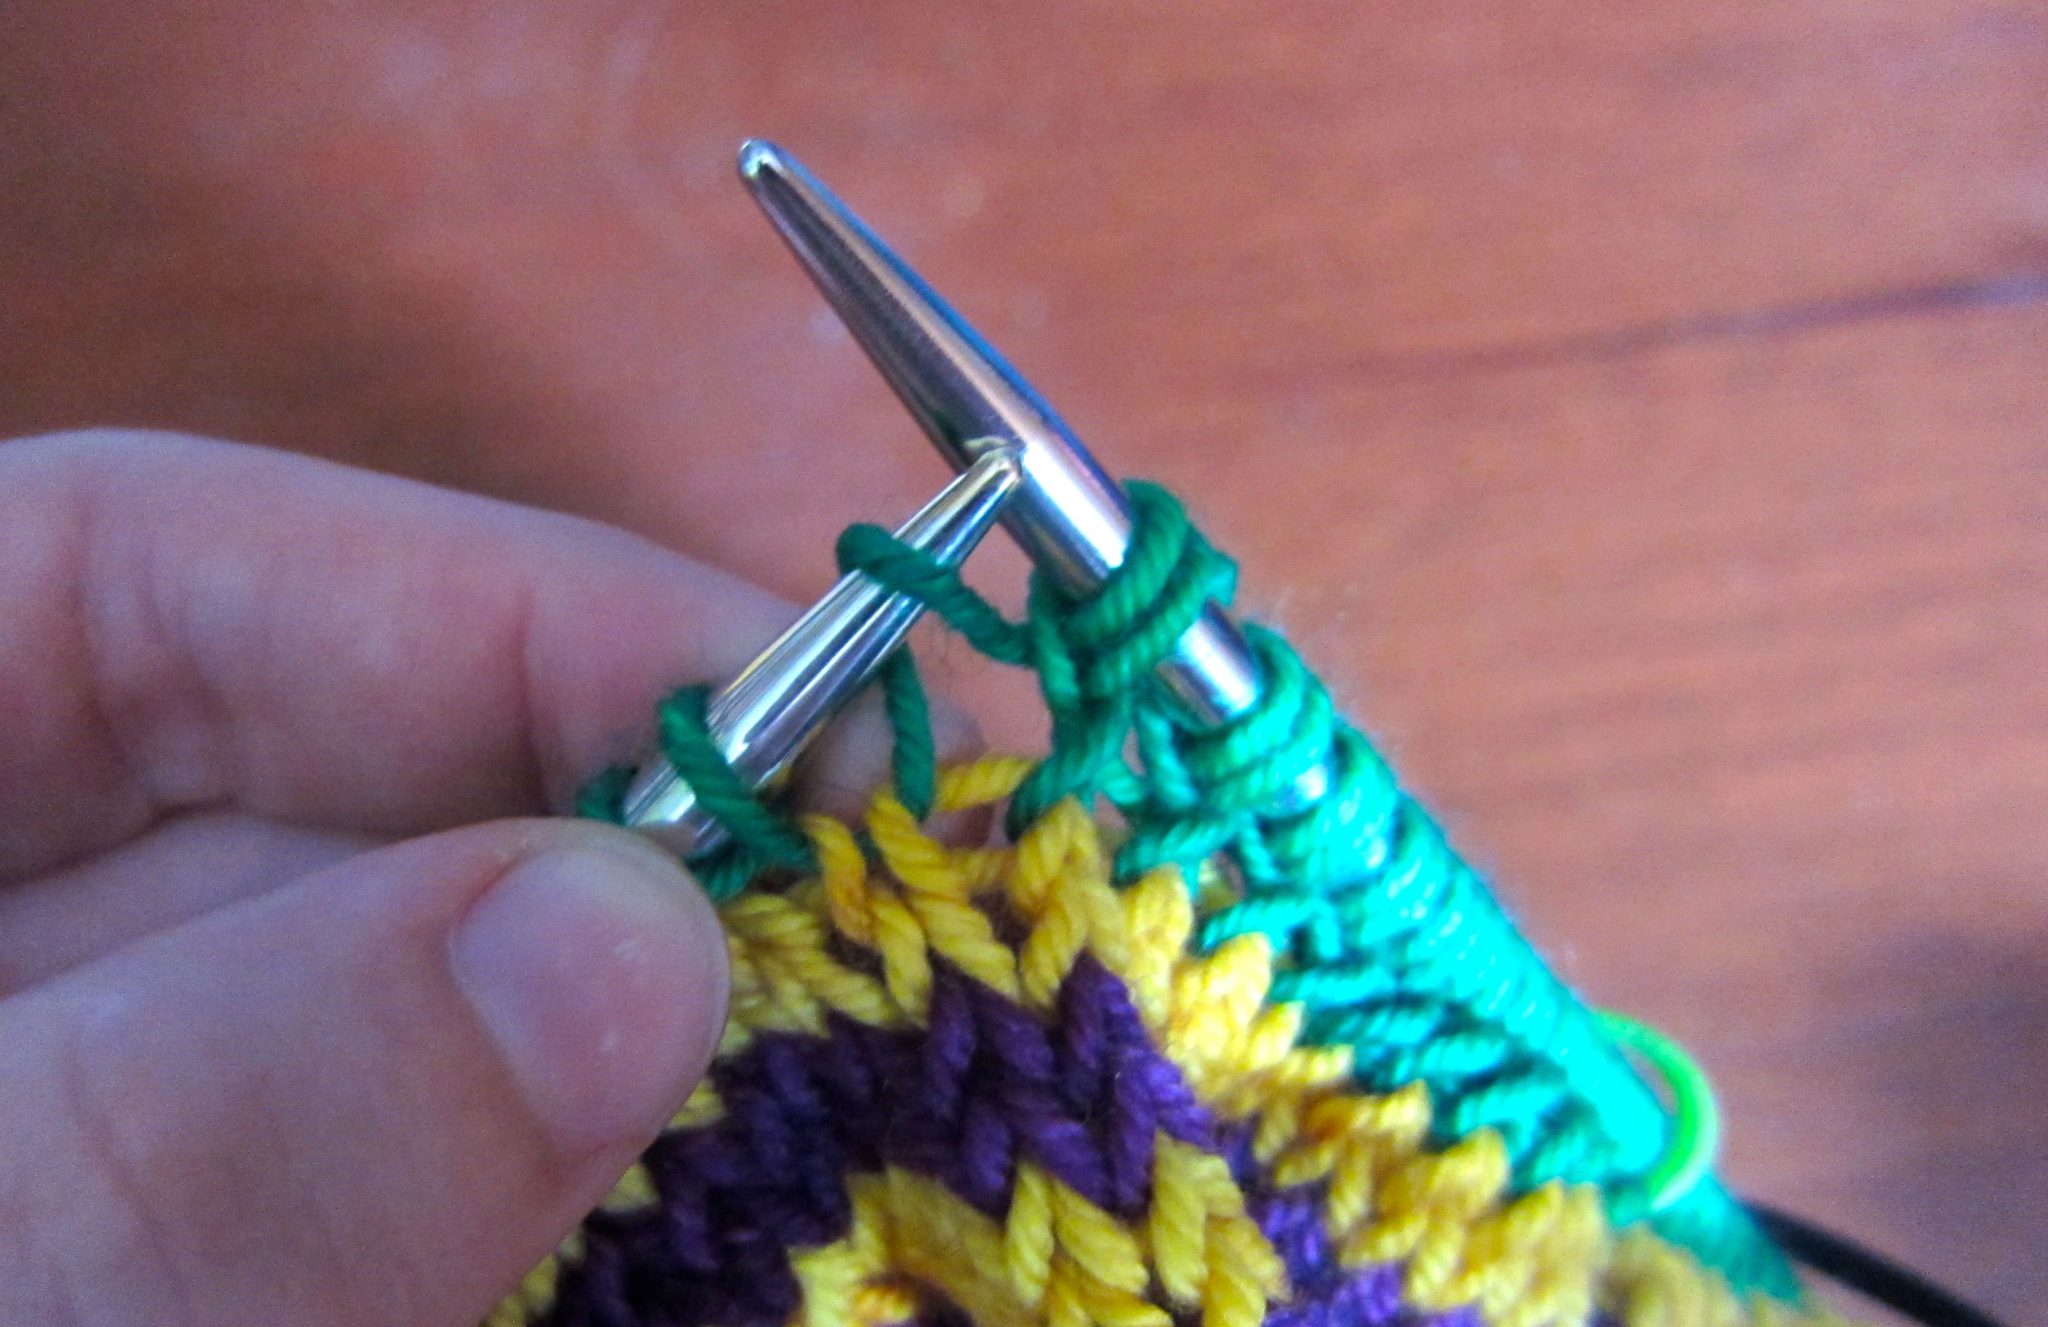
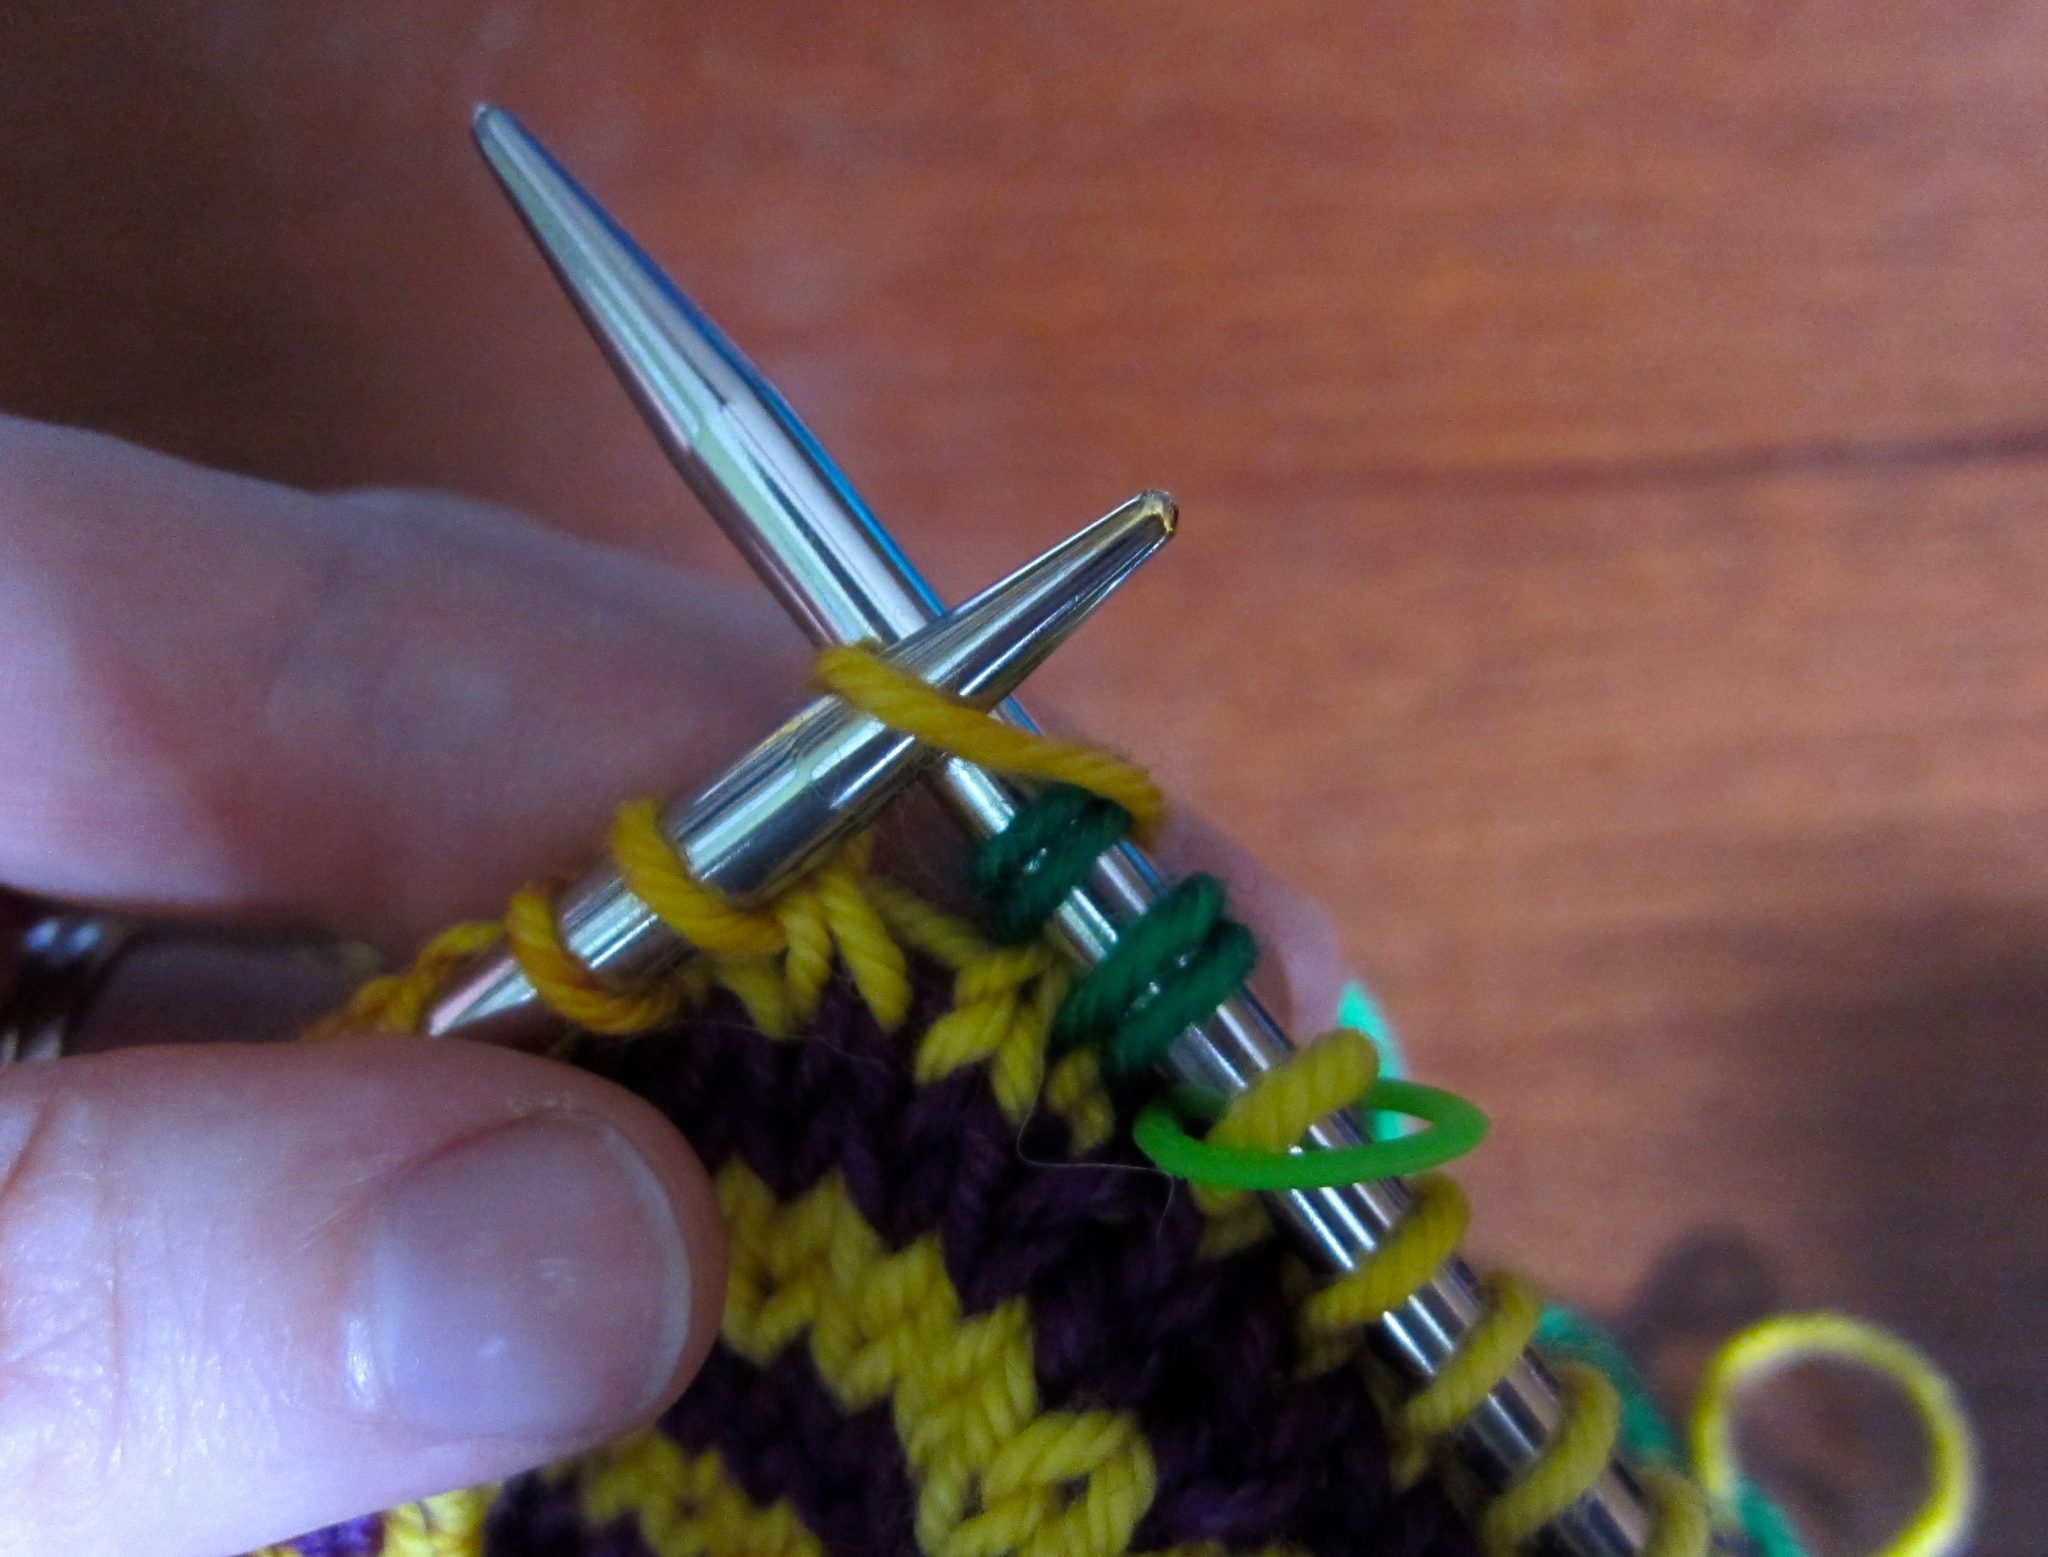
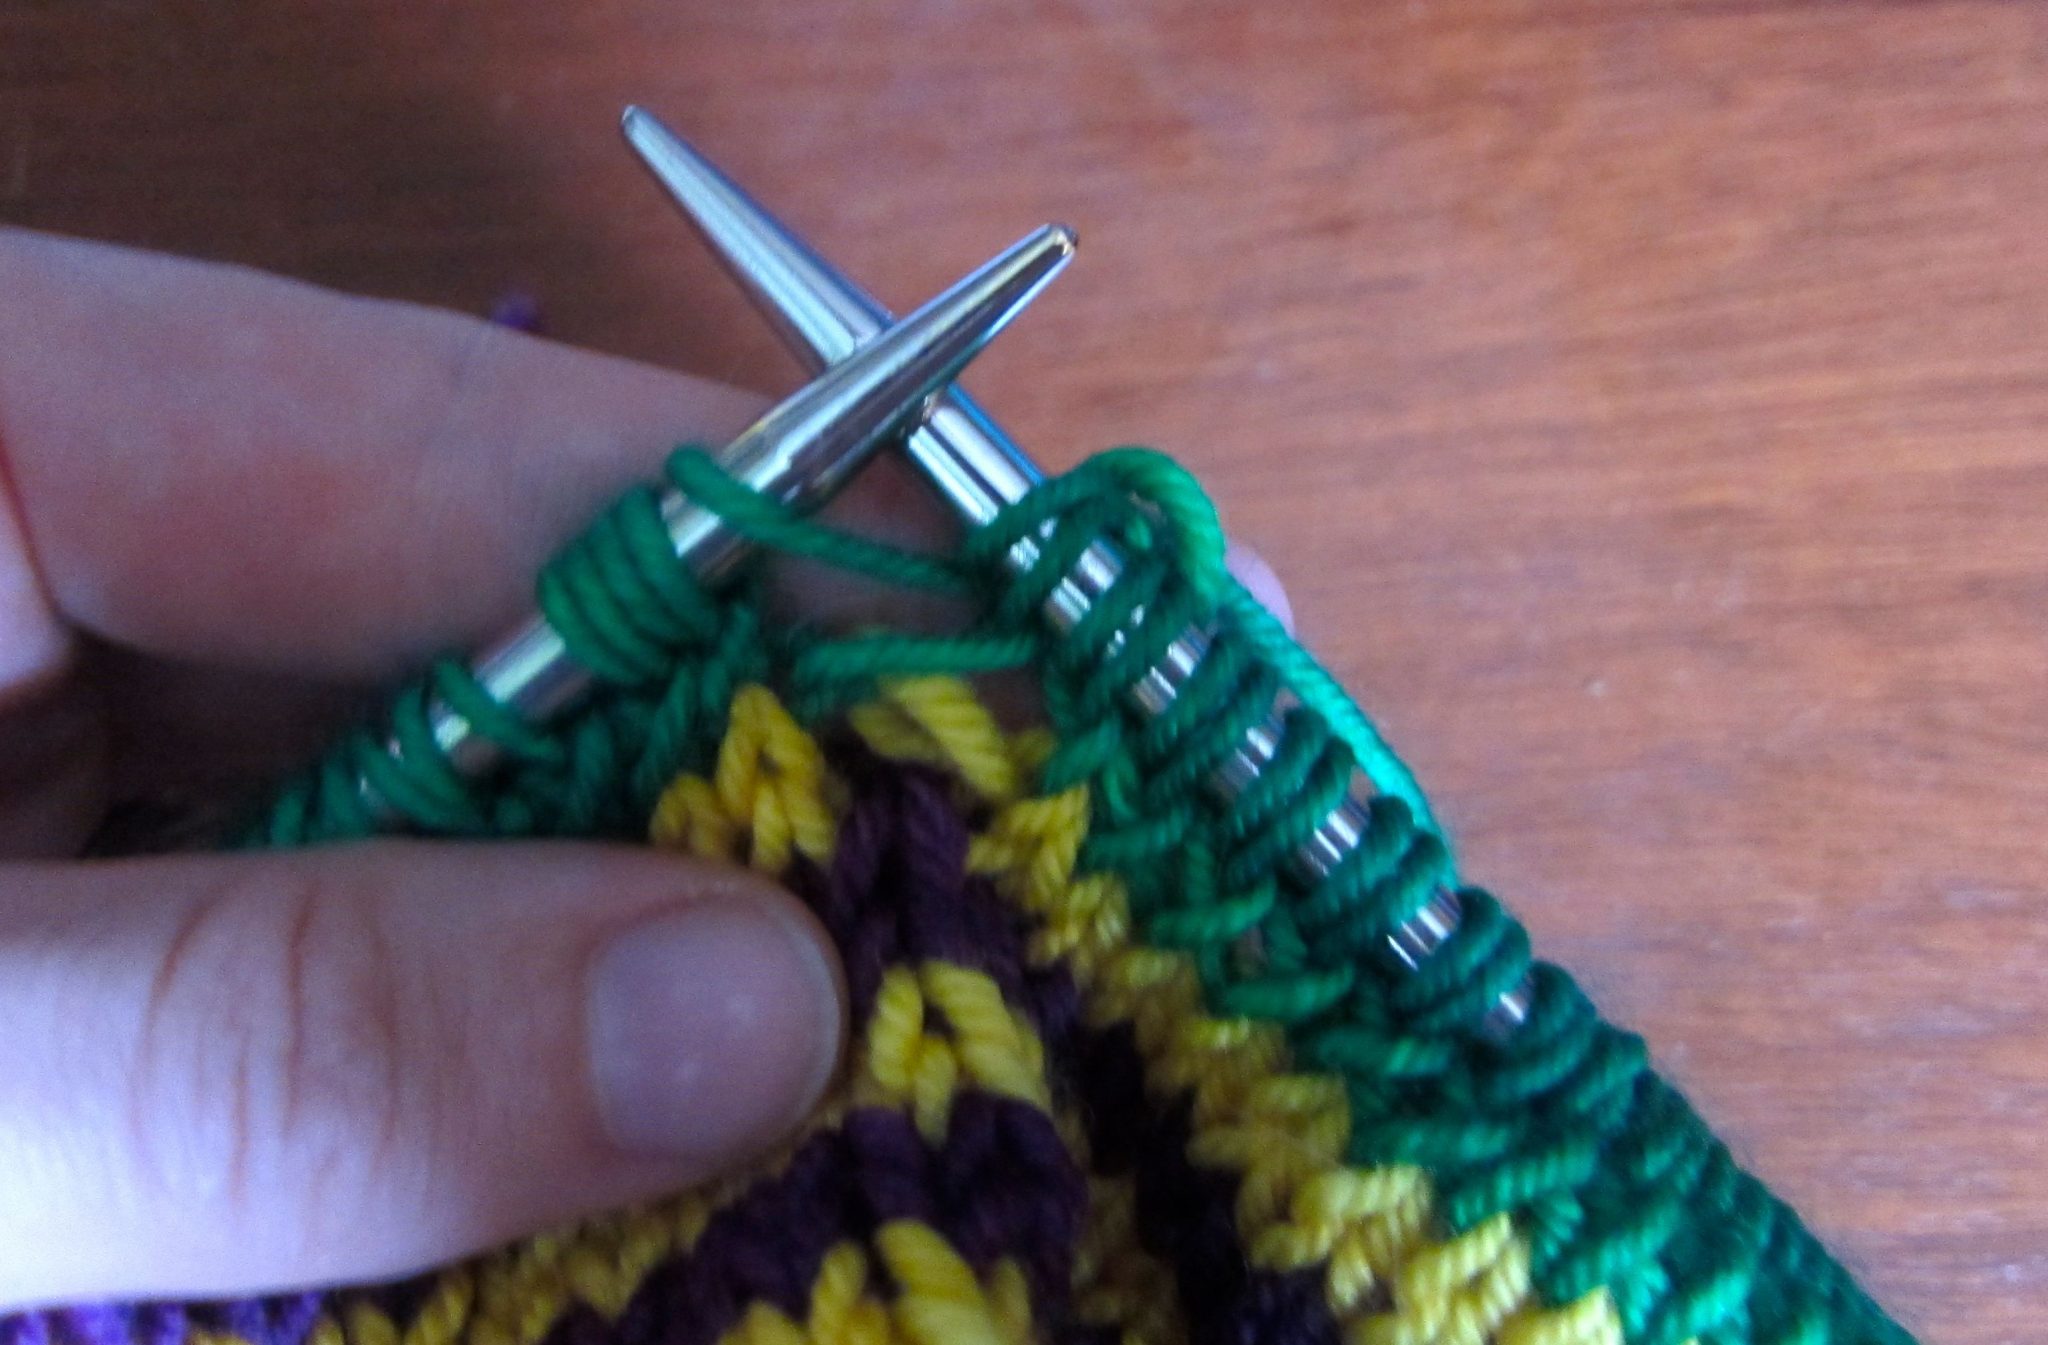
After you’ve cruised to the second loop of the final stitch, you have to move the marker to begin the next round. (If you just knit the second loop of the last stitch together with the first loop of the first stitch of the next round, you’ll knit your marker into your cowl.)

This is what the last stitch of Rnd 2 will look like.
Slip the second loop of the last stitch to the right needle (do not knit it) and remove the marker.
Now, knit the second loop of the last stitch together with the first loop of the first stitch of the new round.
Return the second loop of the last stitch to the left needle and knit it together with the first loop of the first stitch of the new round. These are the first two loops on the left needle shown here.
Replace the stitch marker. You're ready to work Rnd 3, which is just like Rnd 2.
Replace the stitch marker. You’re ready to work Rnd 3, which is just like Rnd 2.

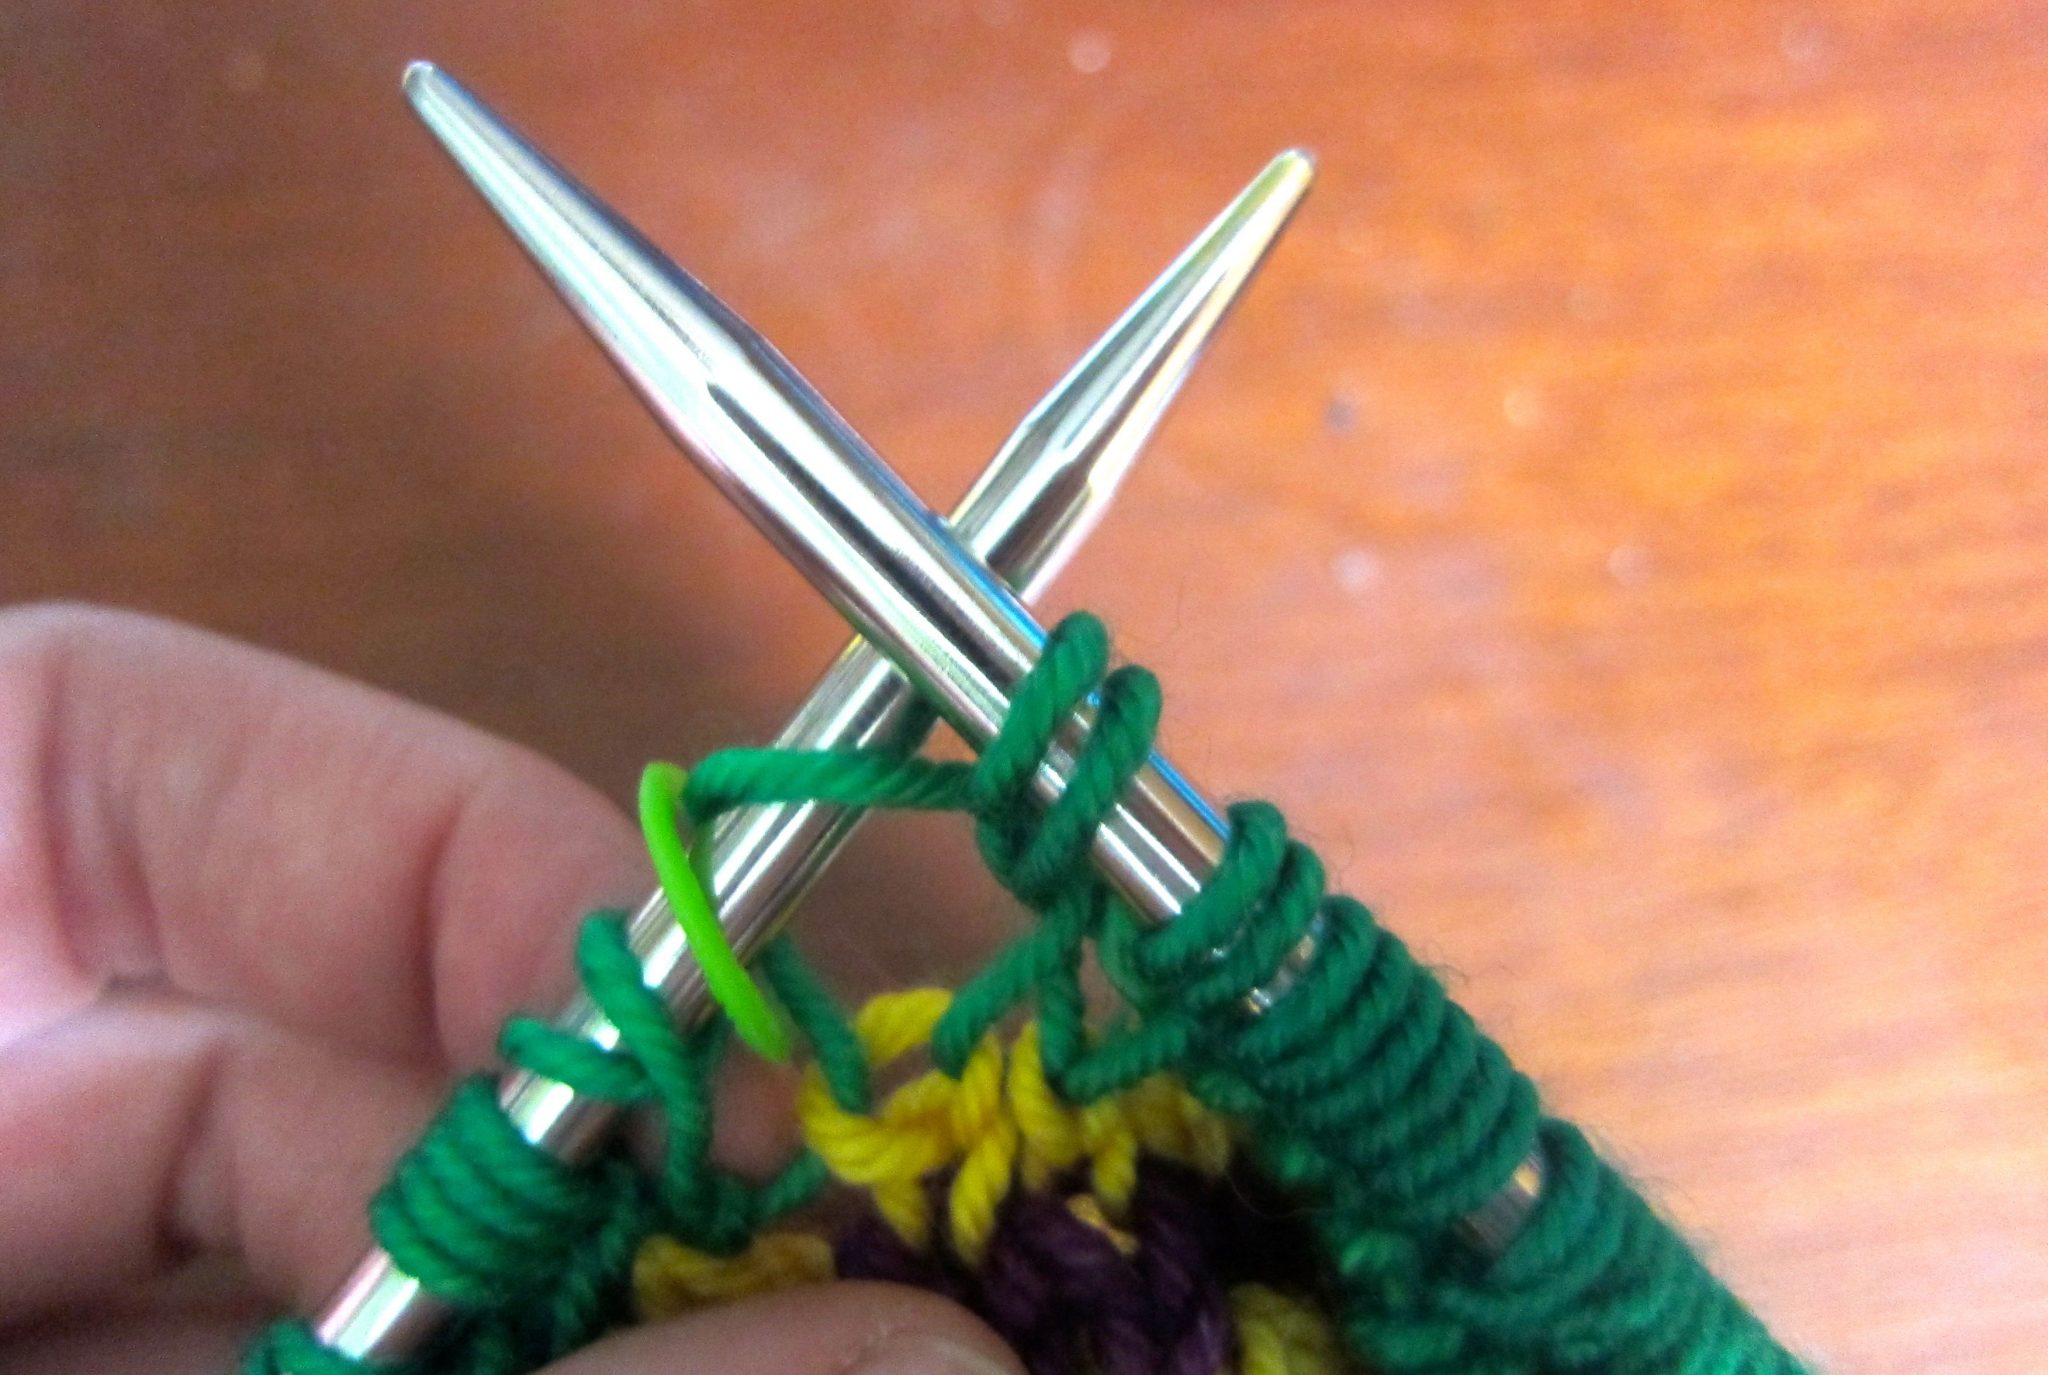
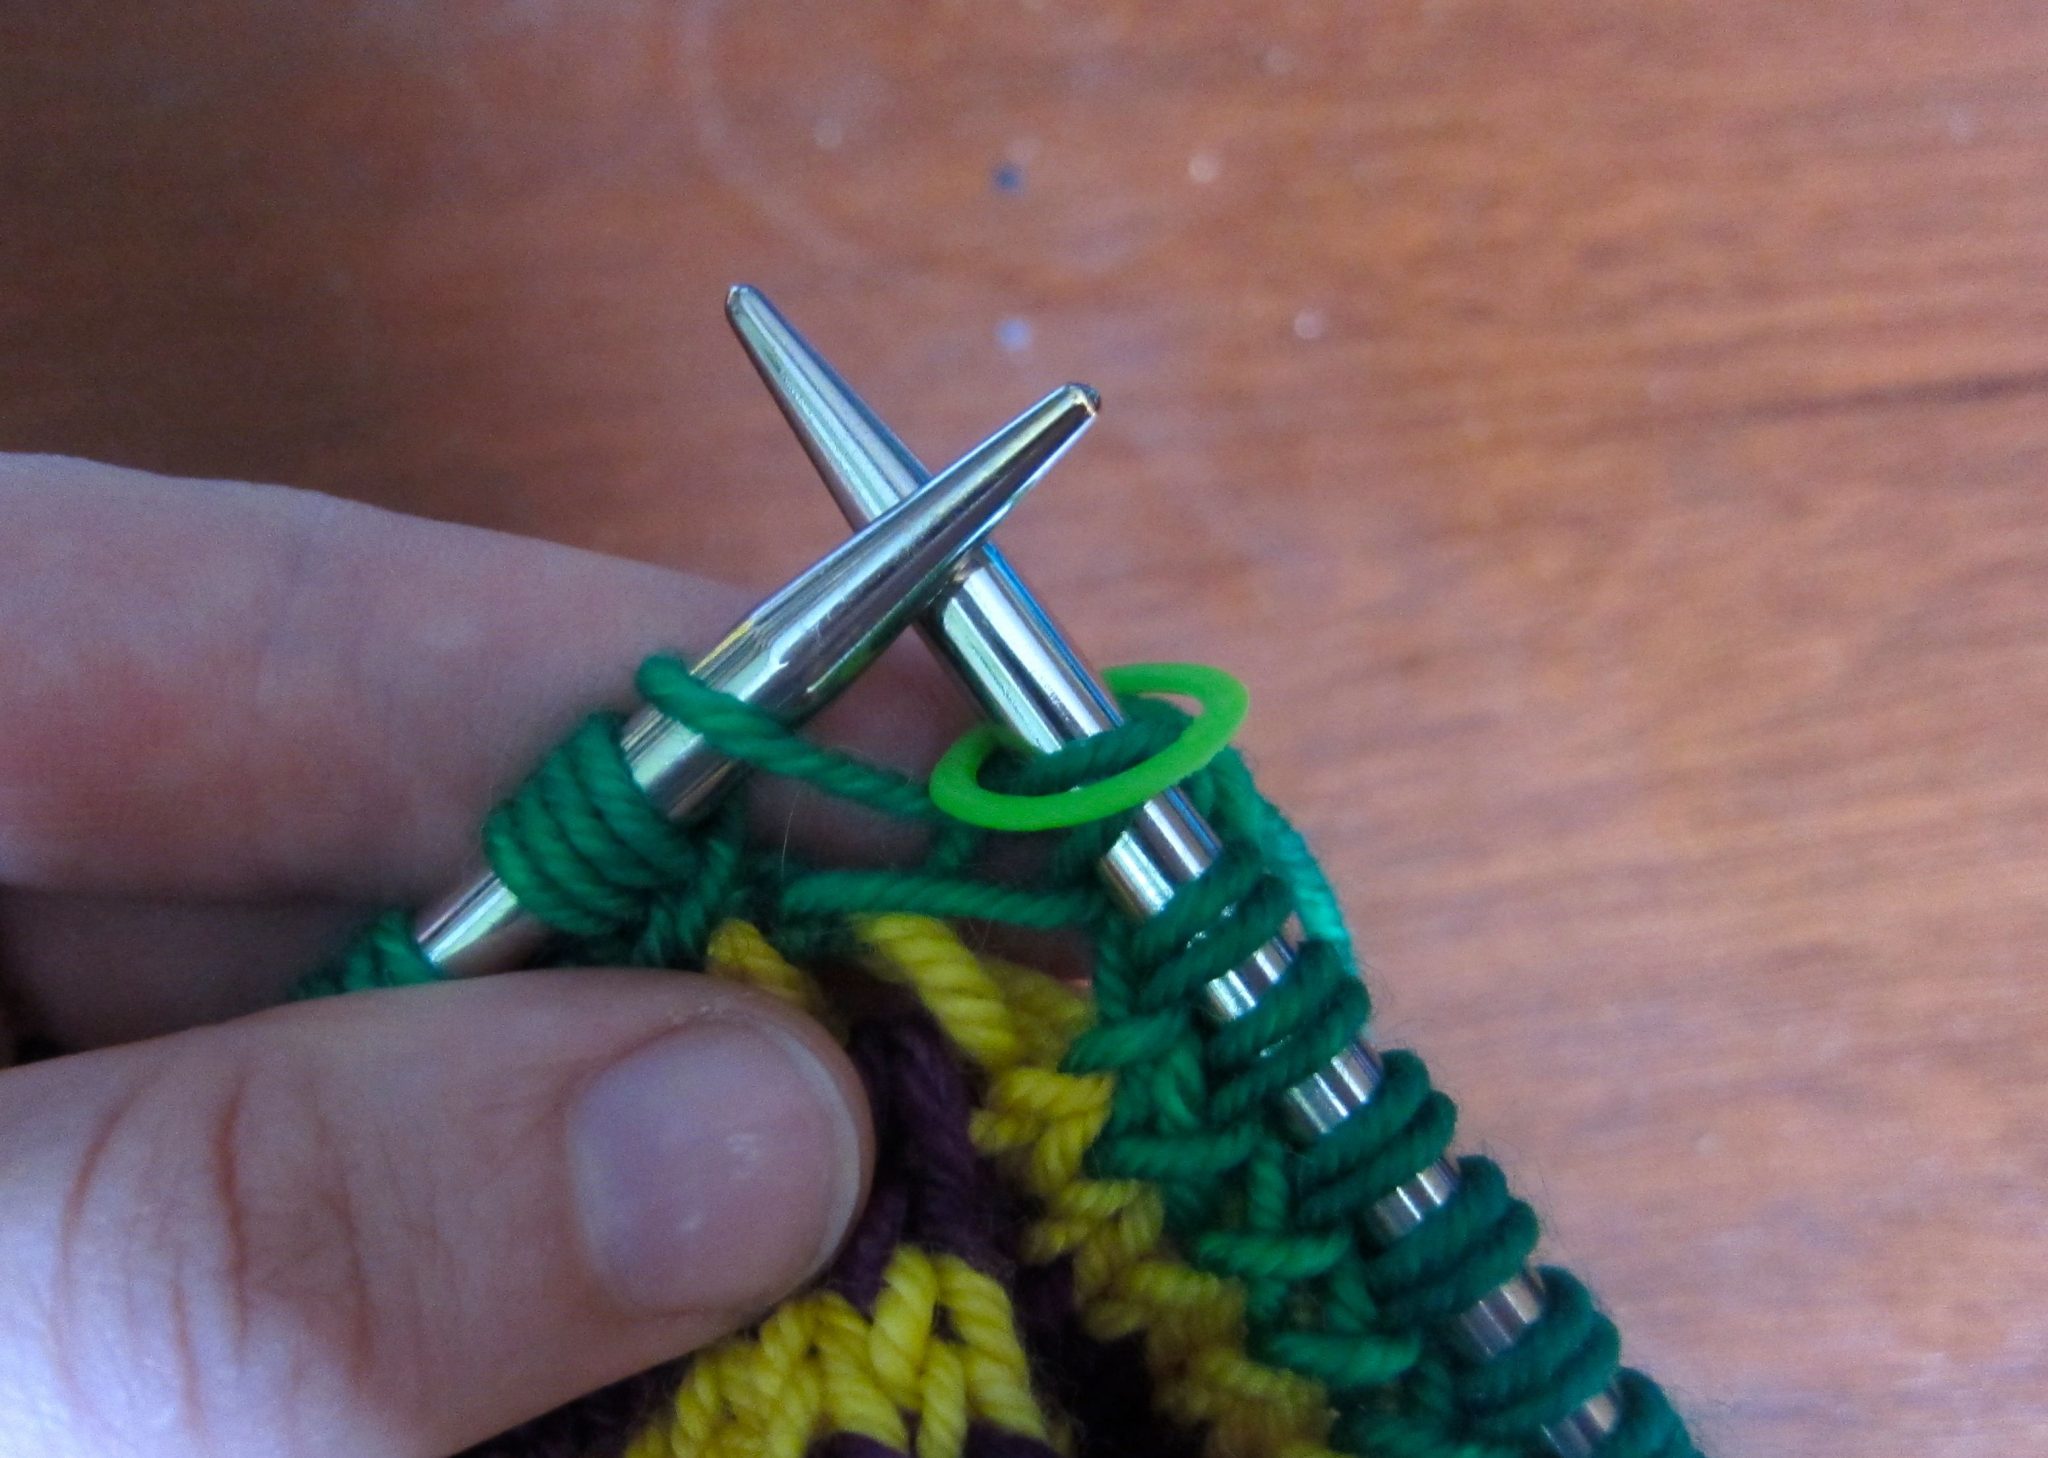
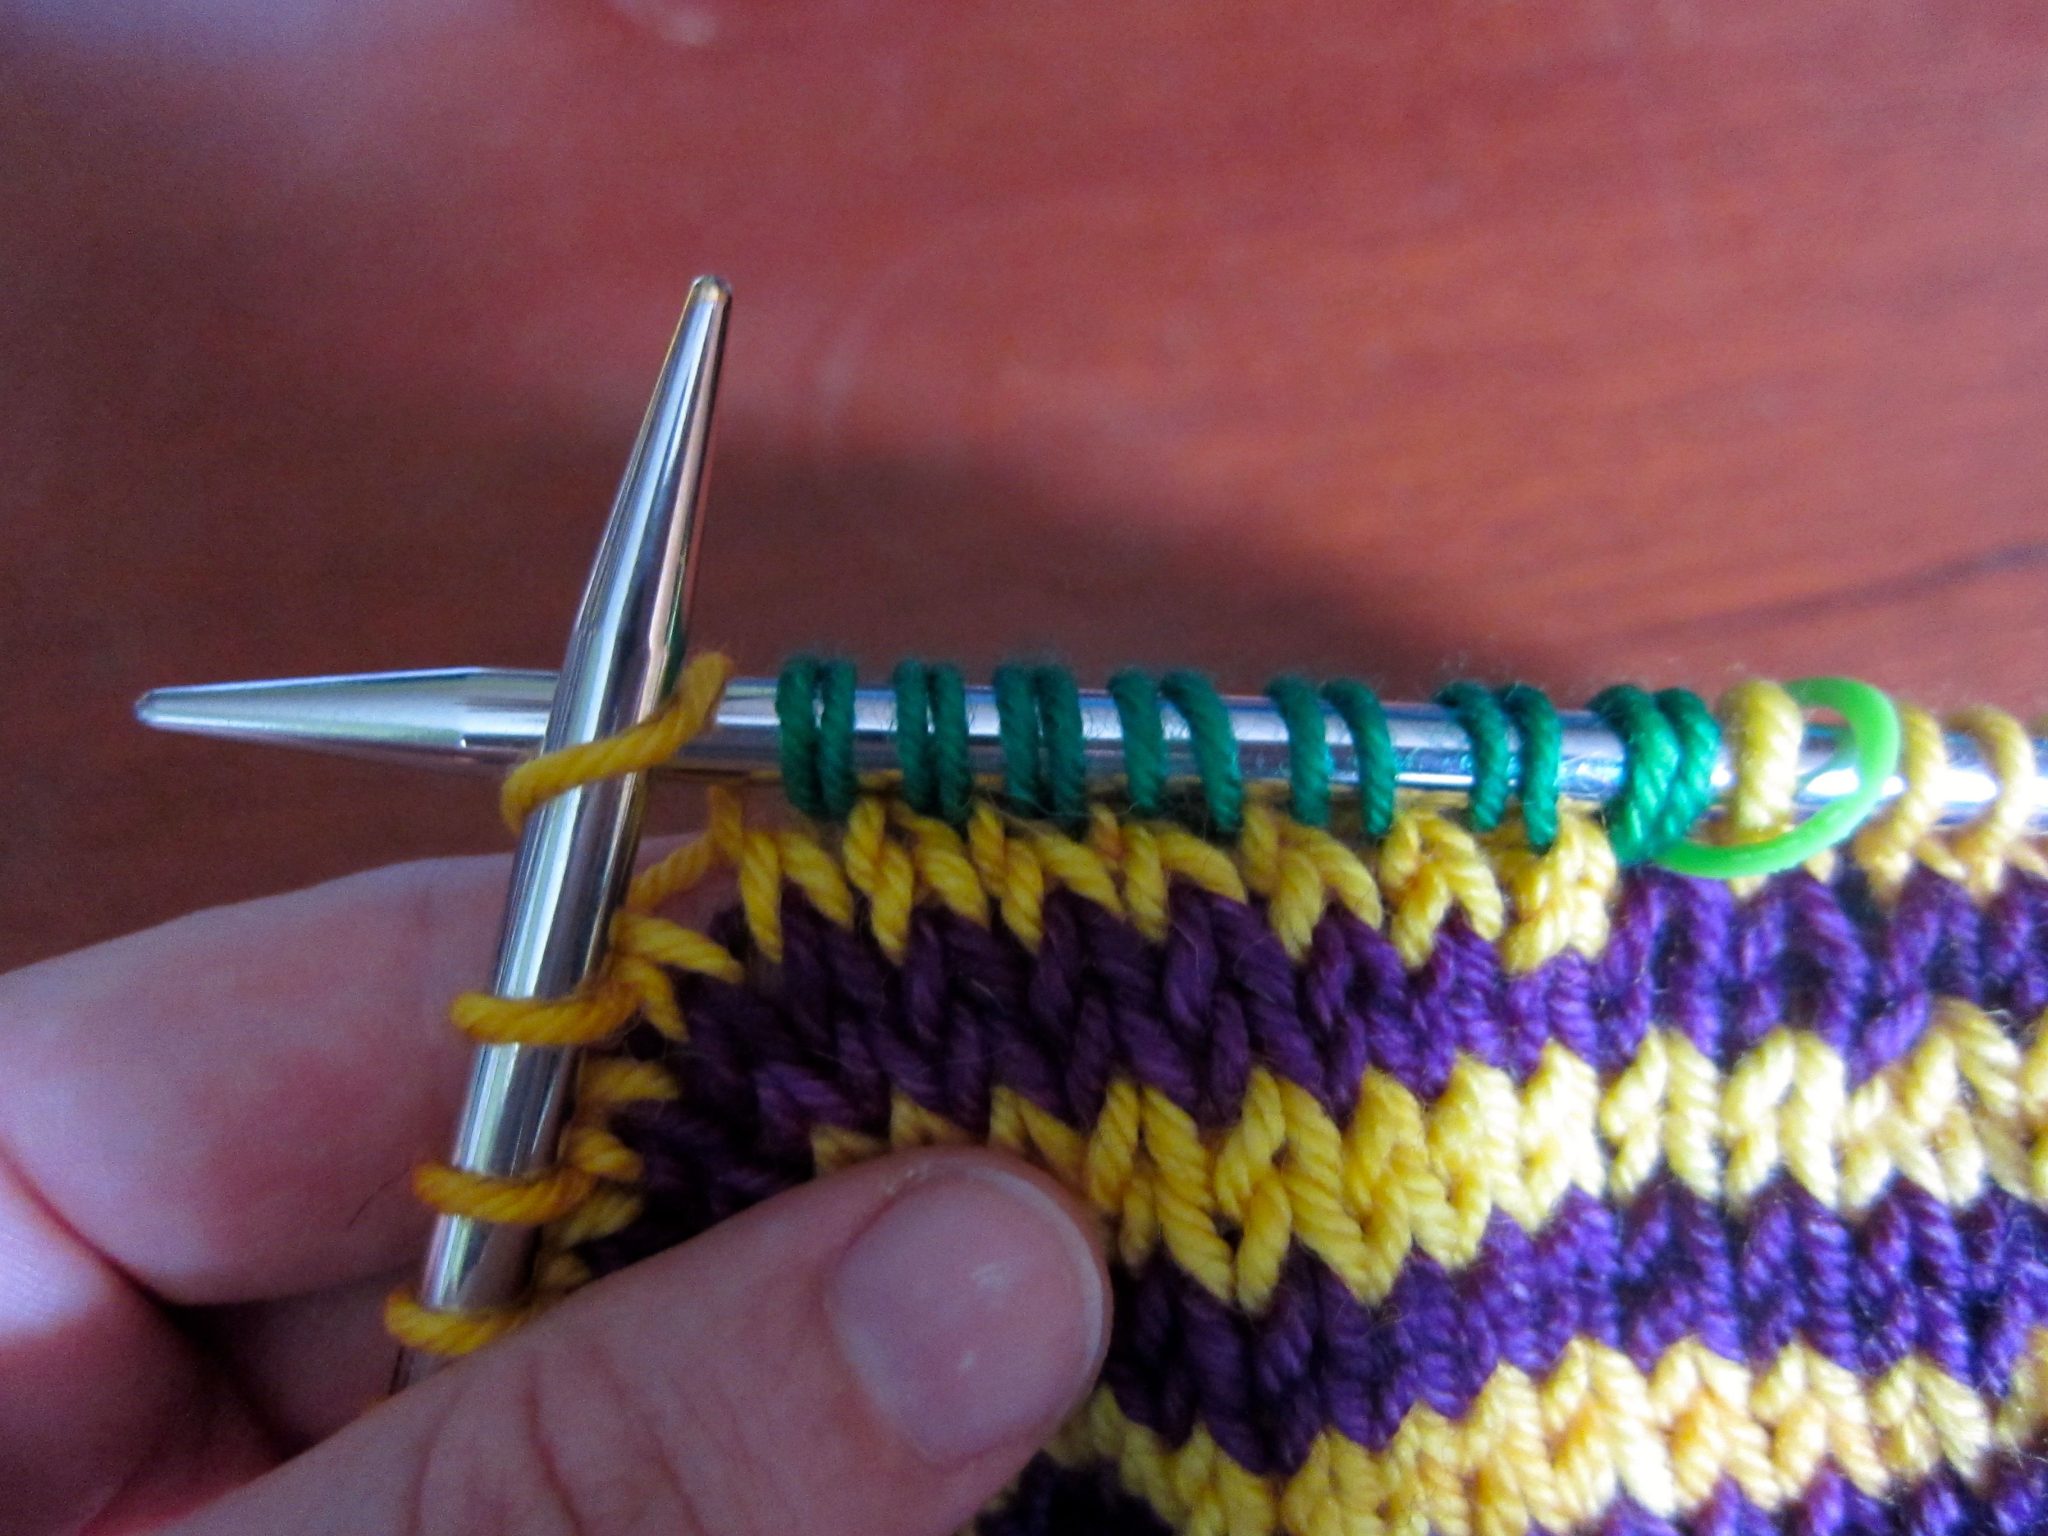
Here’s how the Twisted Loop Pattern will look after Rnds 1 and 2.

Twisted Loop Pattern

Got it? Carry on!

Picture of Ann

Ann

Upcoming Events
Float Around
Time Travel
Archives
Our Hours

Stop in to space

Monday – Wednesday, Friday – Saturday:
10 a.m. – 7 p.m.

Thursday
10 a.m. – 9 p.m.

Sunday
12 p.m. – 6 p.m.