
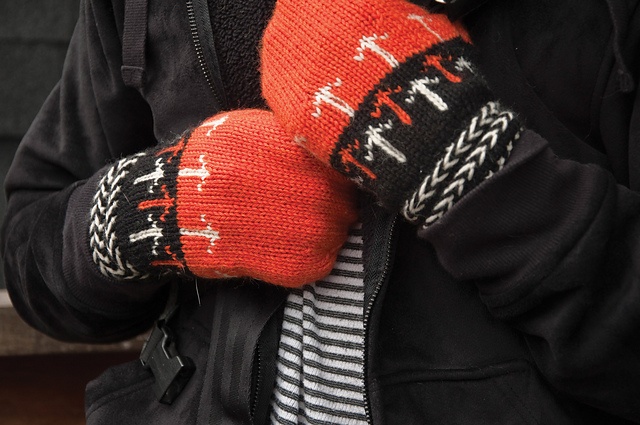
Braids are one of my favorite design elements. Traditionally, they adorn the cuffs of mittens from Latvia and Estonia; my first project that used braids was a pair of mittens from the book Latvian Mittens by Lizbeth Upitis. I was so taken with them that I included some in my first mitten design, Go Dutch!
But braids aren’t limited to mittens! You can find them on hats, on cowls, even on sweaters. You can easily add them to your projects, too! Here’s how.
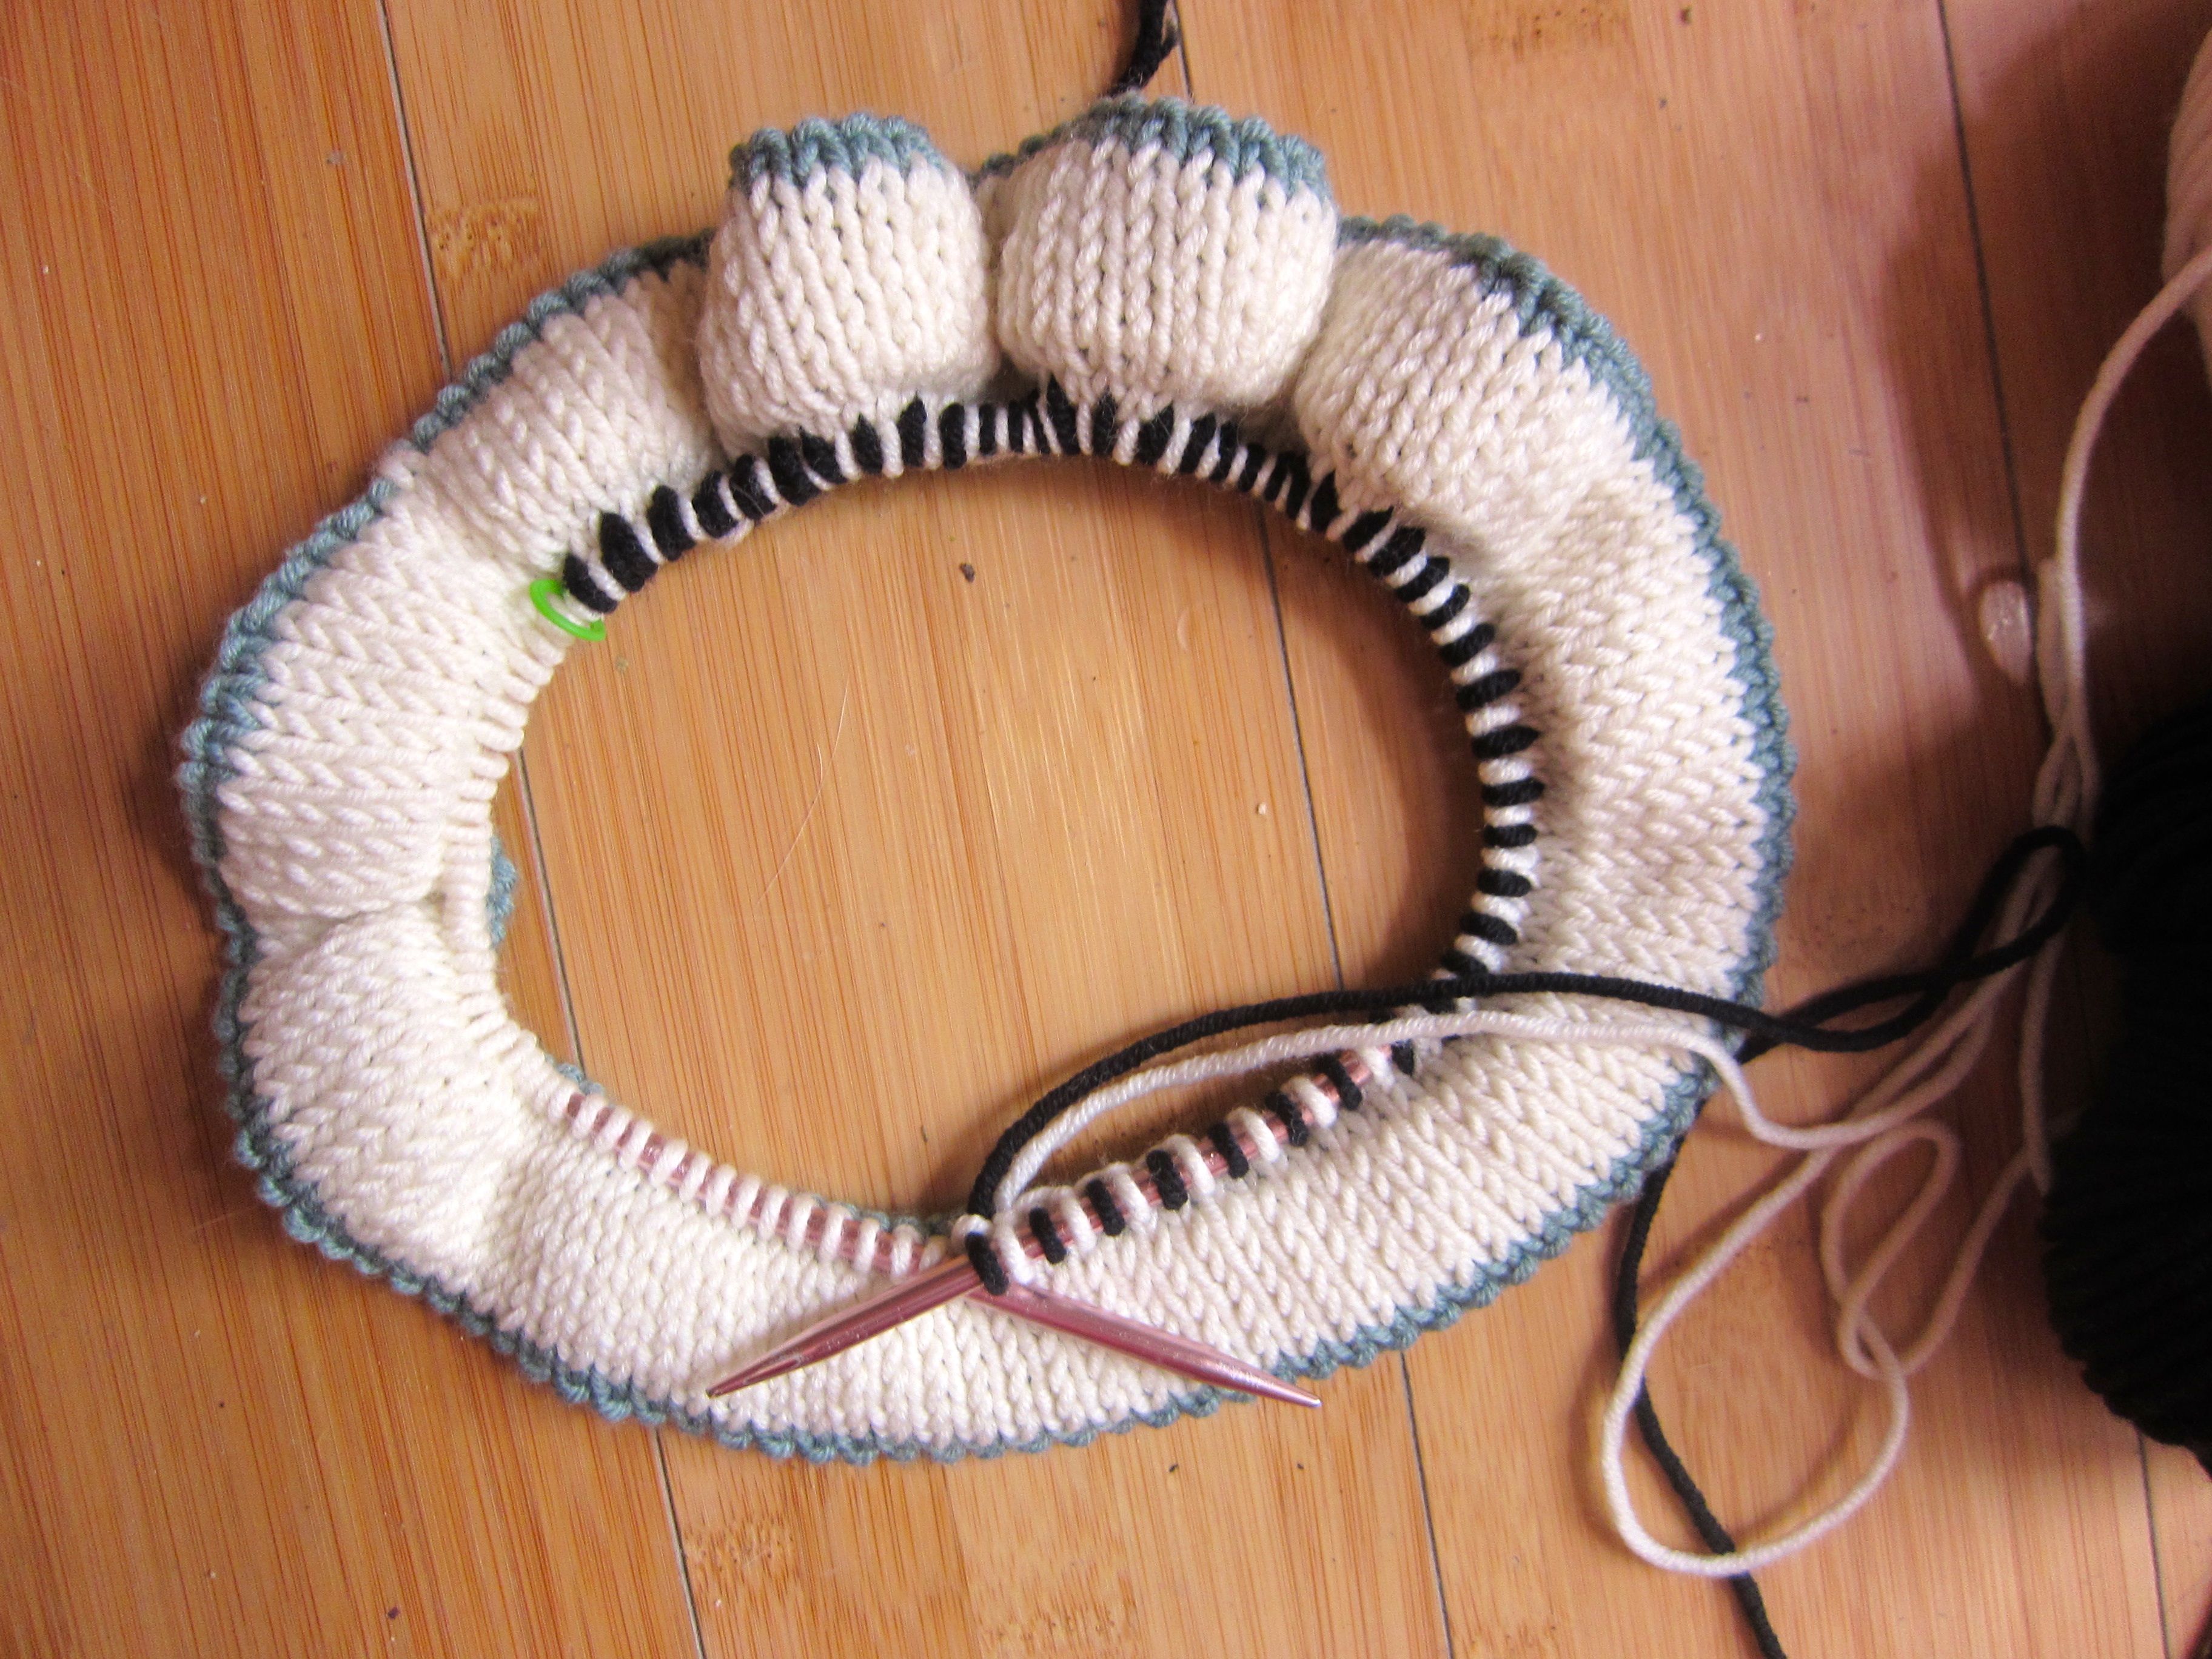
Braids are done in three rows, and they can lean to the right or to the left (notice the braids on Go Dutch!, above). Most braids use two colors, but they can use three or more. The number of colors is limited by your patience for dealing with a lot of really twisted yarns (you’ll see what I mean in a minute). I’ve done a three-color braid in the design in progress, below.
I’ll start with instructions for a right-leaning braid. I call the first round of the three braid rounds the Setup Round. To set up your braids, knit around, working one stitch in the main color, the following stitch in the contrasting color, the next in the main color, and so on. If you’re using more than two colors, alternate one stitch in Color A, one stitch in Color B, one stitch in Color C, and so on.
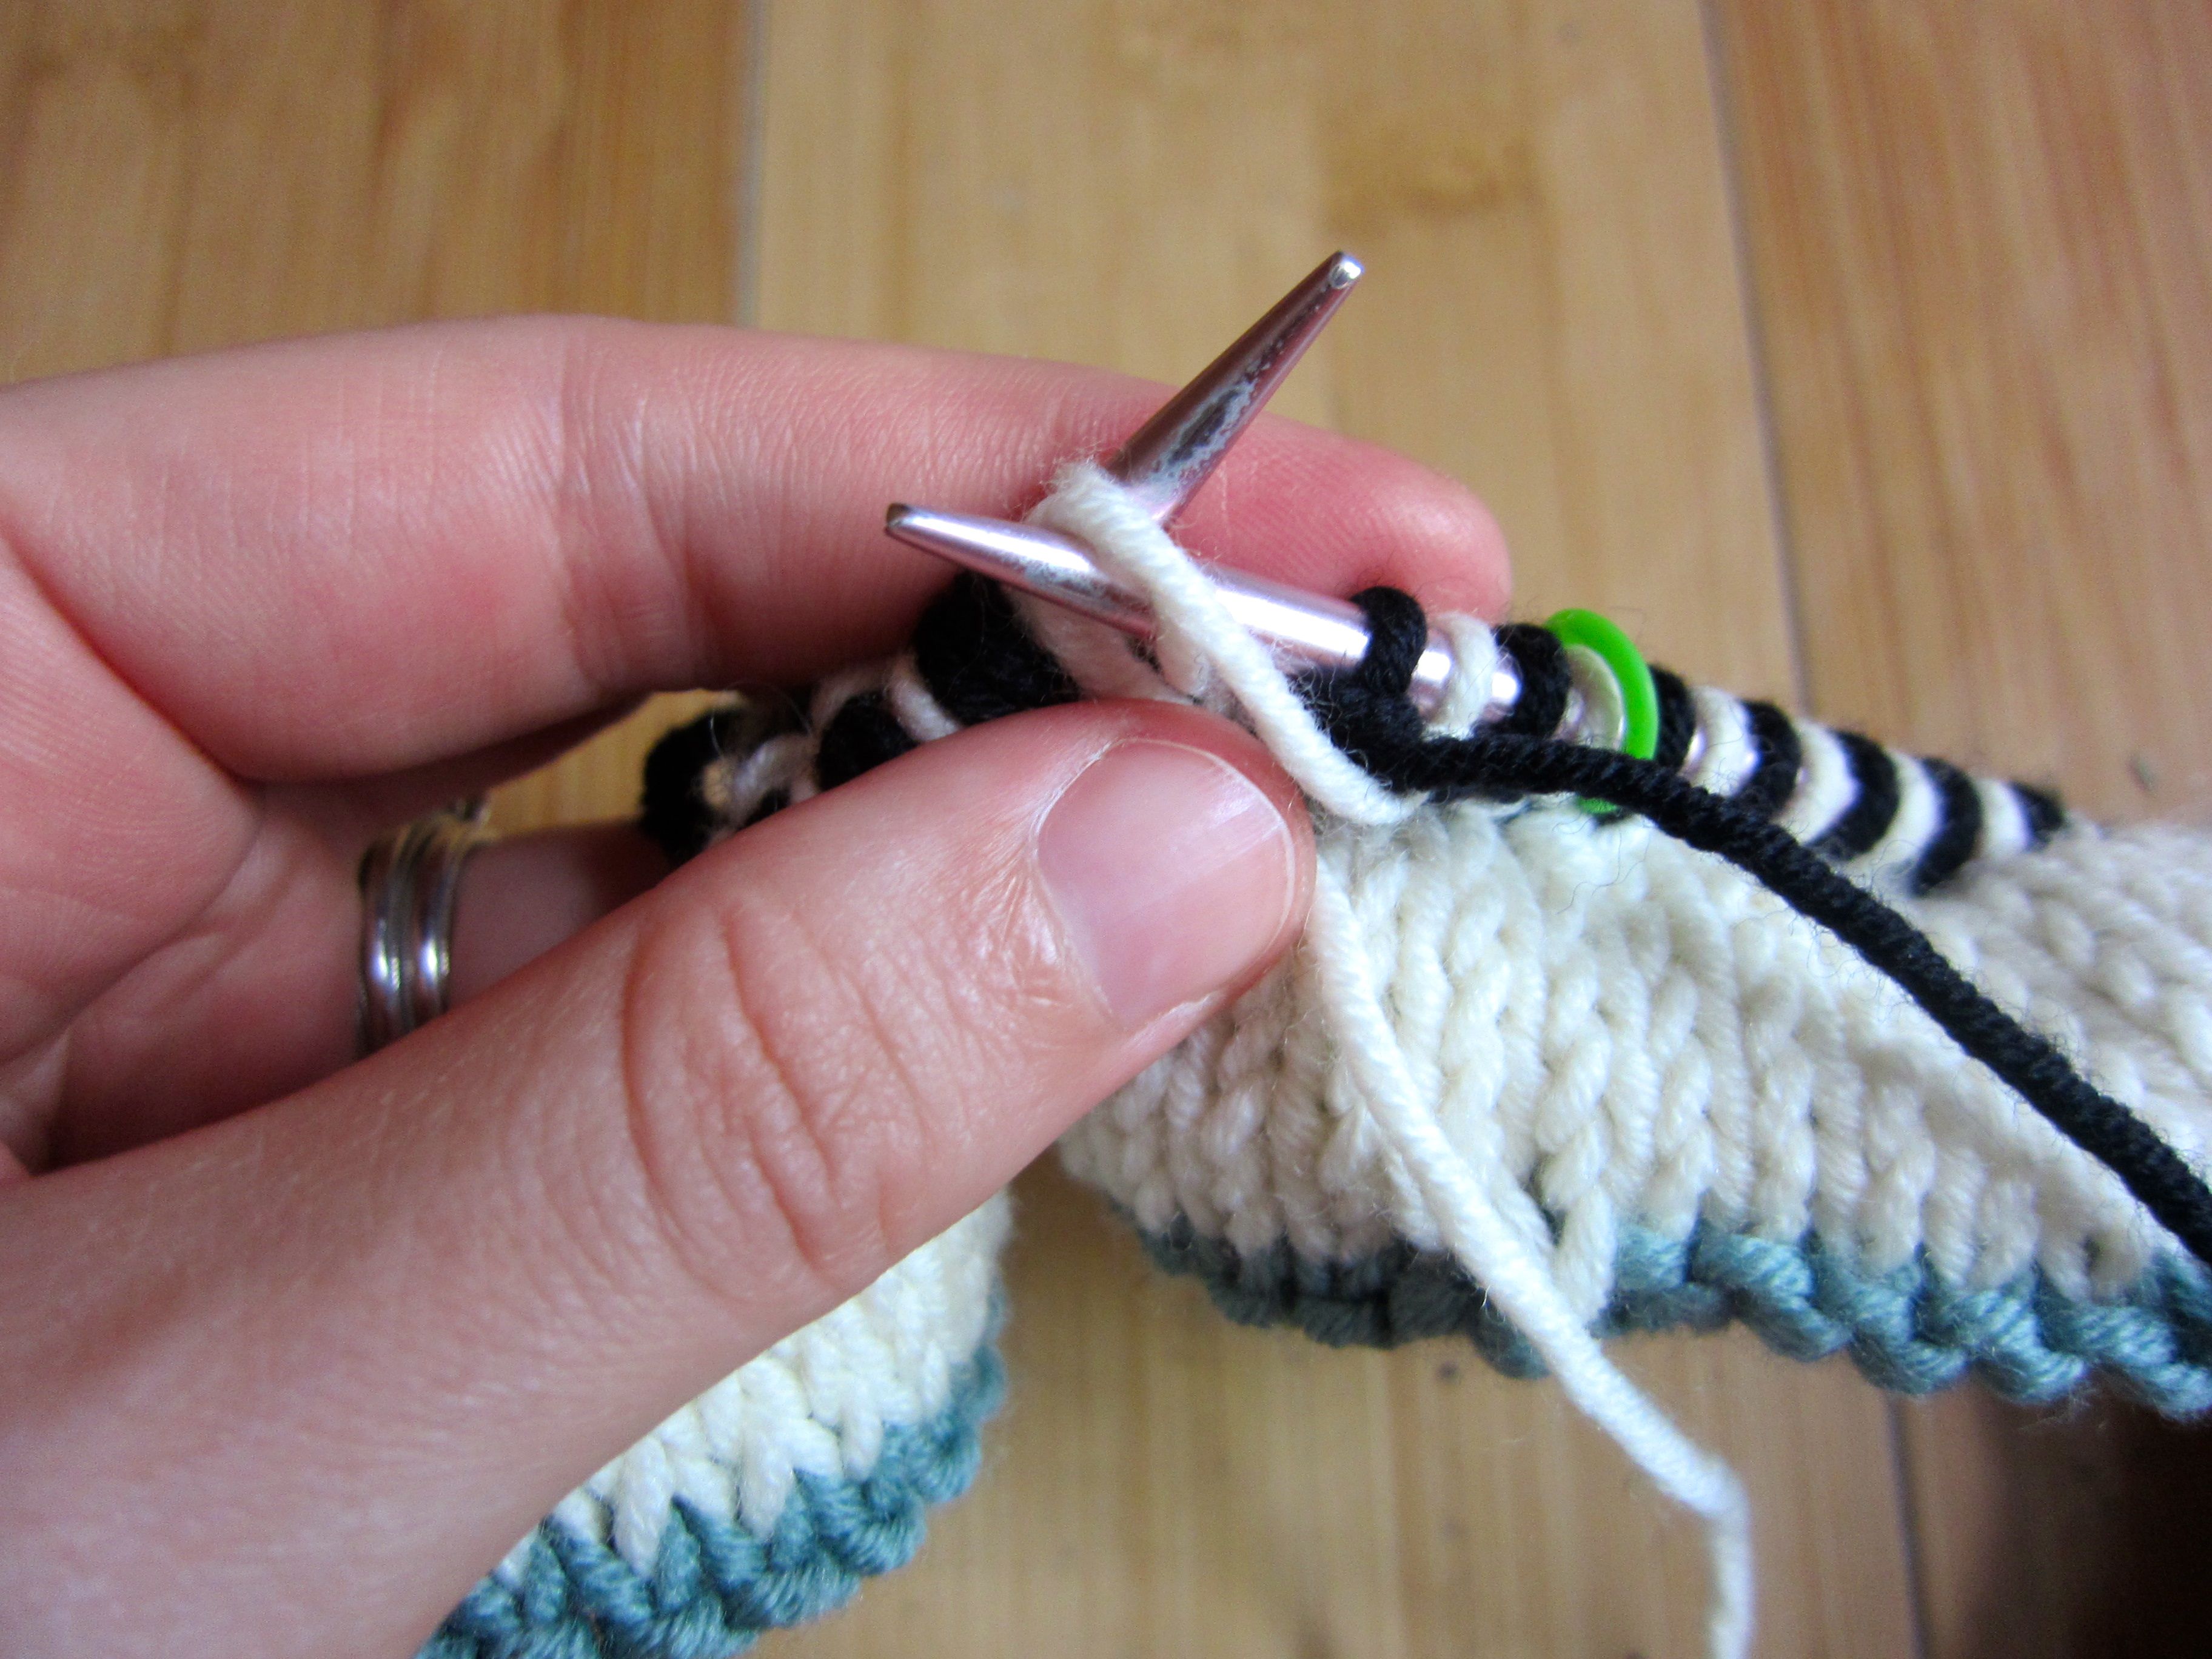
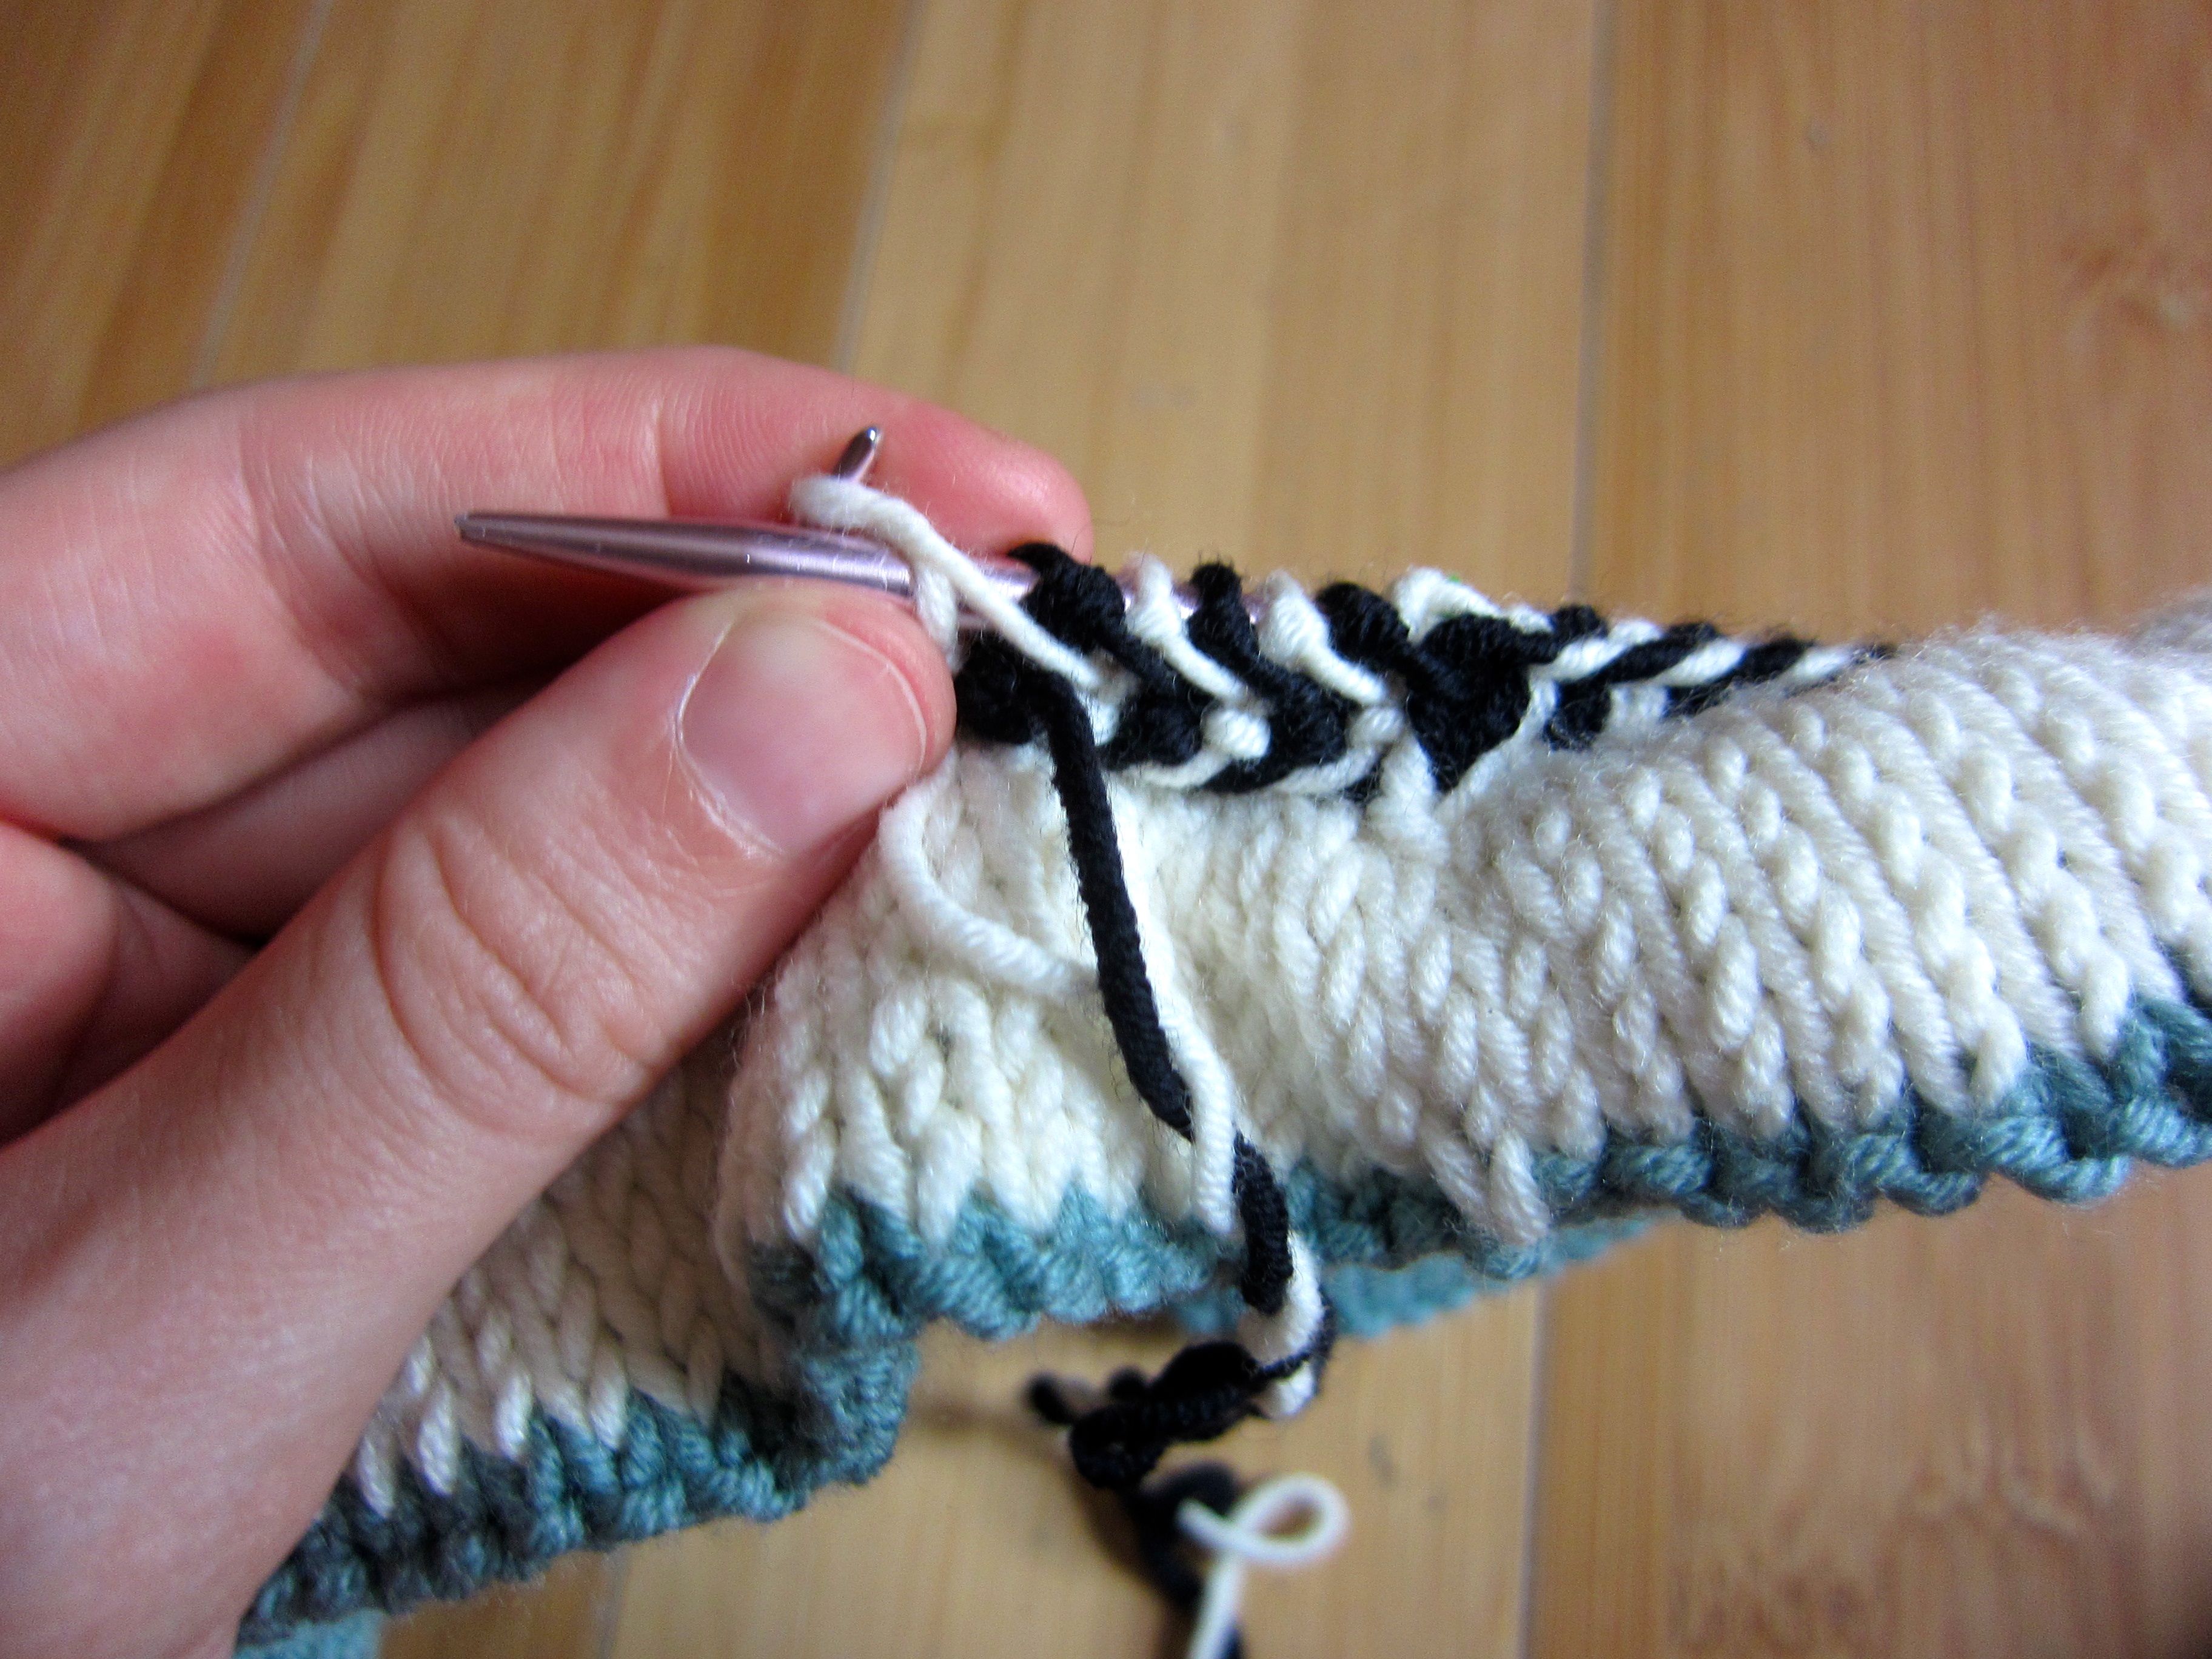
When you’re finished the Setup Round, bring all yarns to the front of the work. Rounds 2 and 3 of the braid are purled; you’ll keep all colors in the front of the work as you make your braids. You’re going to purl each stitch using the color in which it was knit on the Setup Round (in this case, I’m purling the black stitches using black and purling the white stitches using white).
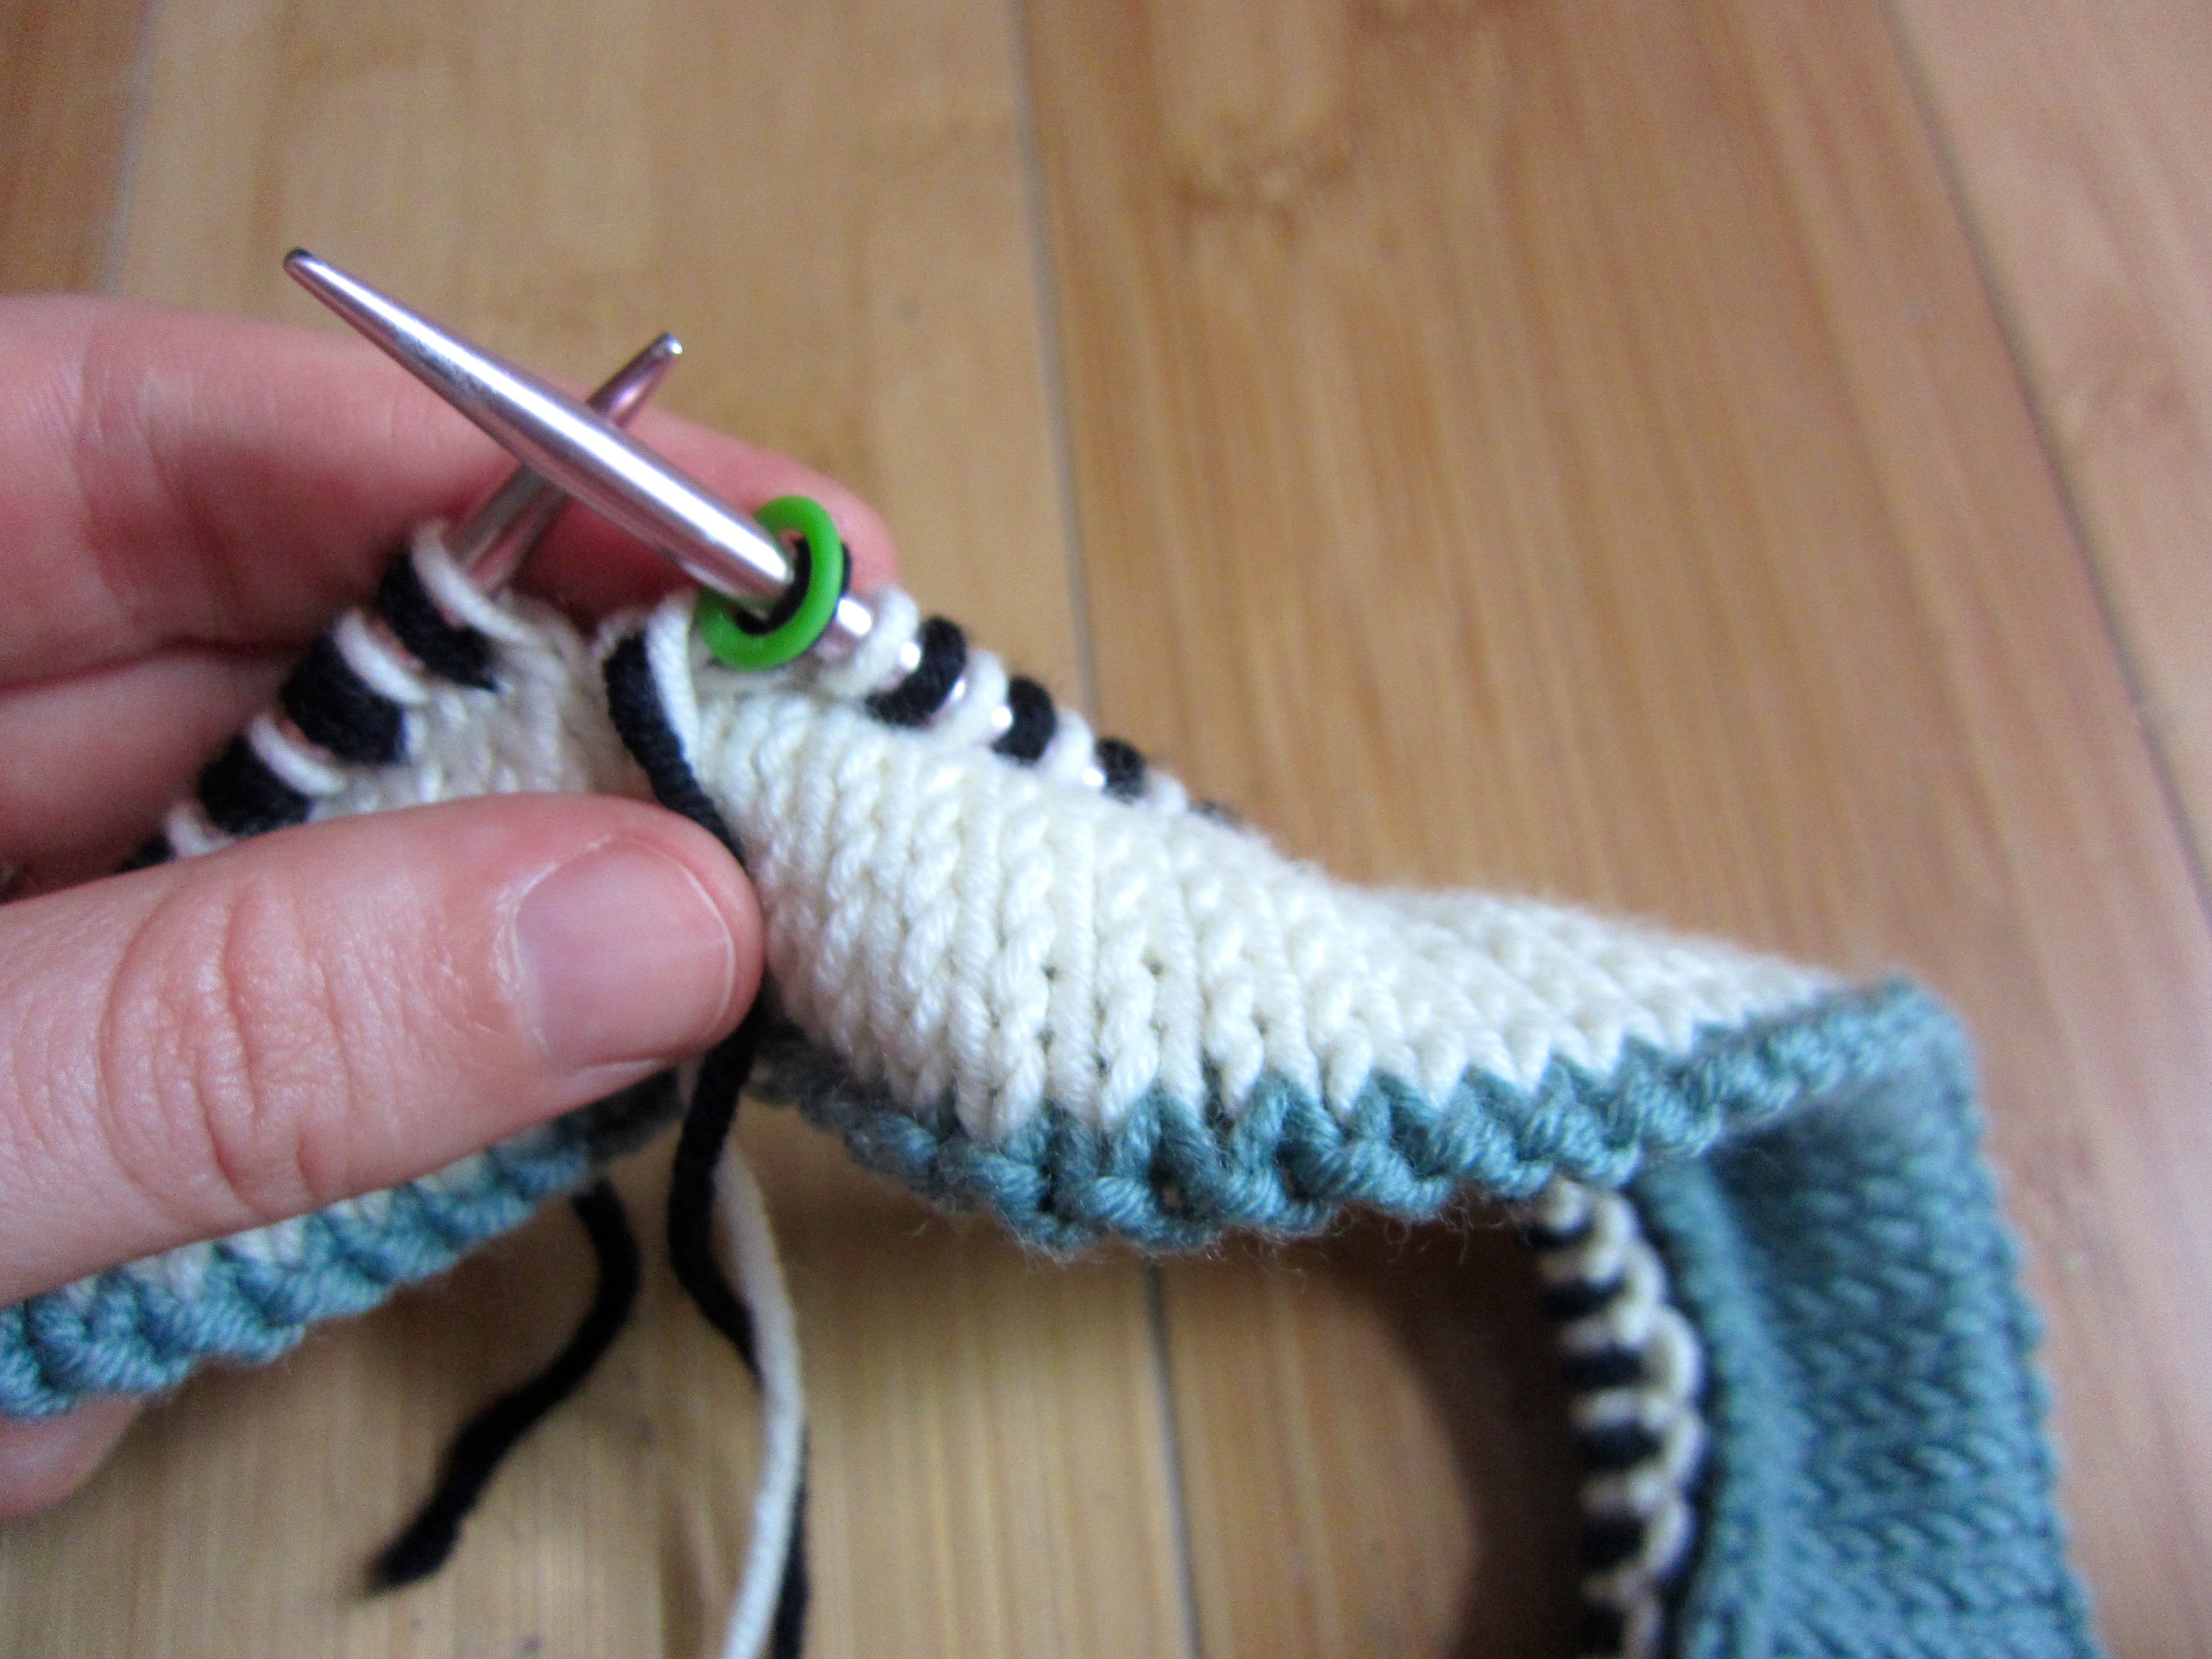
To create a right-leaning braid, each time you change colors, bring the yarn you’re going to use UNDER the yarn you just used (if you’re using more than two colors in your braid, bring each yarn under all the other colors).
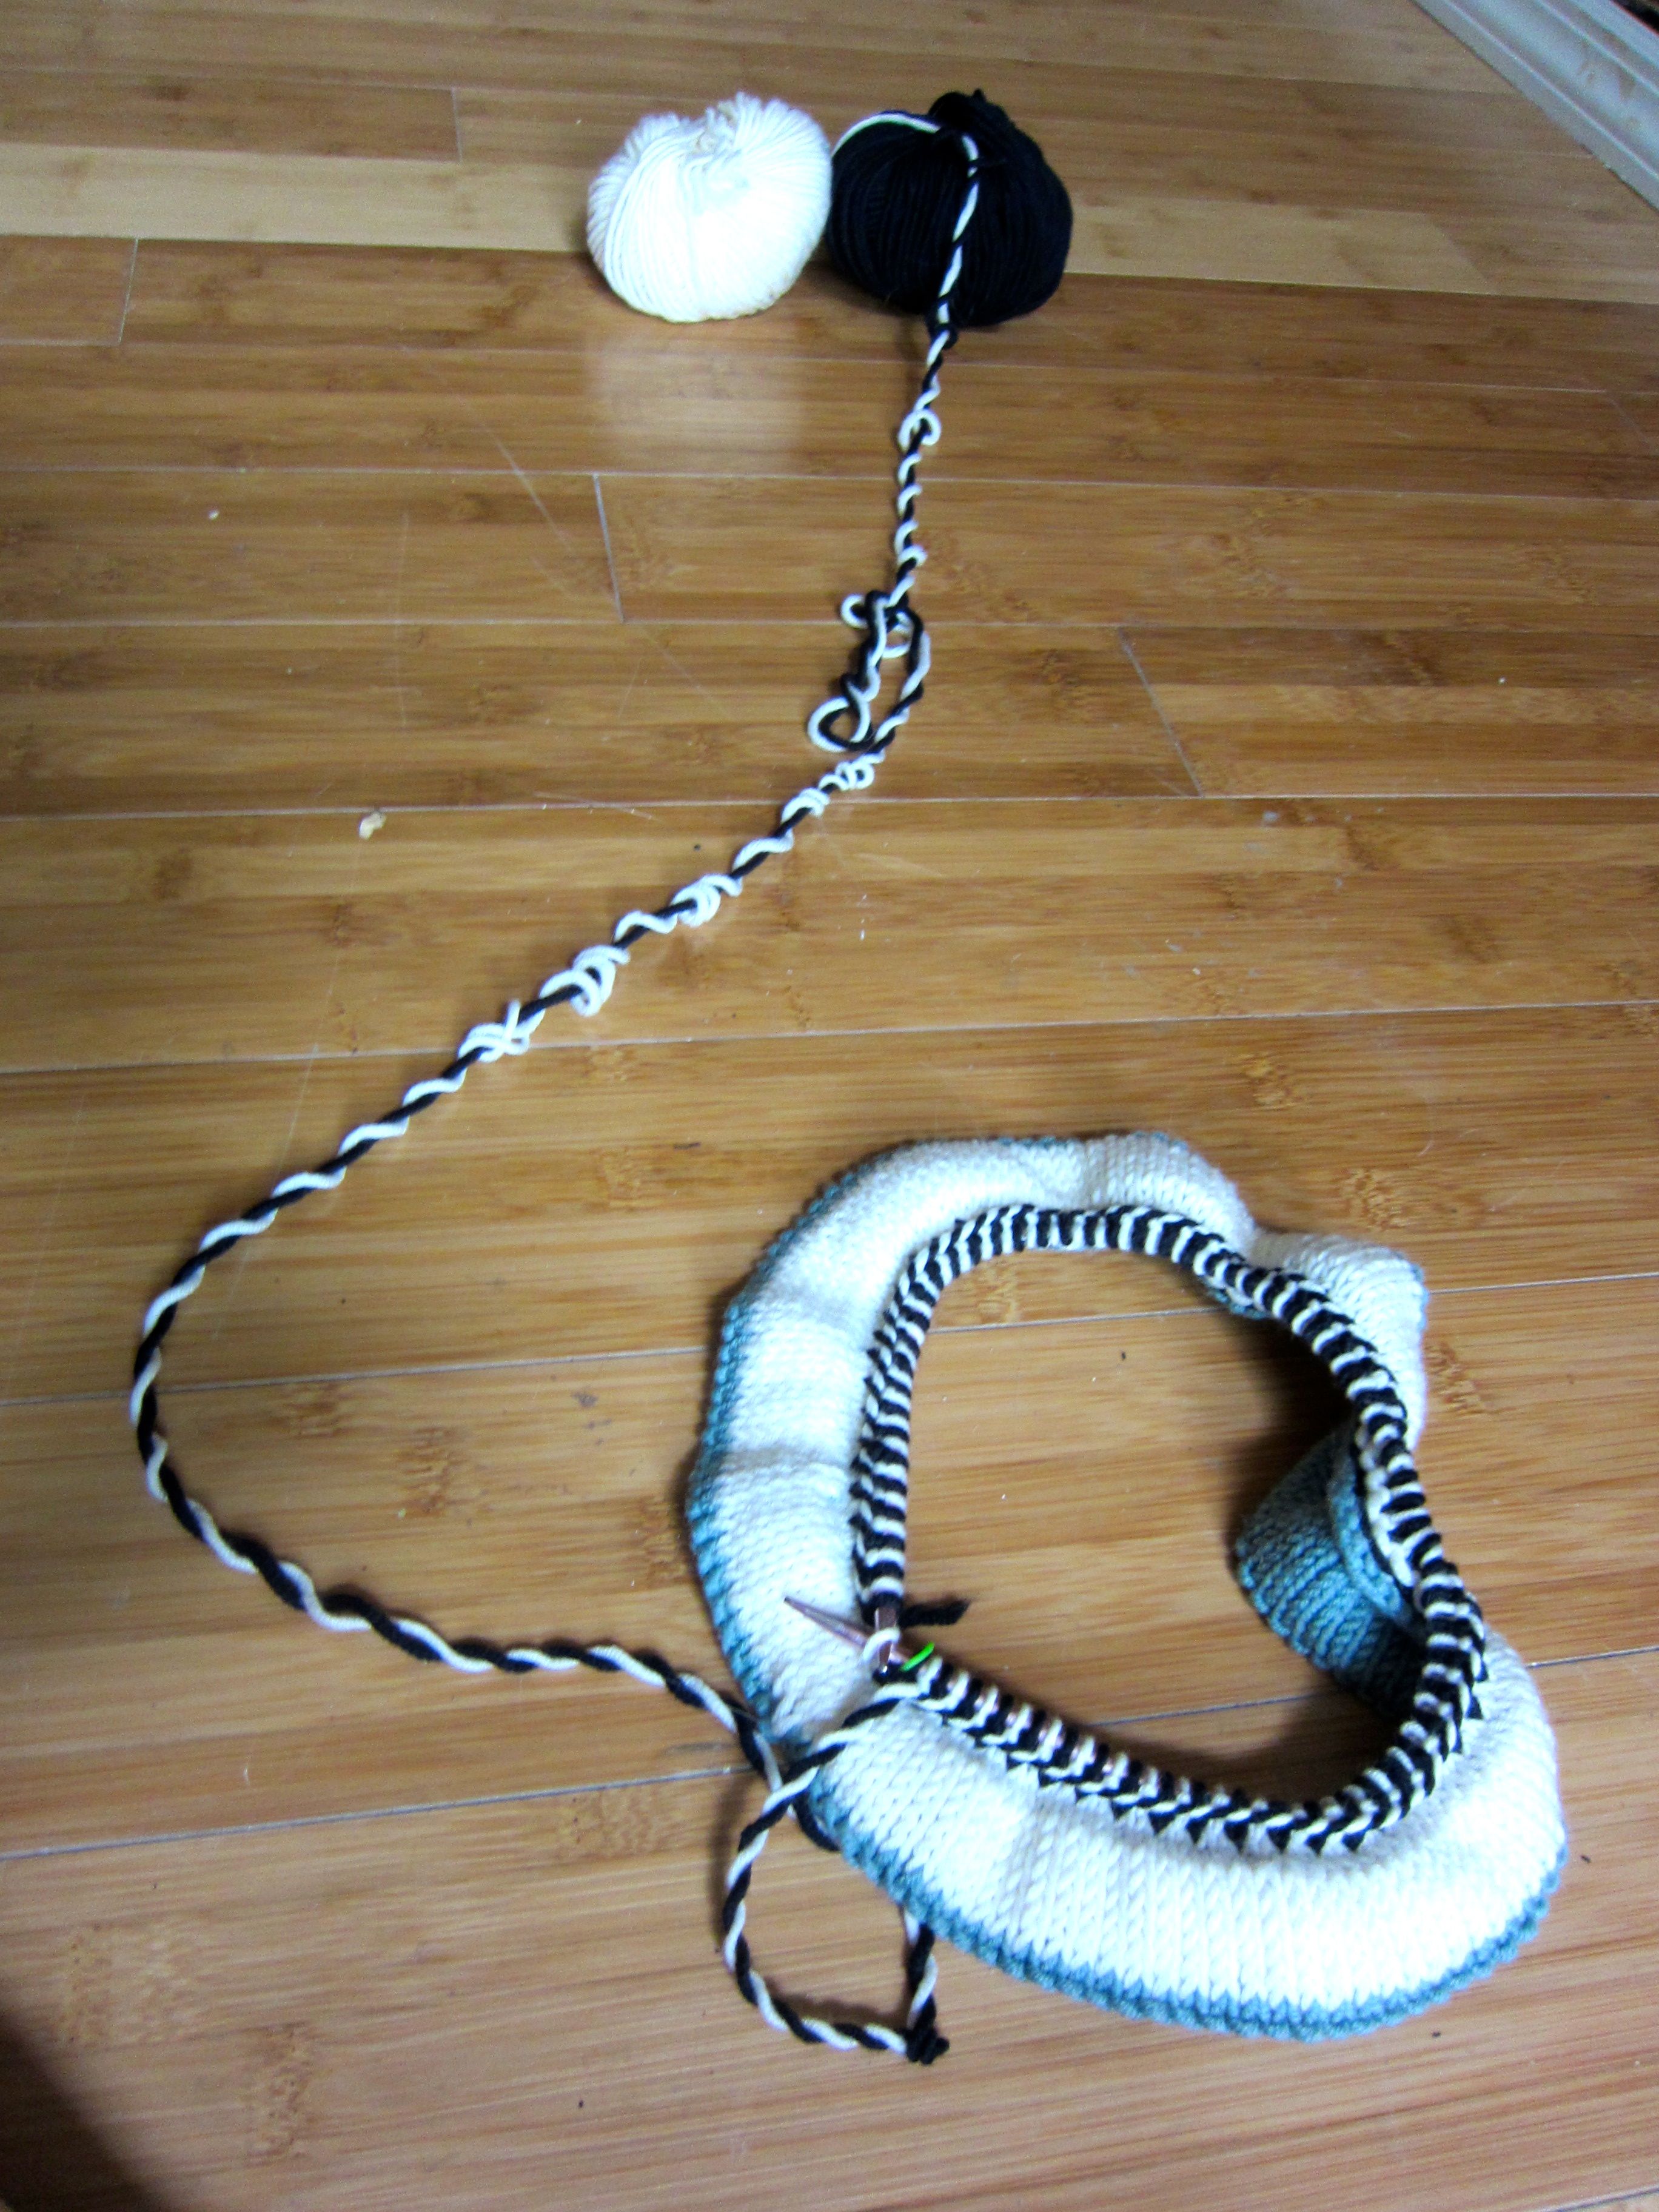
If you’ve done a lot of stranded knitting, this is going to go against what you’ve learned about not twisting your yarns as you alternate colors. In this case, twisting is correct and necessary. You’ll want to prepare for the twisting by pulling a few yards of each color from your cake or skein and pushing the twist down this yarn as you work. I like to throw the yarns some distance from me as I do braids so they have plenty of space to twist. If you’re using three or more colors for your braid, be prepared for a twisted rope of yarn.

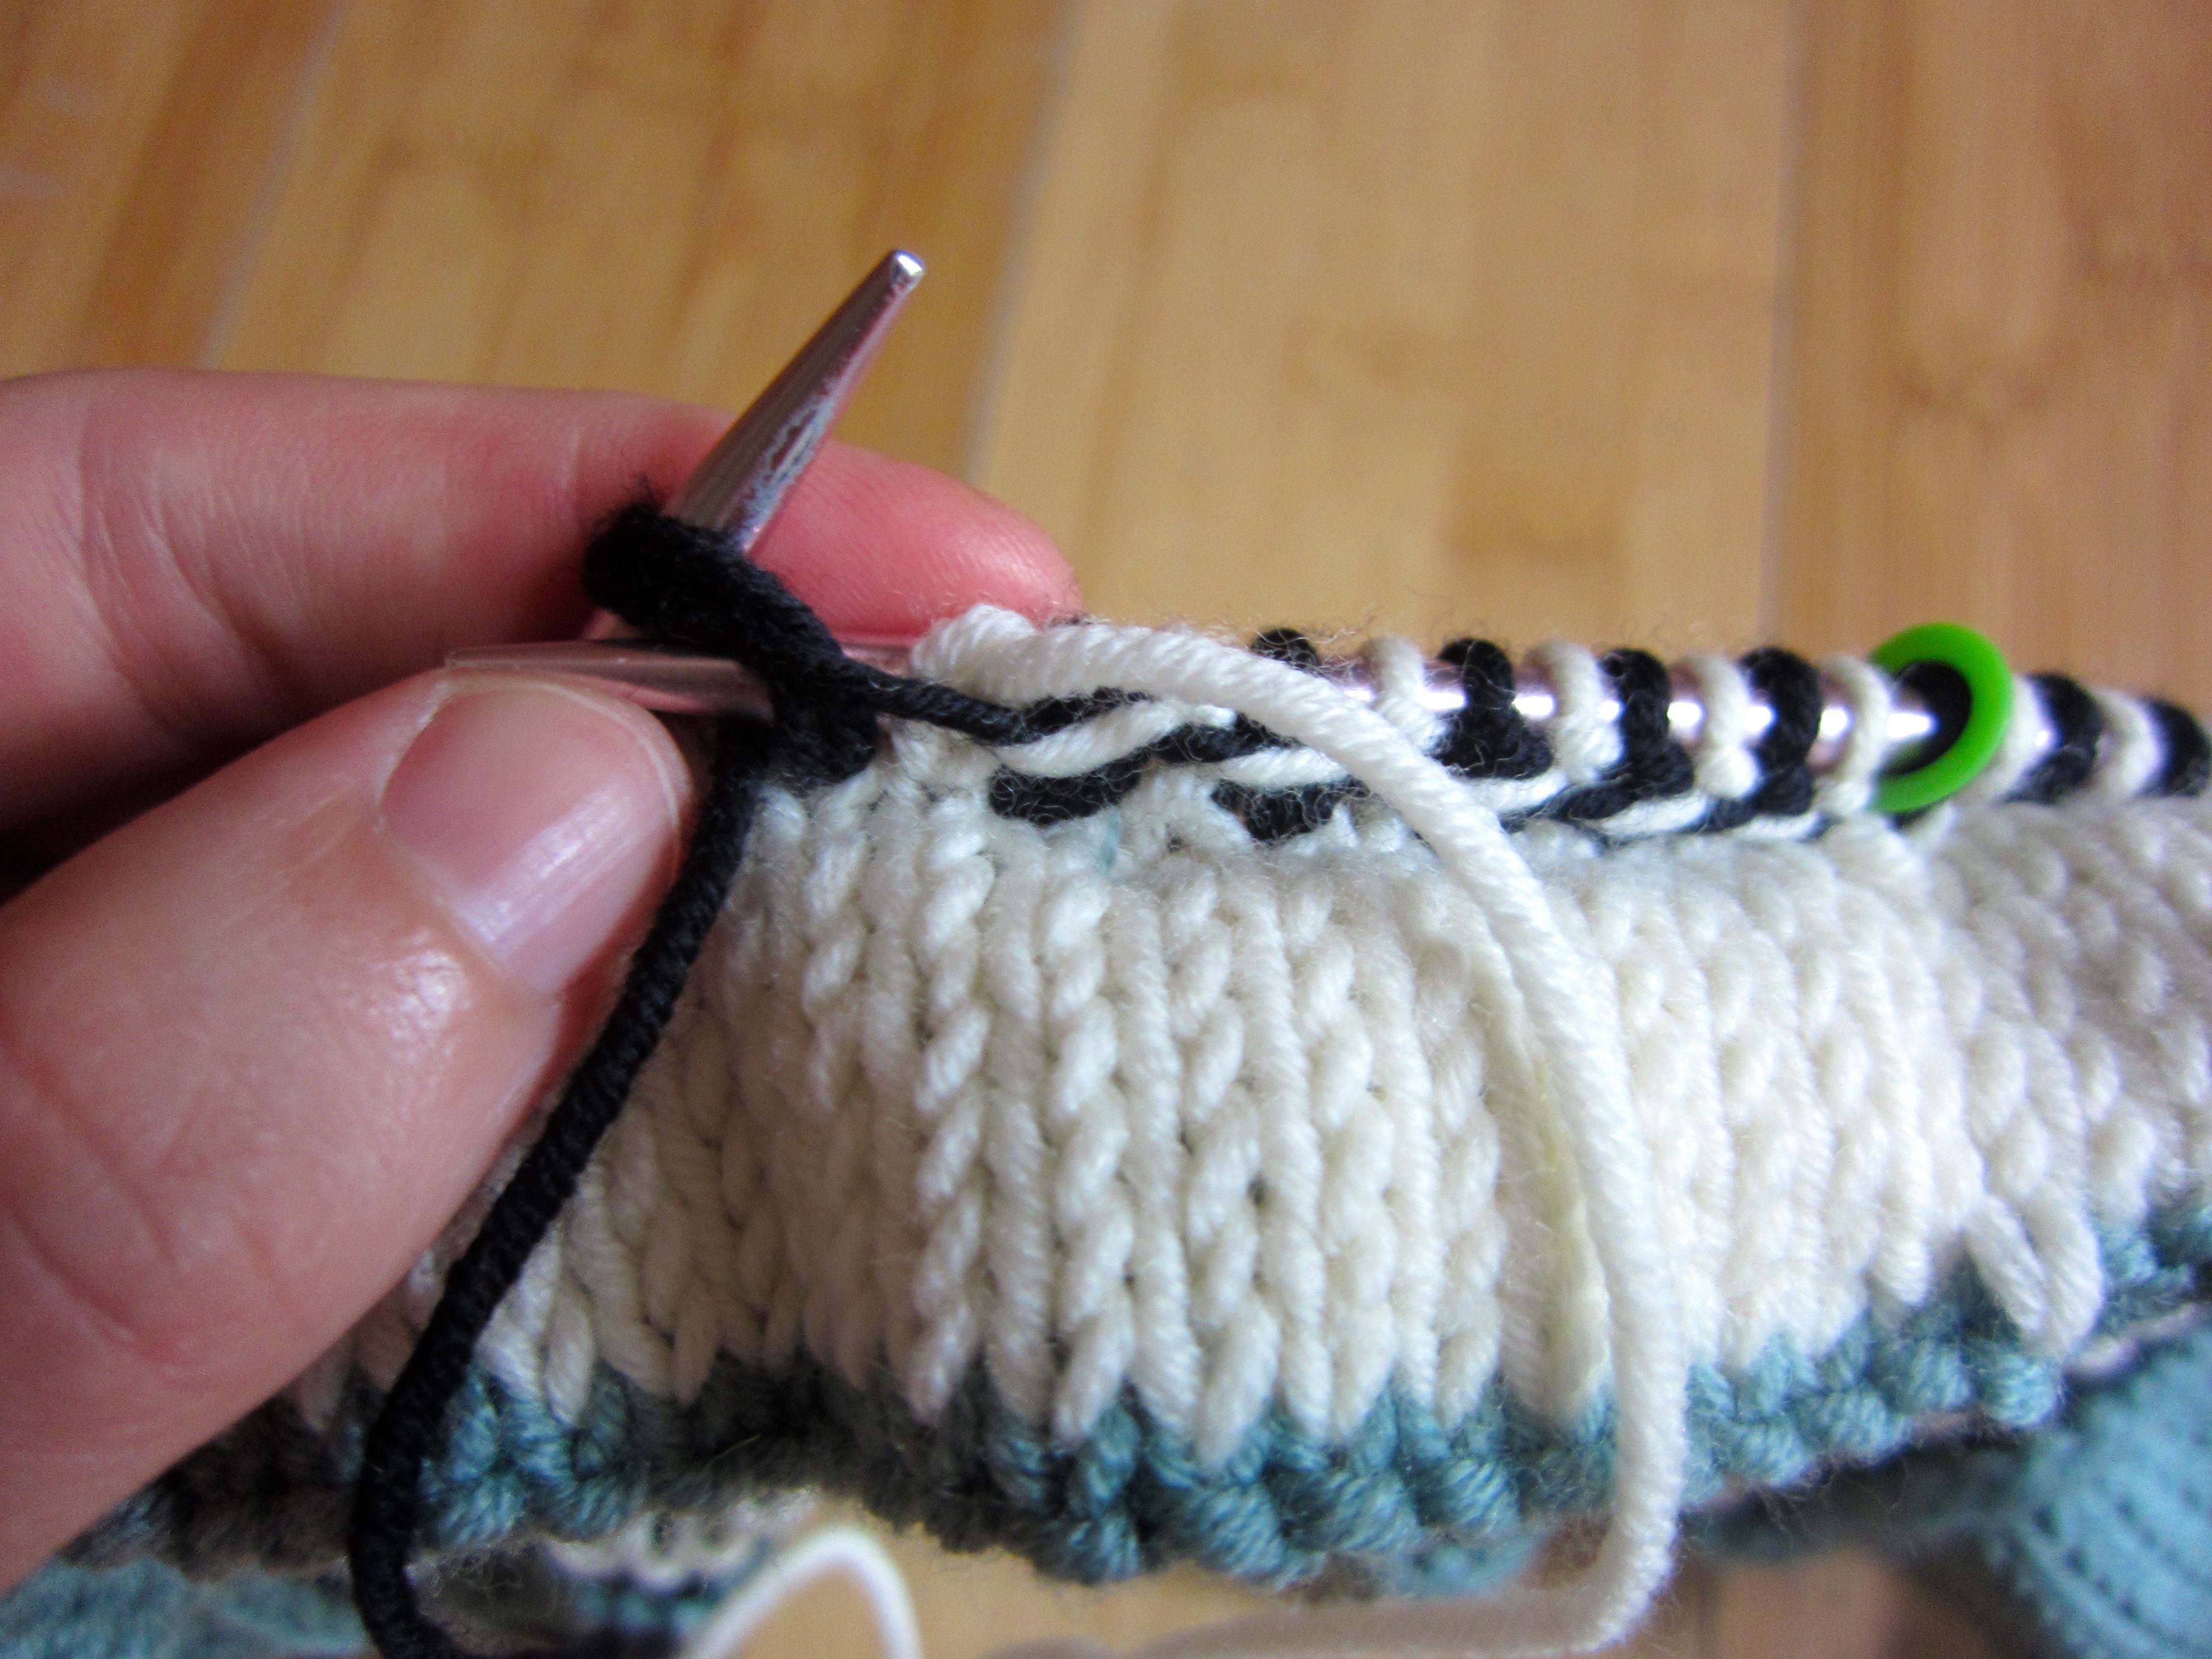
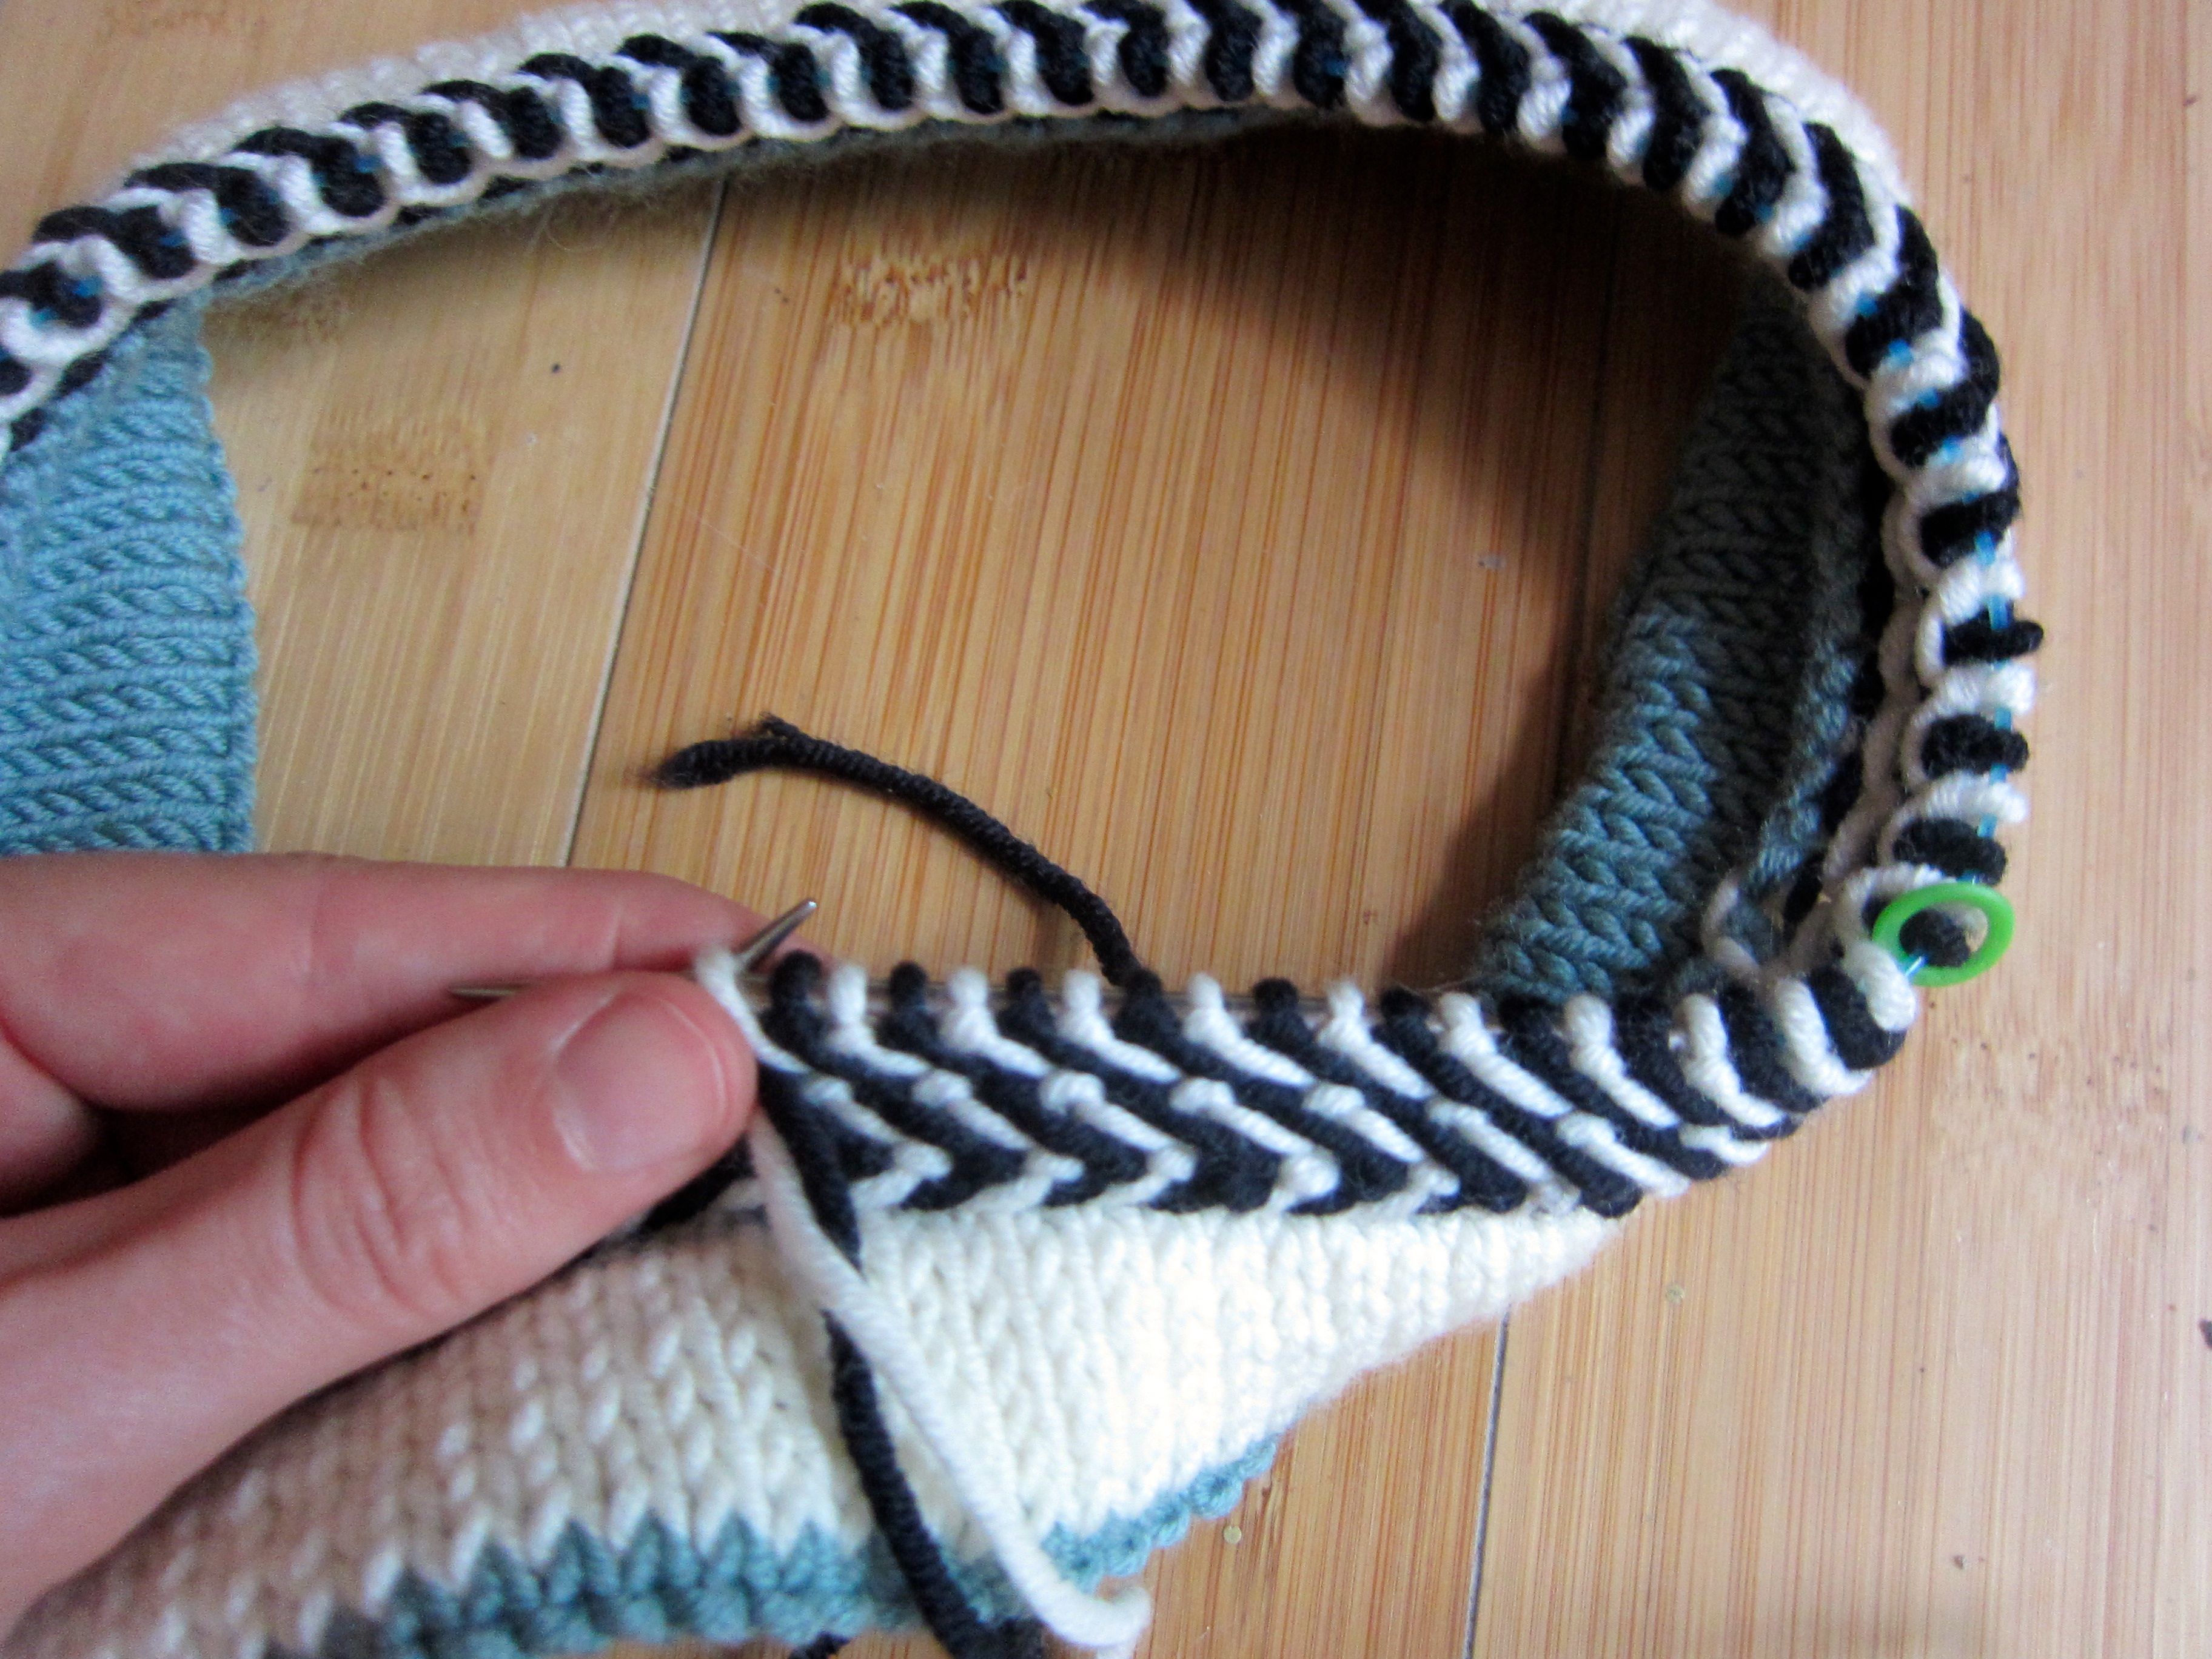
On Round 3 of the right-leaning braid, you’re going to reverse this twist. Like in Round 2, purl each stitch in its established color, but this round, bring each yarn OVER the other yarn(s).
As you do this, your yarns will untwist! Magic!
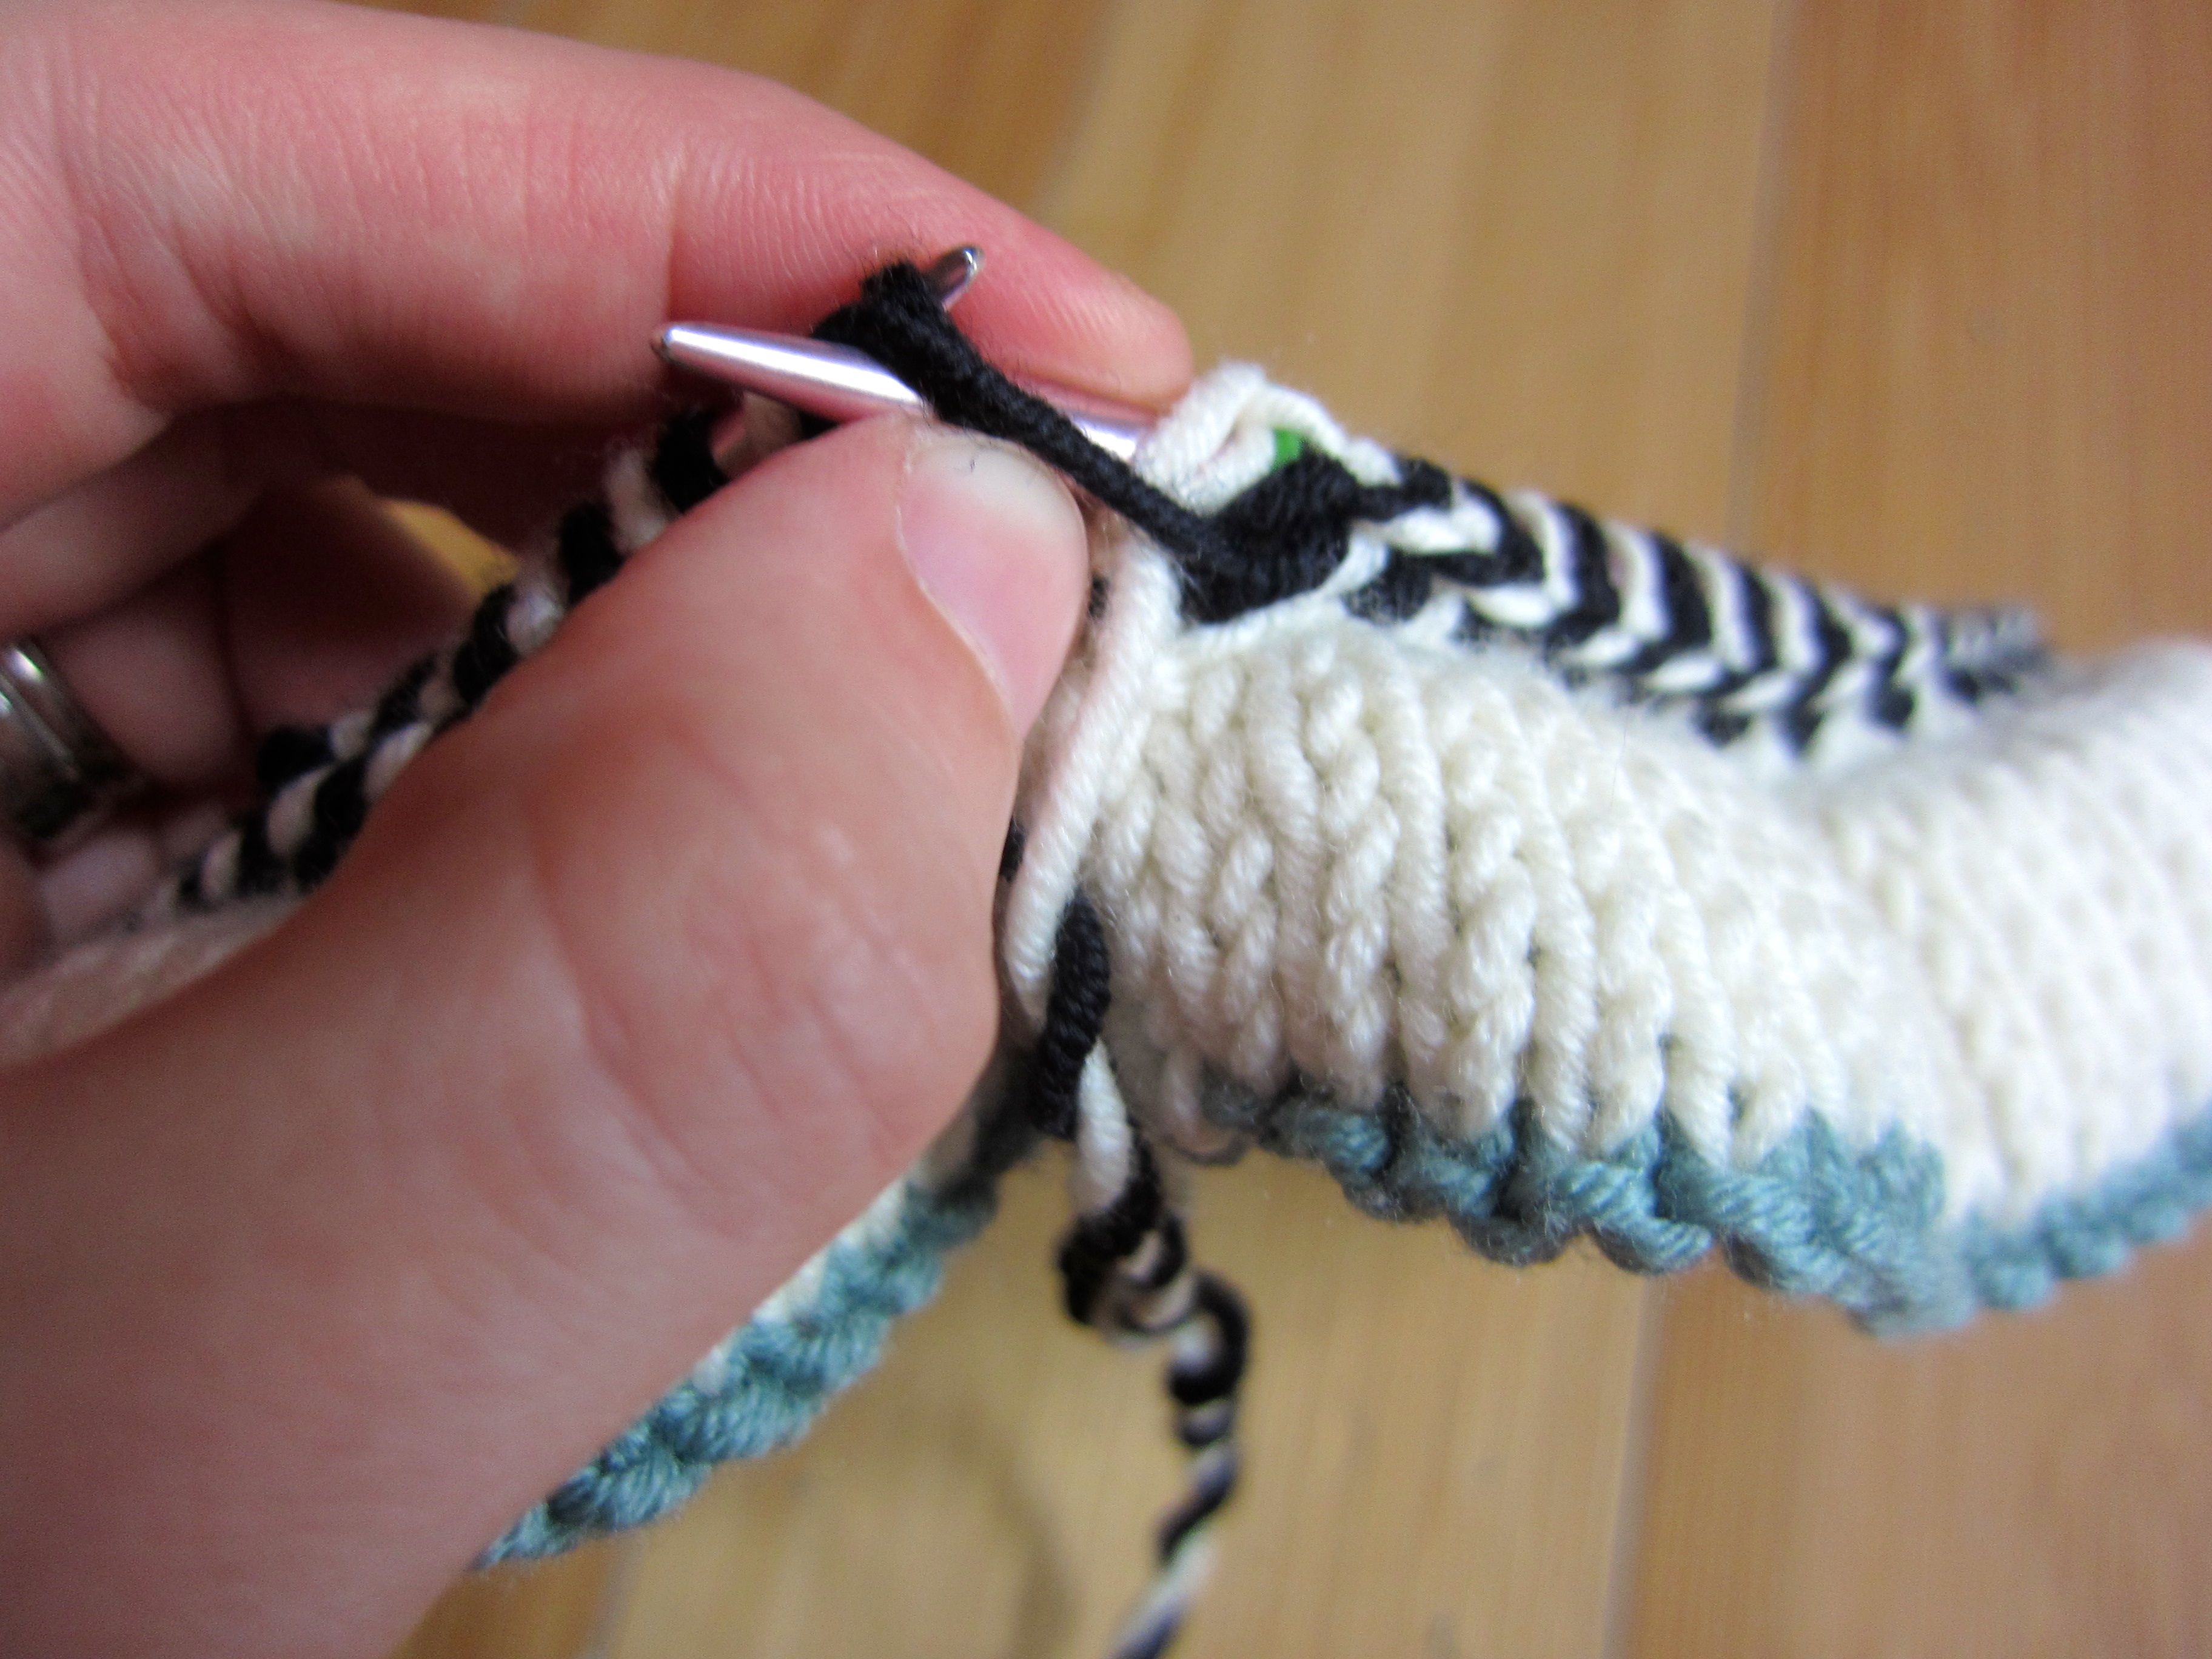
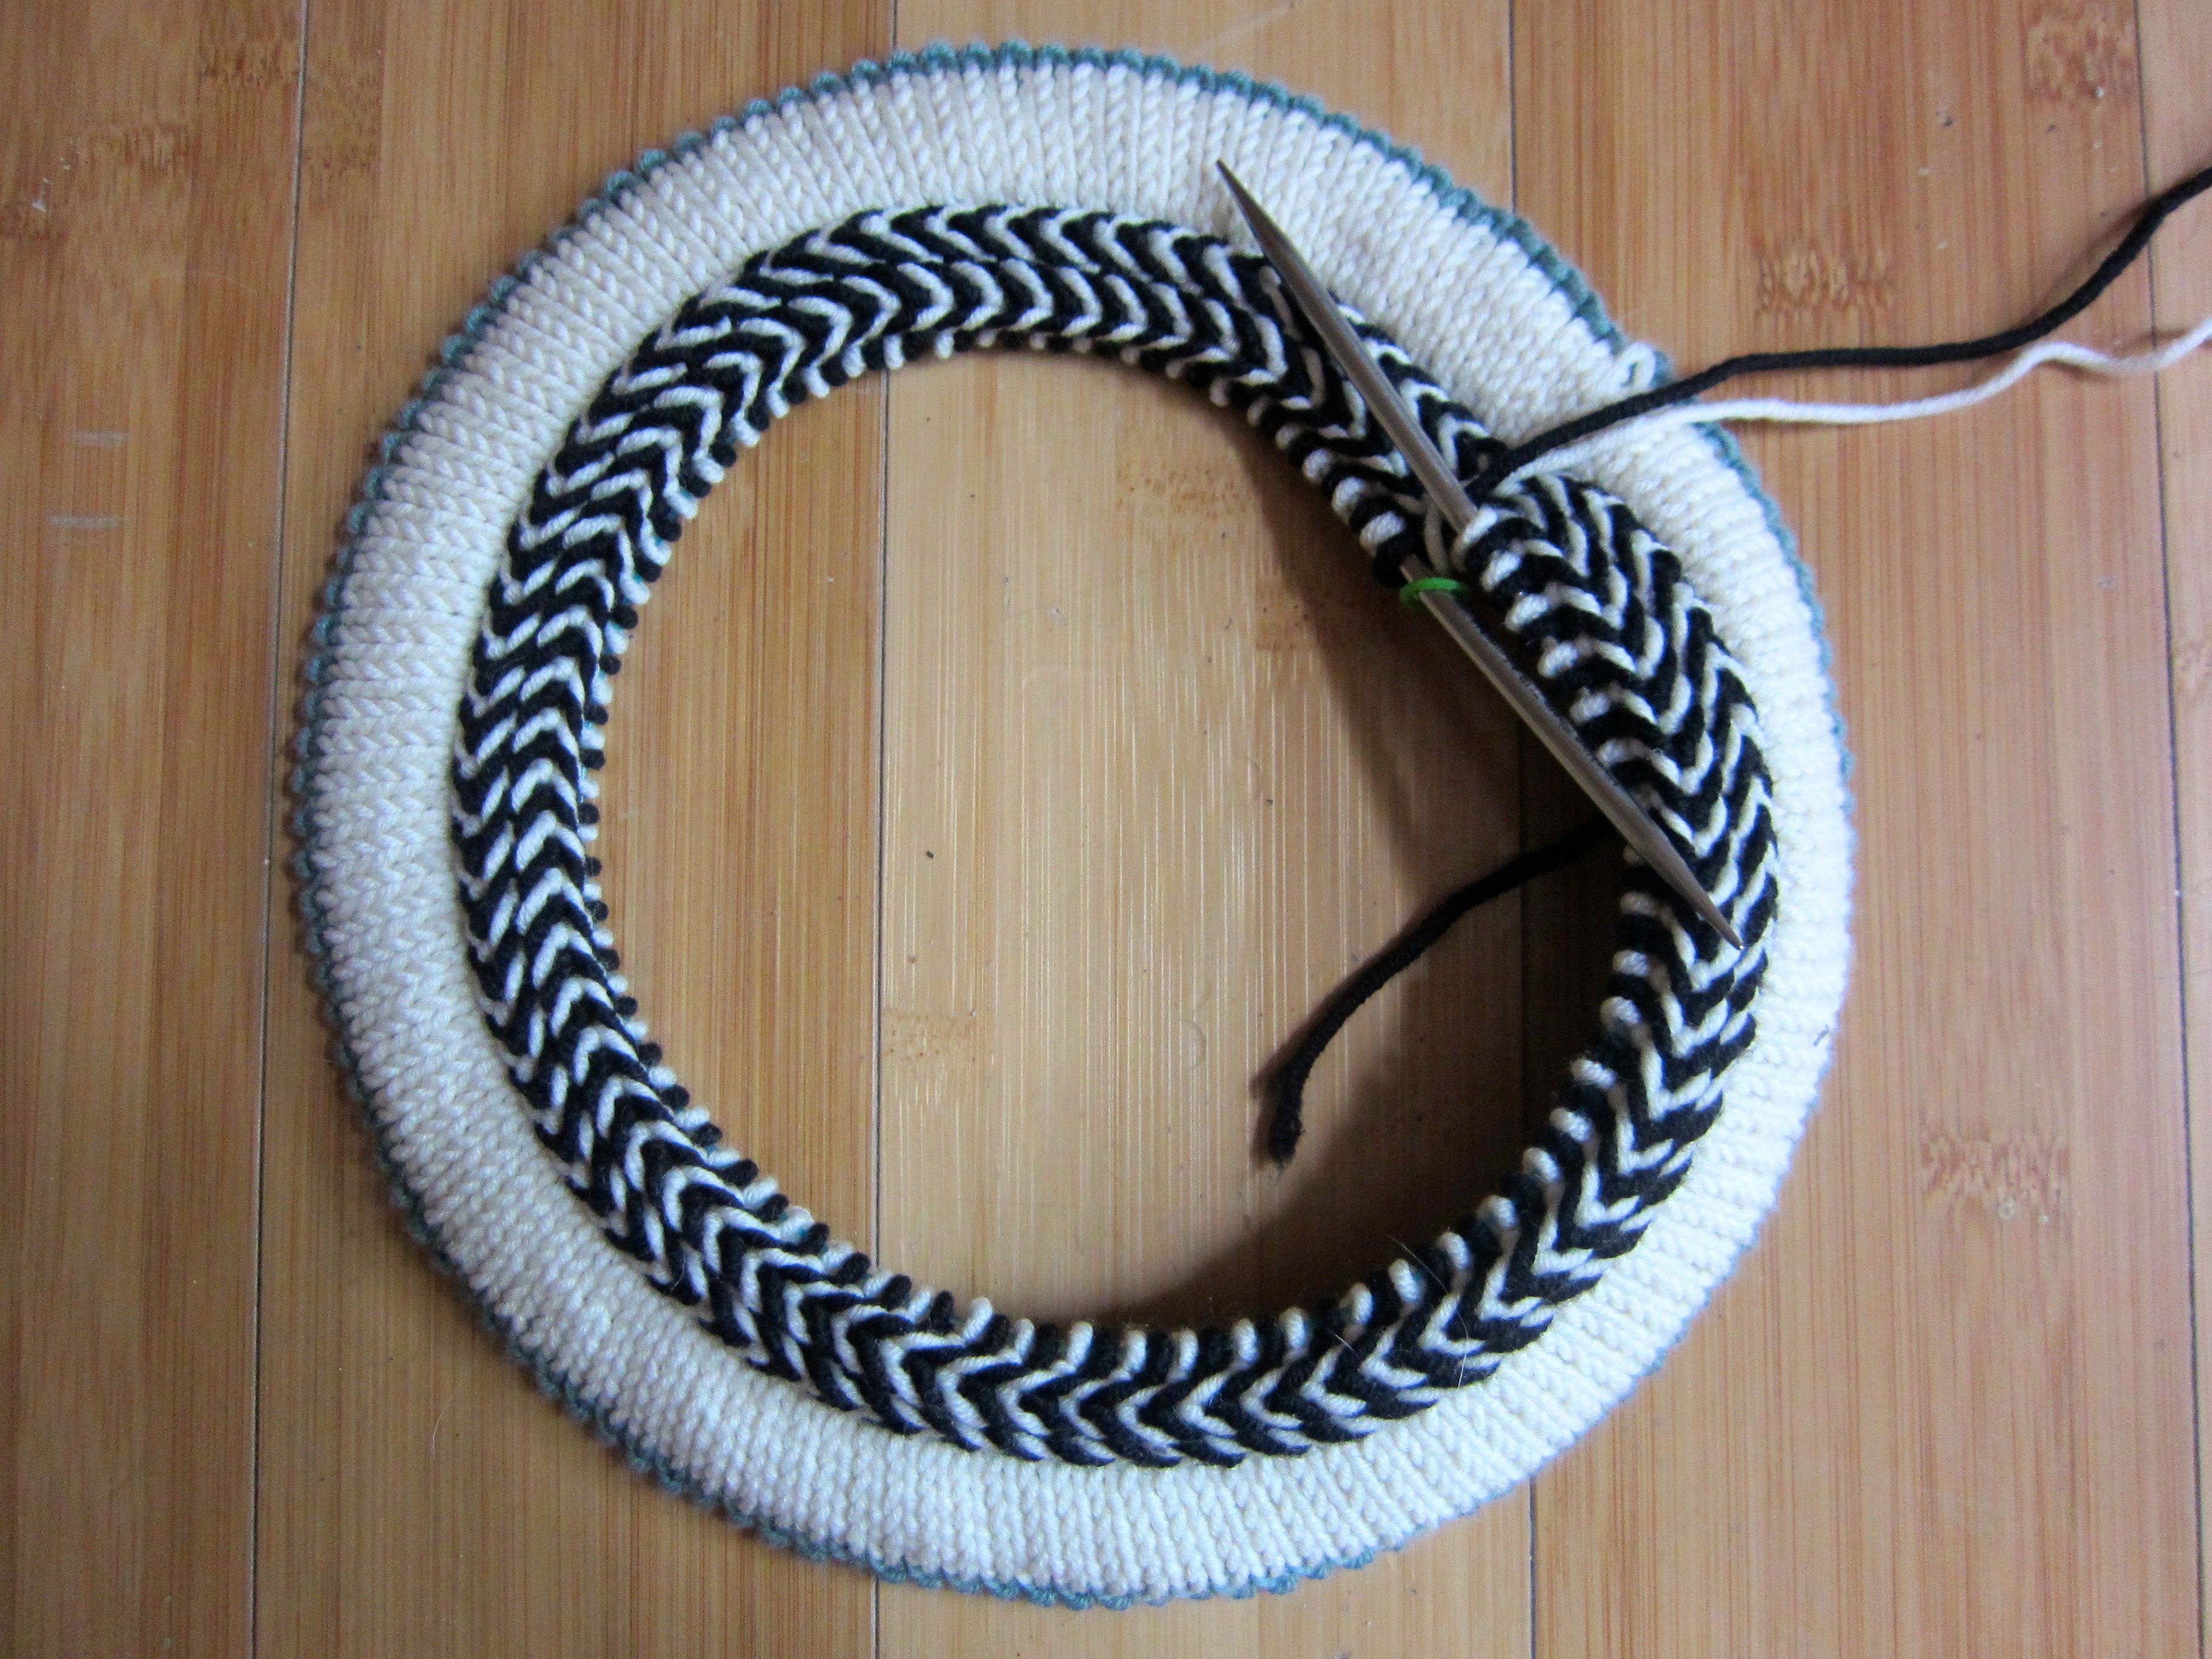
Here’s how your braid will look at the end of the three rounds.

You might be able to guess how to create a left-leaning braid. Yep, just reverse Rounds 2 and 3! Work the Setup Round (Round 1) just like for the right-leaning braid. On Round 2, bring each color OVER the other(s), and on Round 3, bring each color UNDER the other(s).
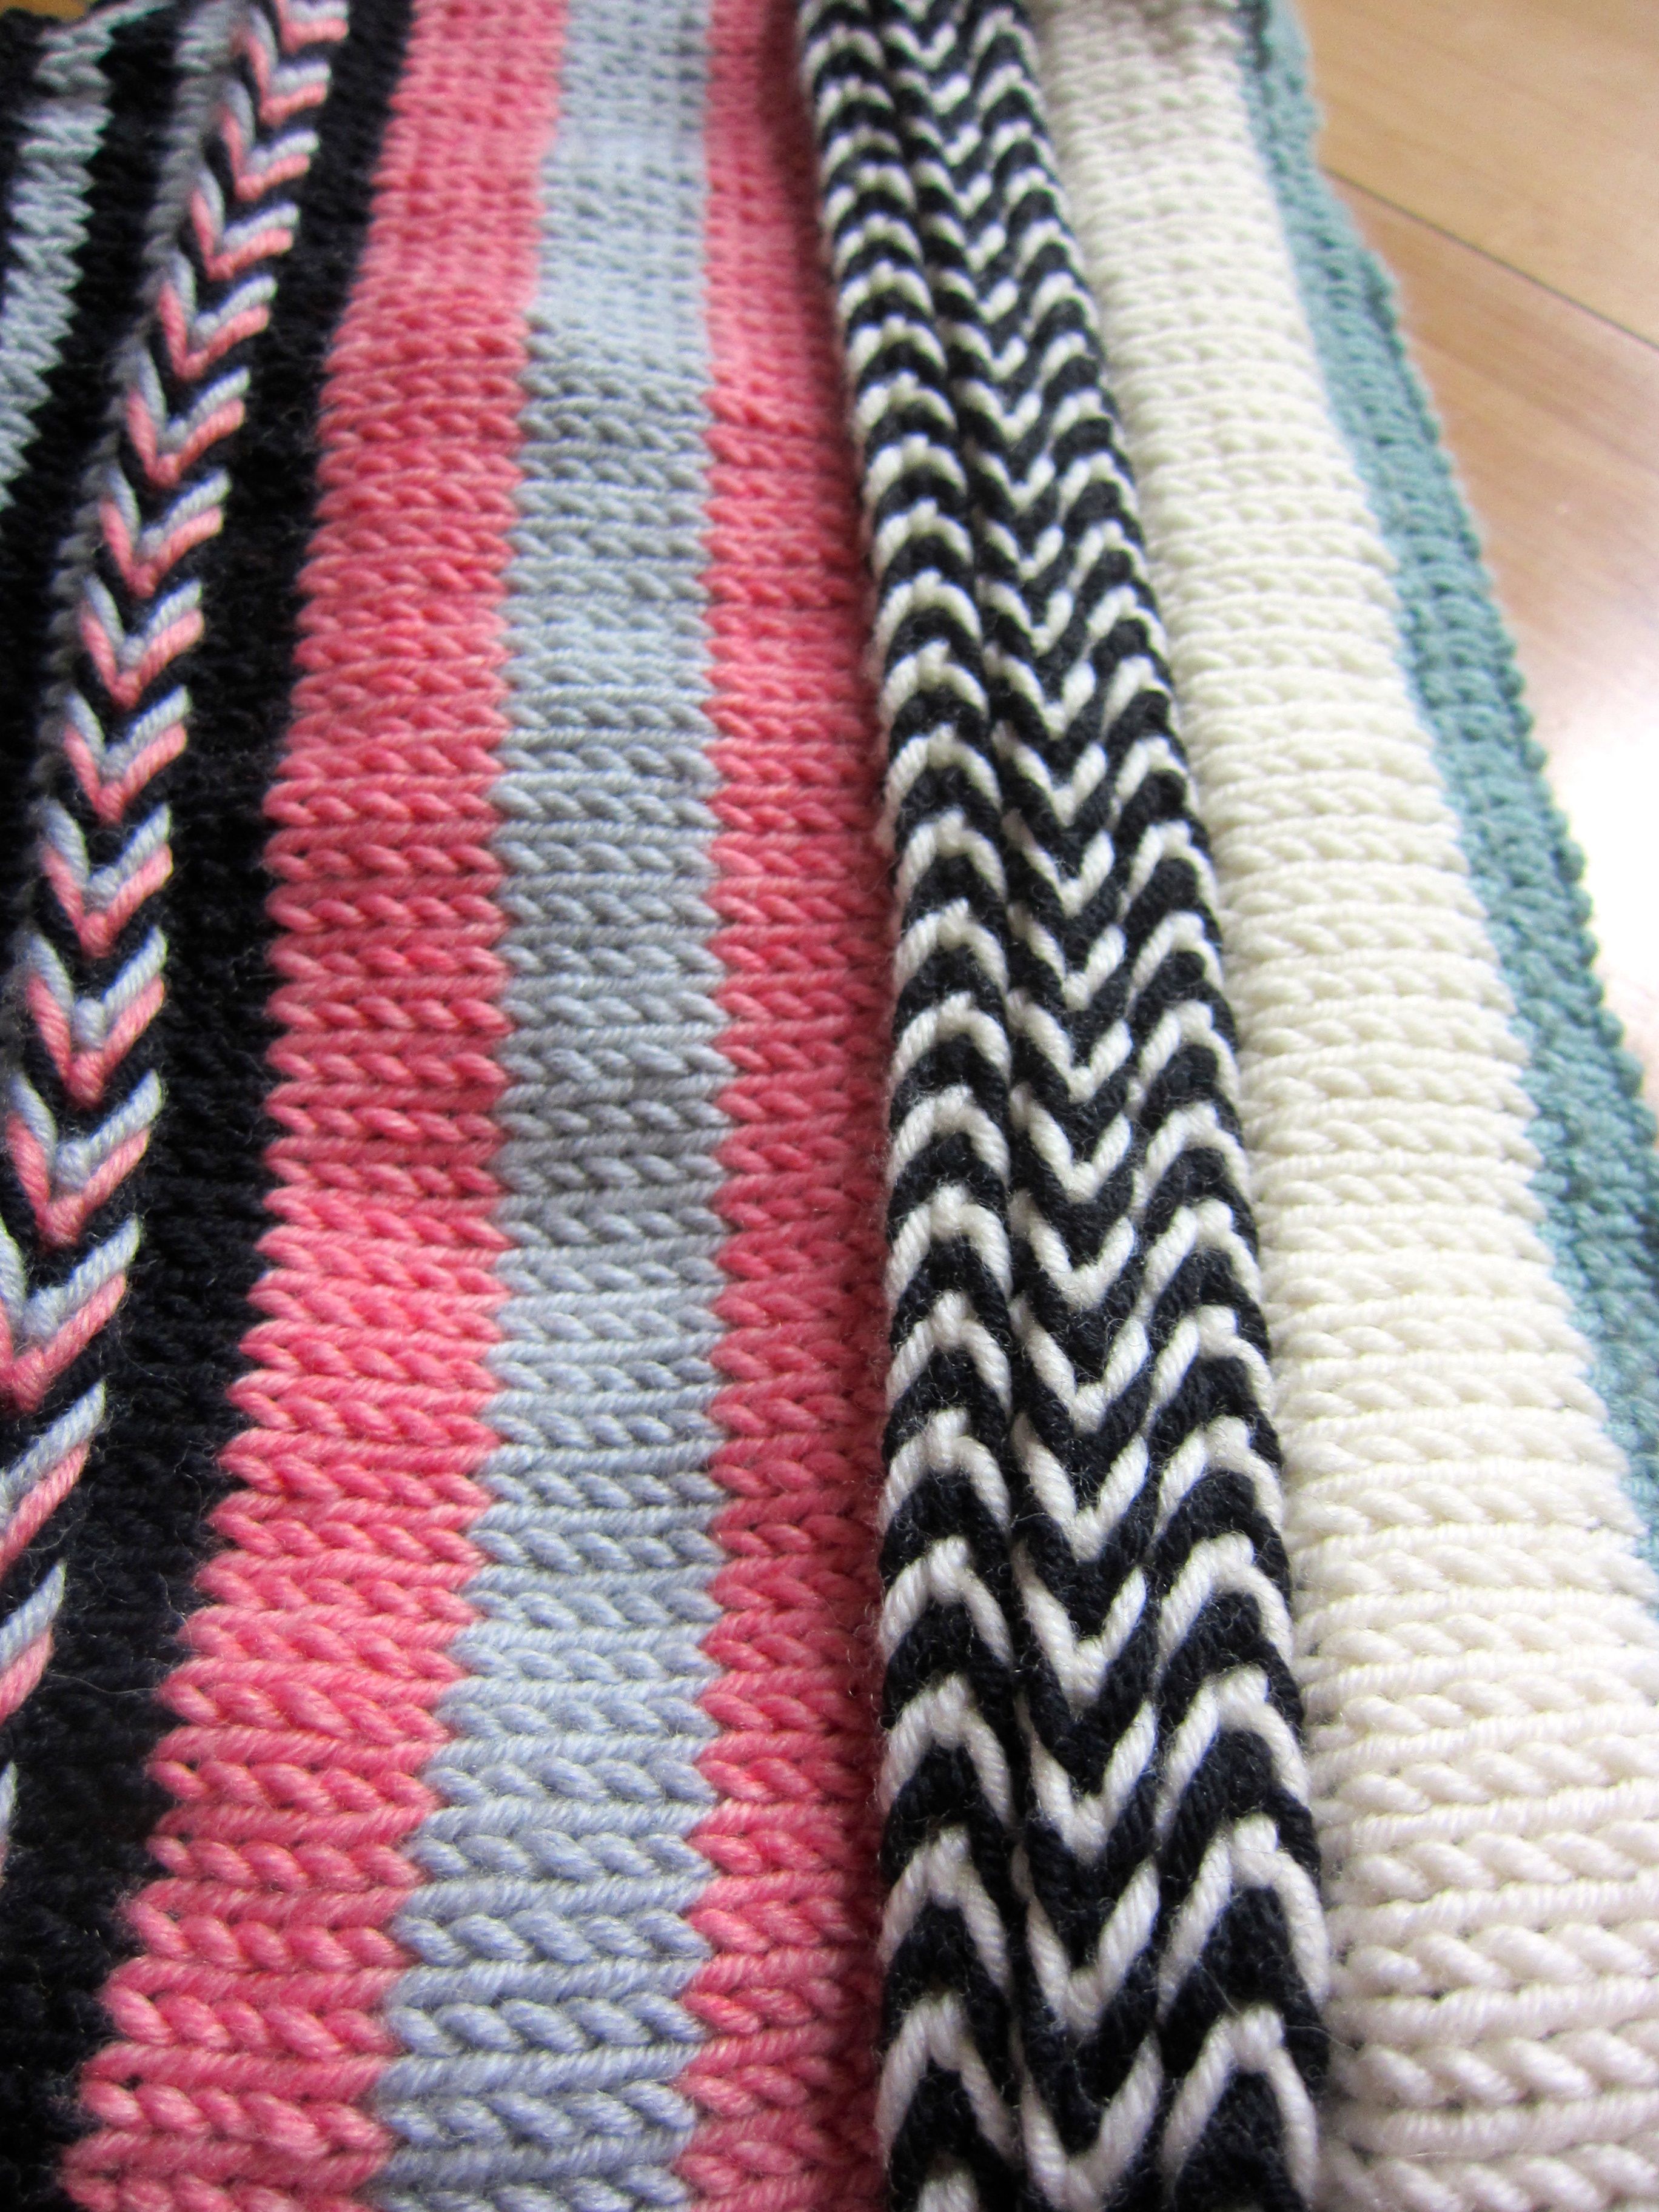
That’s all there is to it! You can work braids in clusters, each immediately following the one before (as I’ve done in this piece), or you can space them apart with rounds of plain Stockinette stitch or stranded designs. You can do a sequence of braids that lean in one direction, or you can alternate directions as I’ve done in this piece.
Now you have the tools to confidently work designs that use braids or to add braids to your next mittens, cowl, hat, sweater, socks . . . anything!
