
After my last post, in which I asked you to consider where your yarn is at, I received several requests for explaining end-weaving in more complex patterns. I’ve made a swatch in a simple lace pattern that I’ll use to demonstrate some intermediate-level end-weaving.
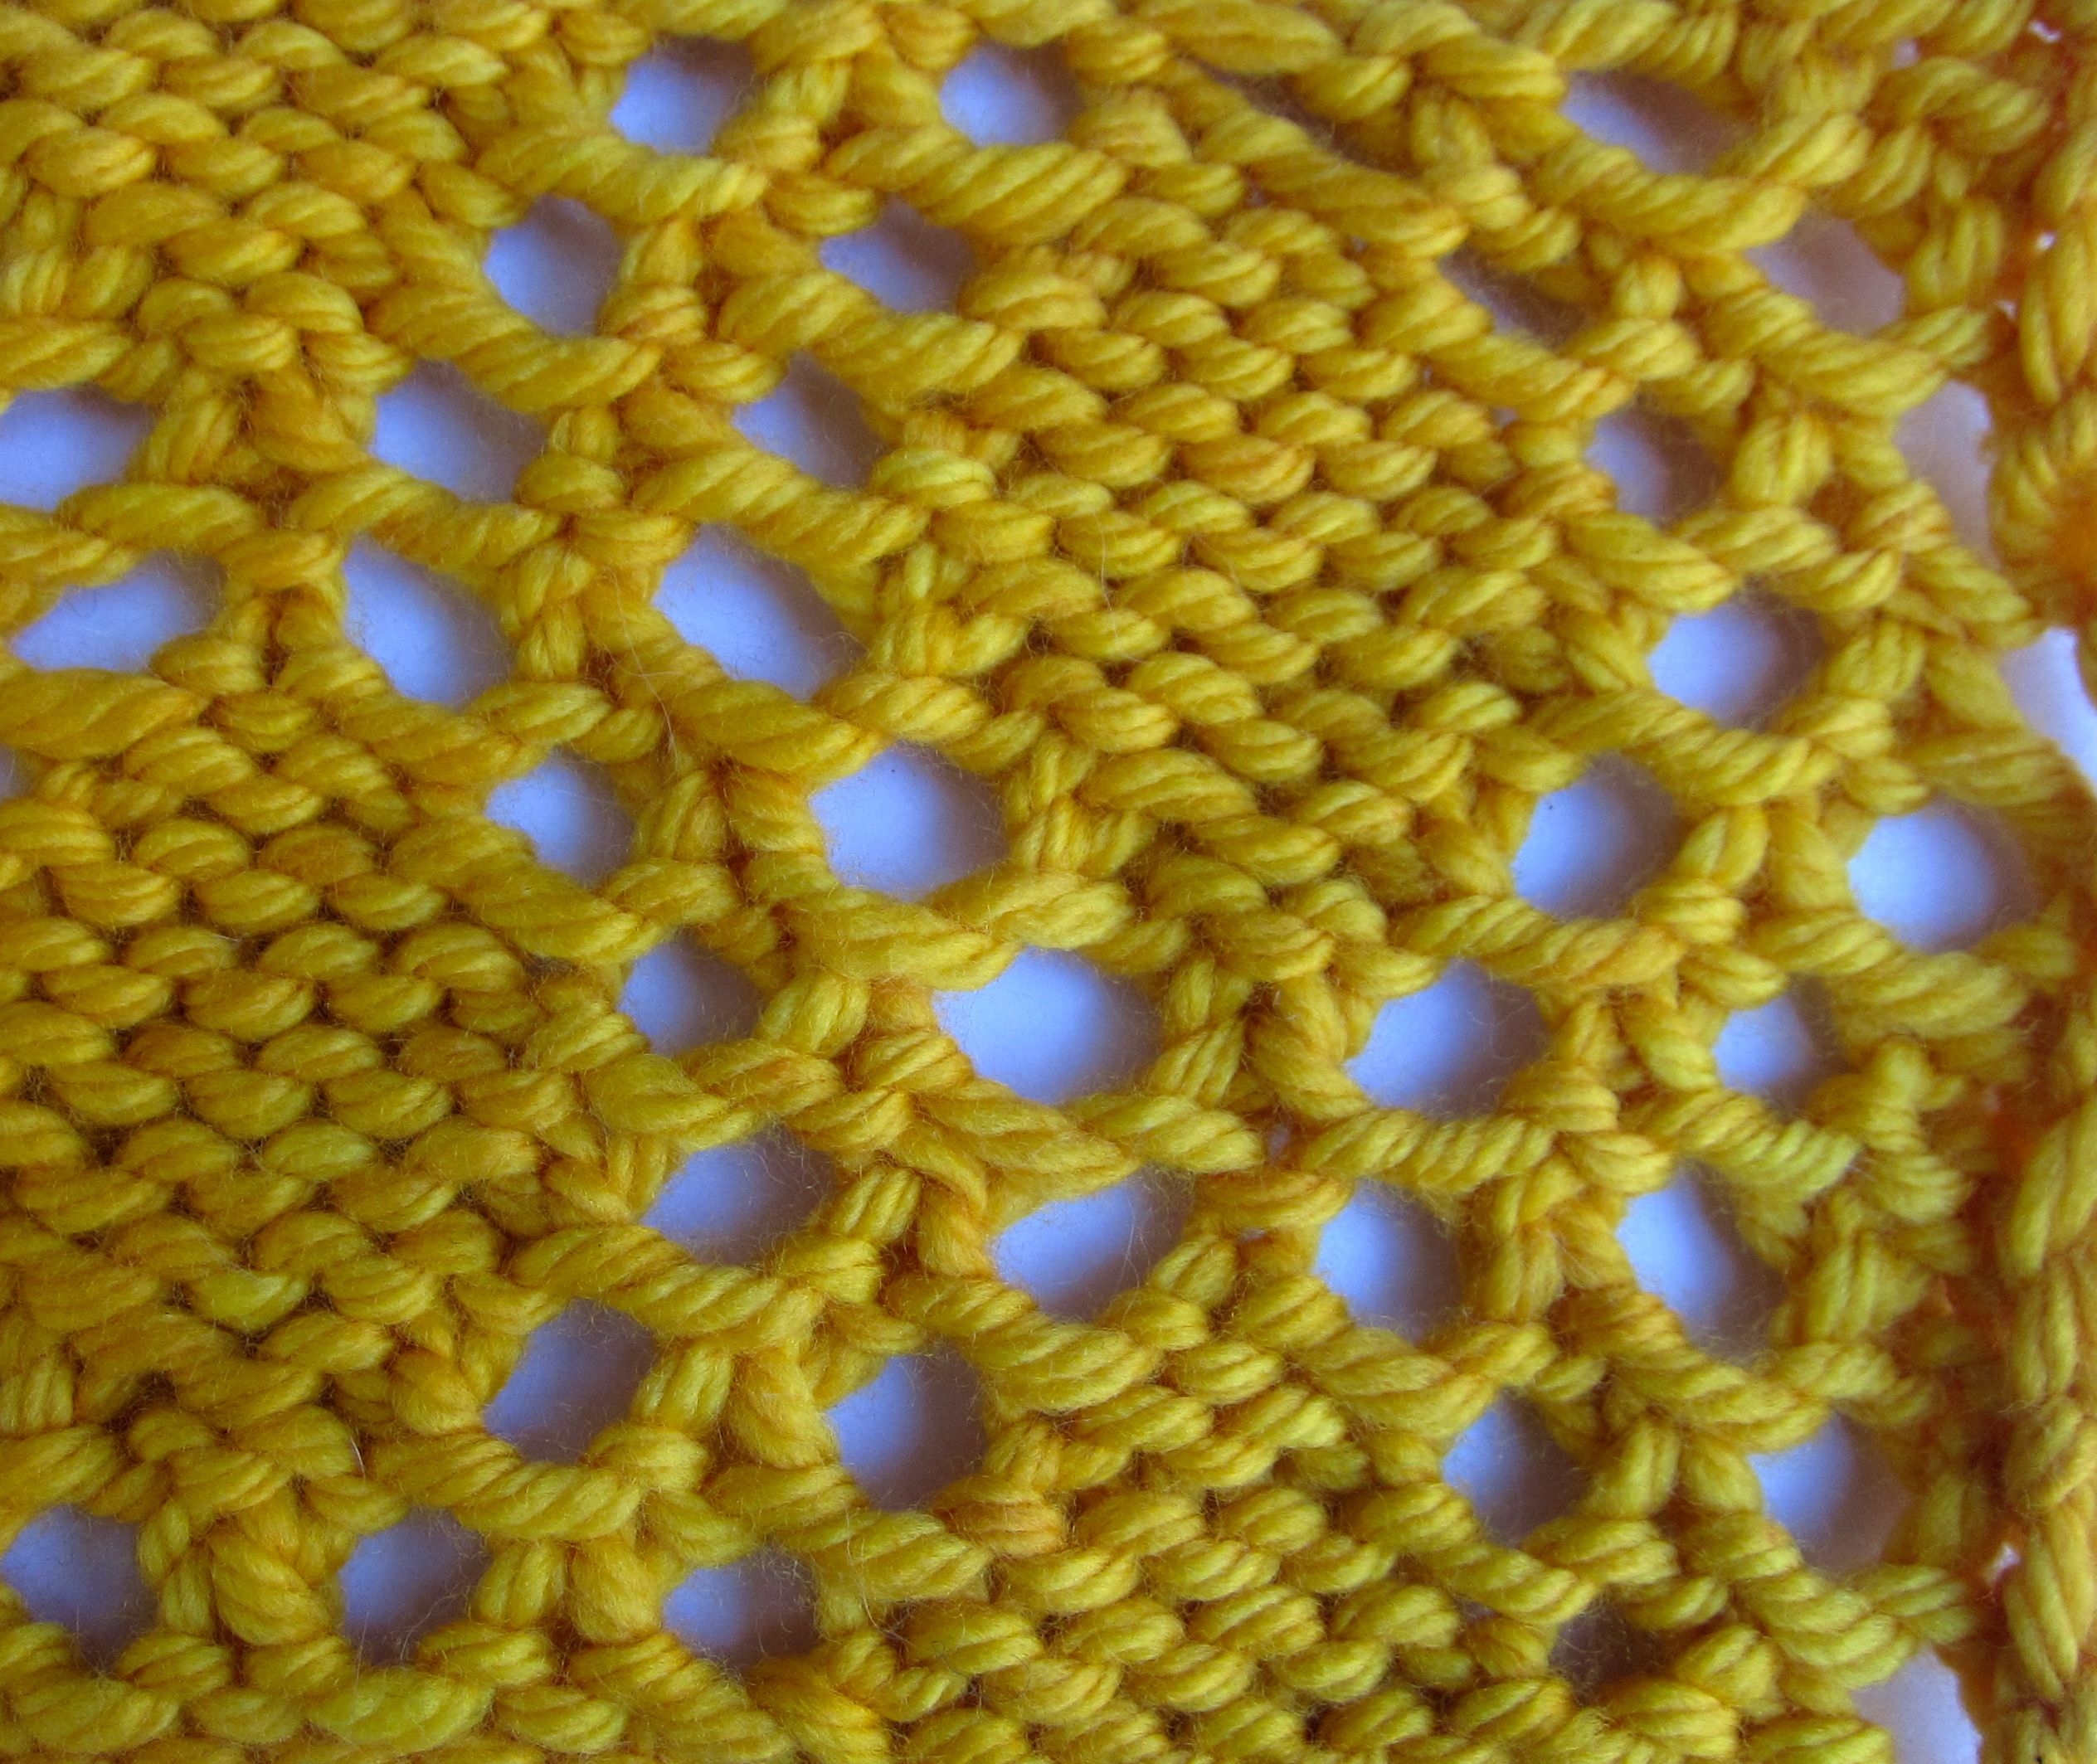
Here’s the right side of my swatch:

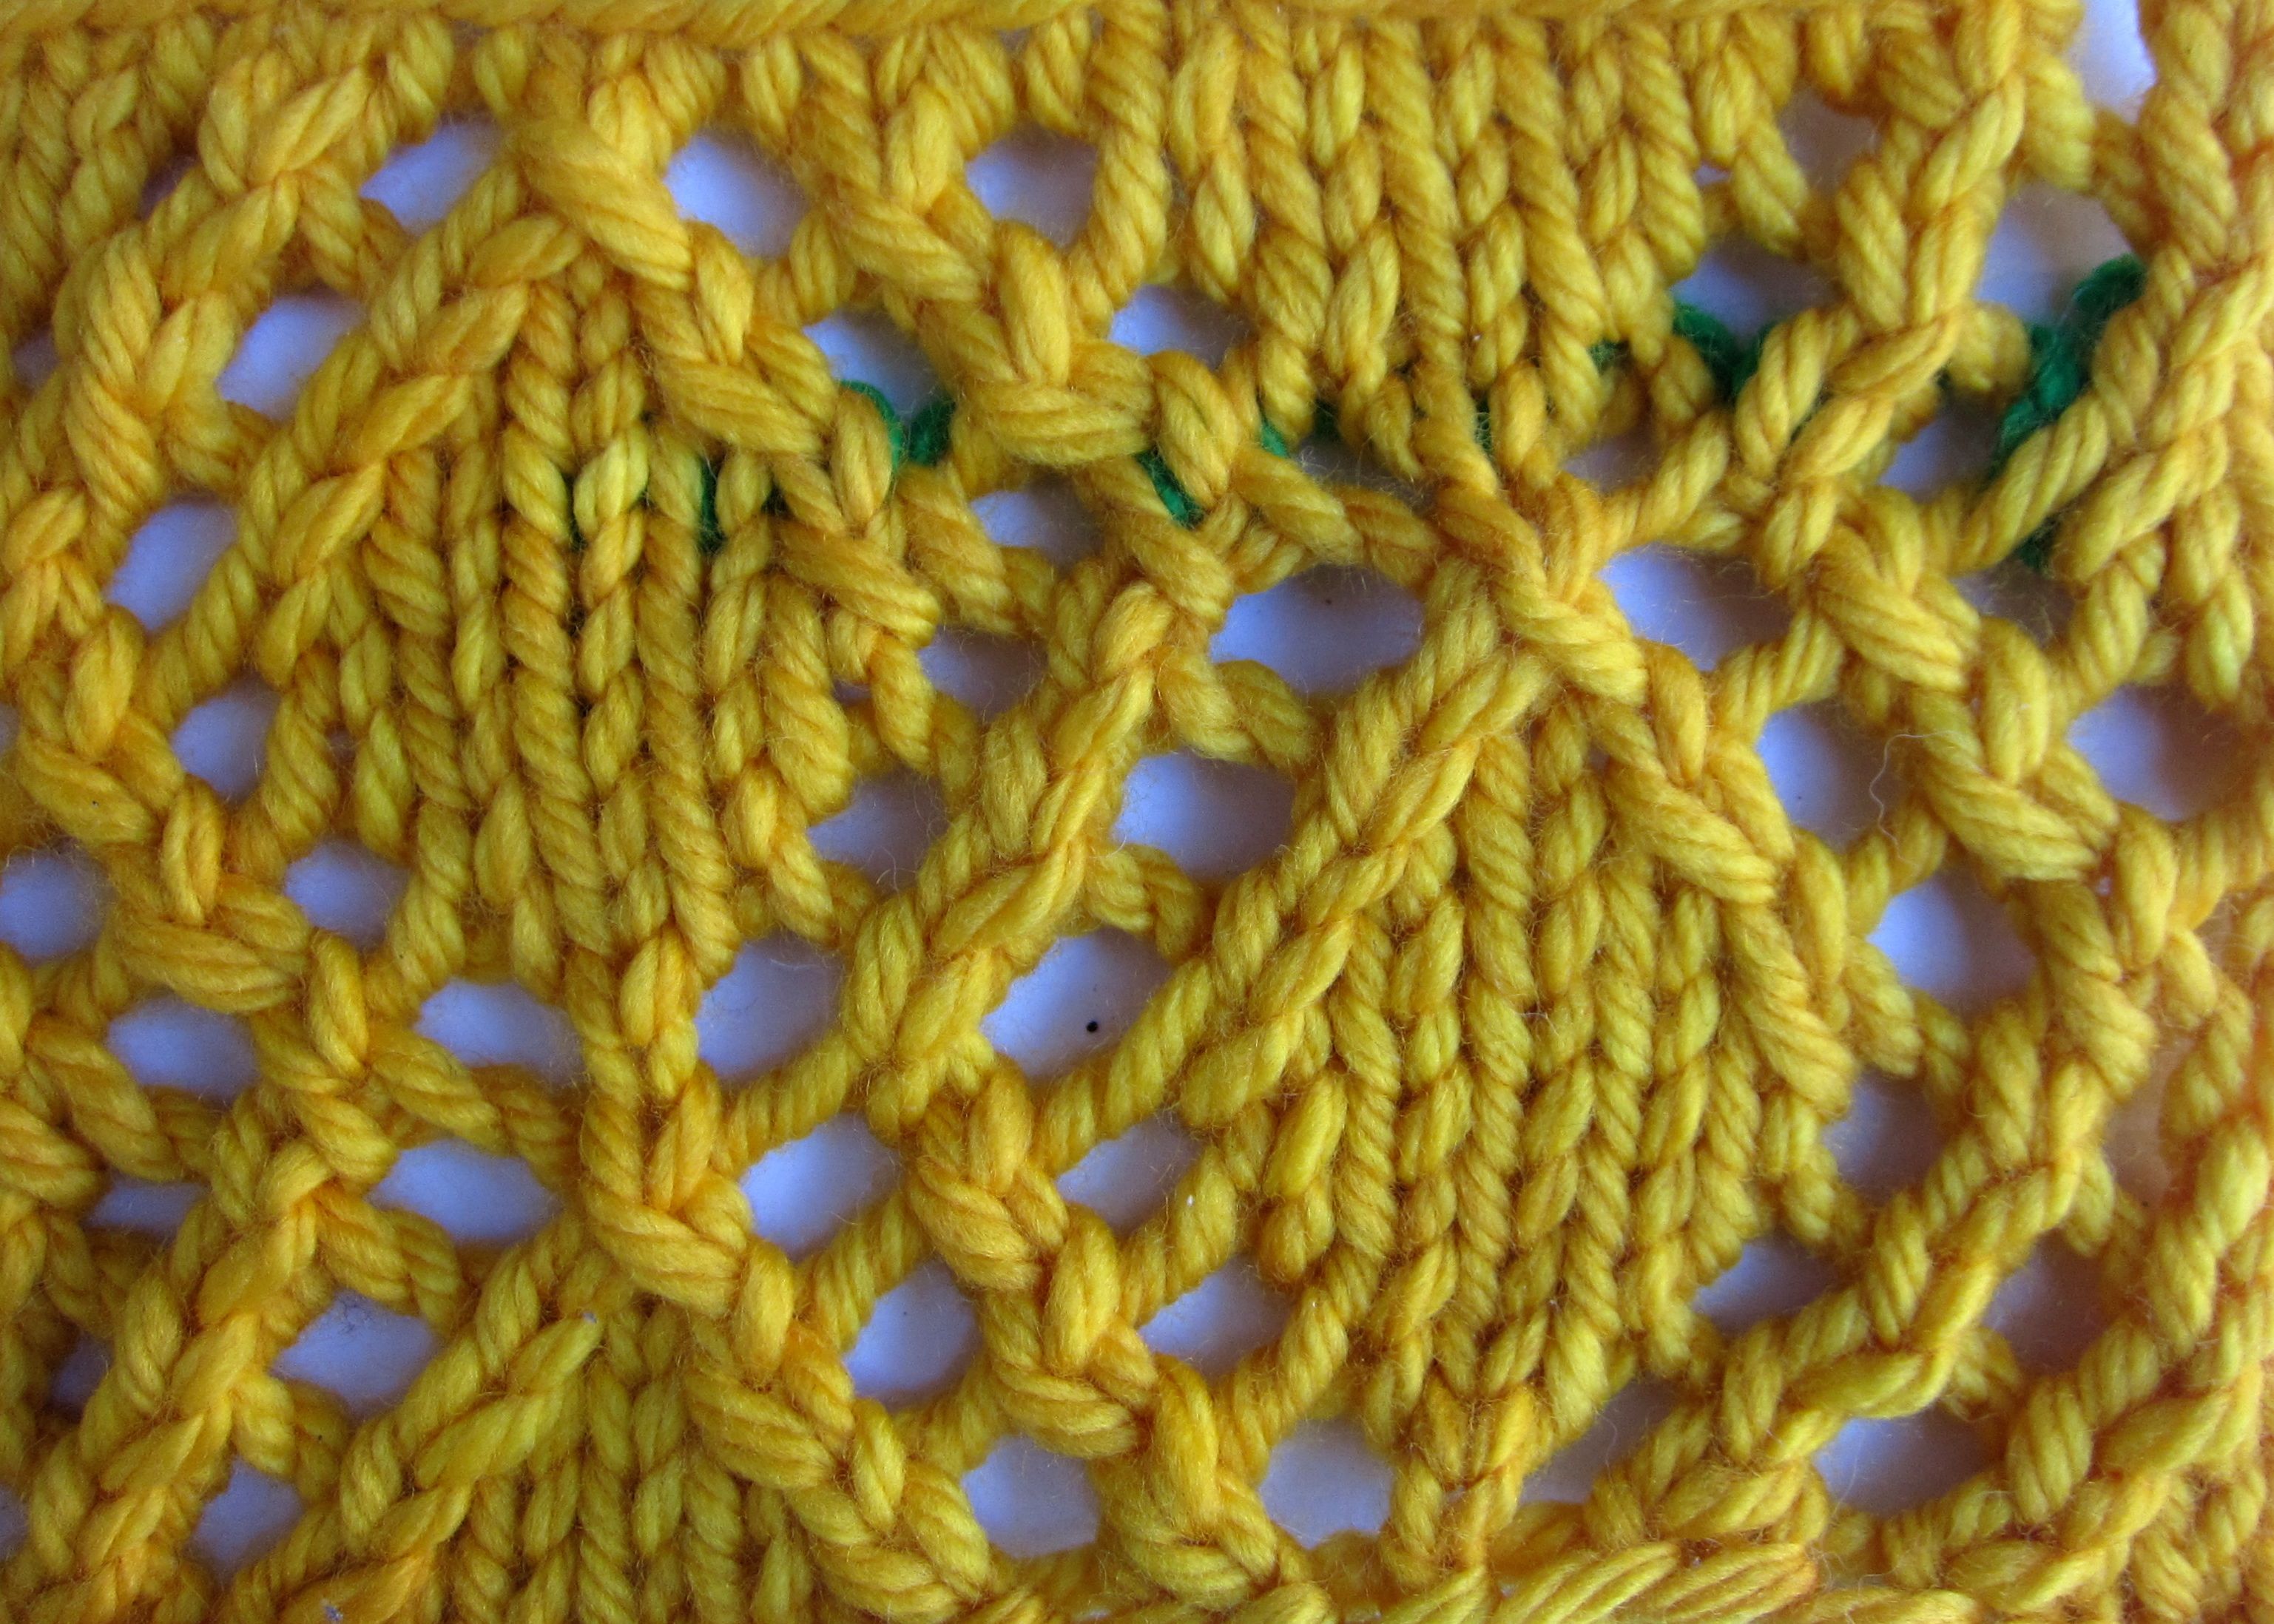
And here’s the wrong side, where I’ll weave in the ends.
Once again, I’m using a contrasting color as my end so you can see how I trace the path of my yarn through the stitch pattern. Note that it’s easiest to start your end-weaving in the most solid Stockinette or garter stitch portion of your work; in some patterns, you have enough space to weave in your ends without venturing into the increases and decreases. Take advantage of this!
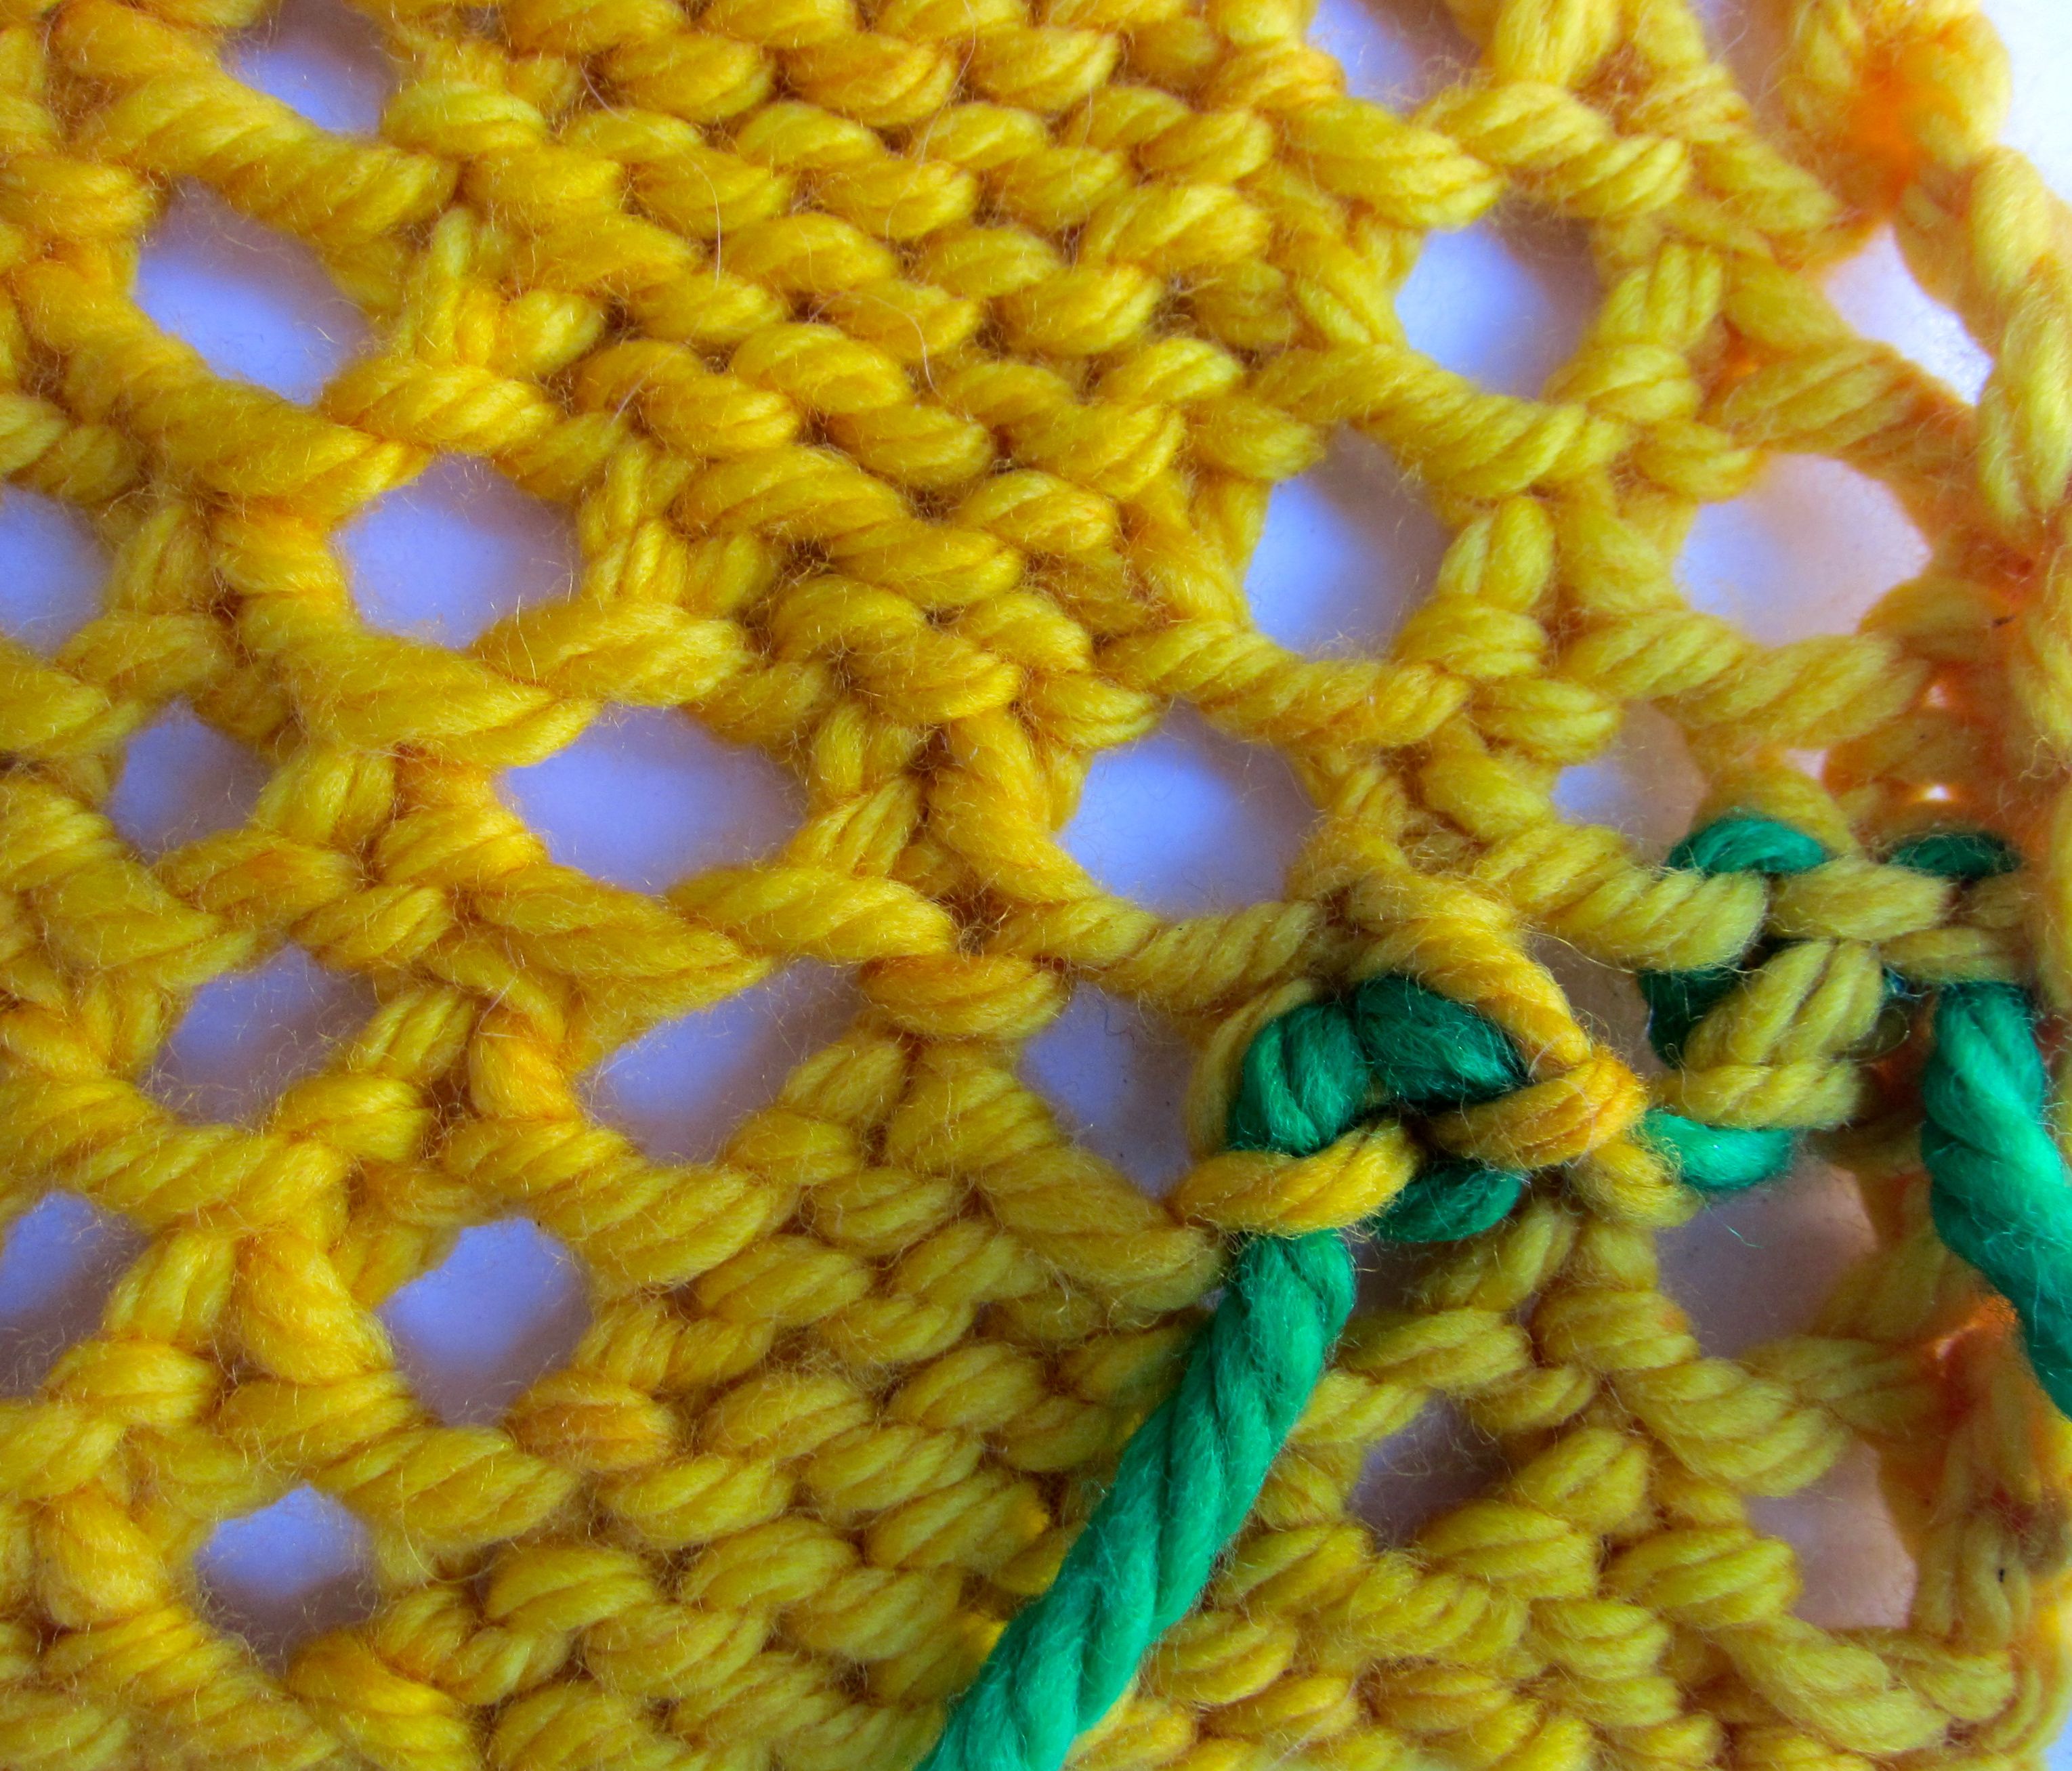
For the sake of this demonstration, I’m going to start at a more inconvenient point. First, I follow two regular knit stitches, but then I hit a yarn over. Let’s look at where my yarn is at.
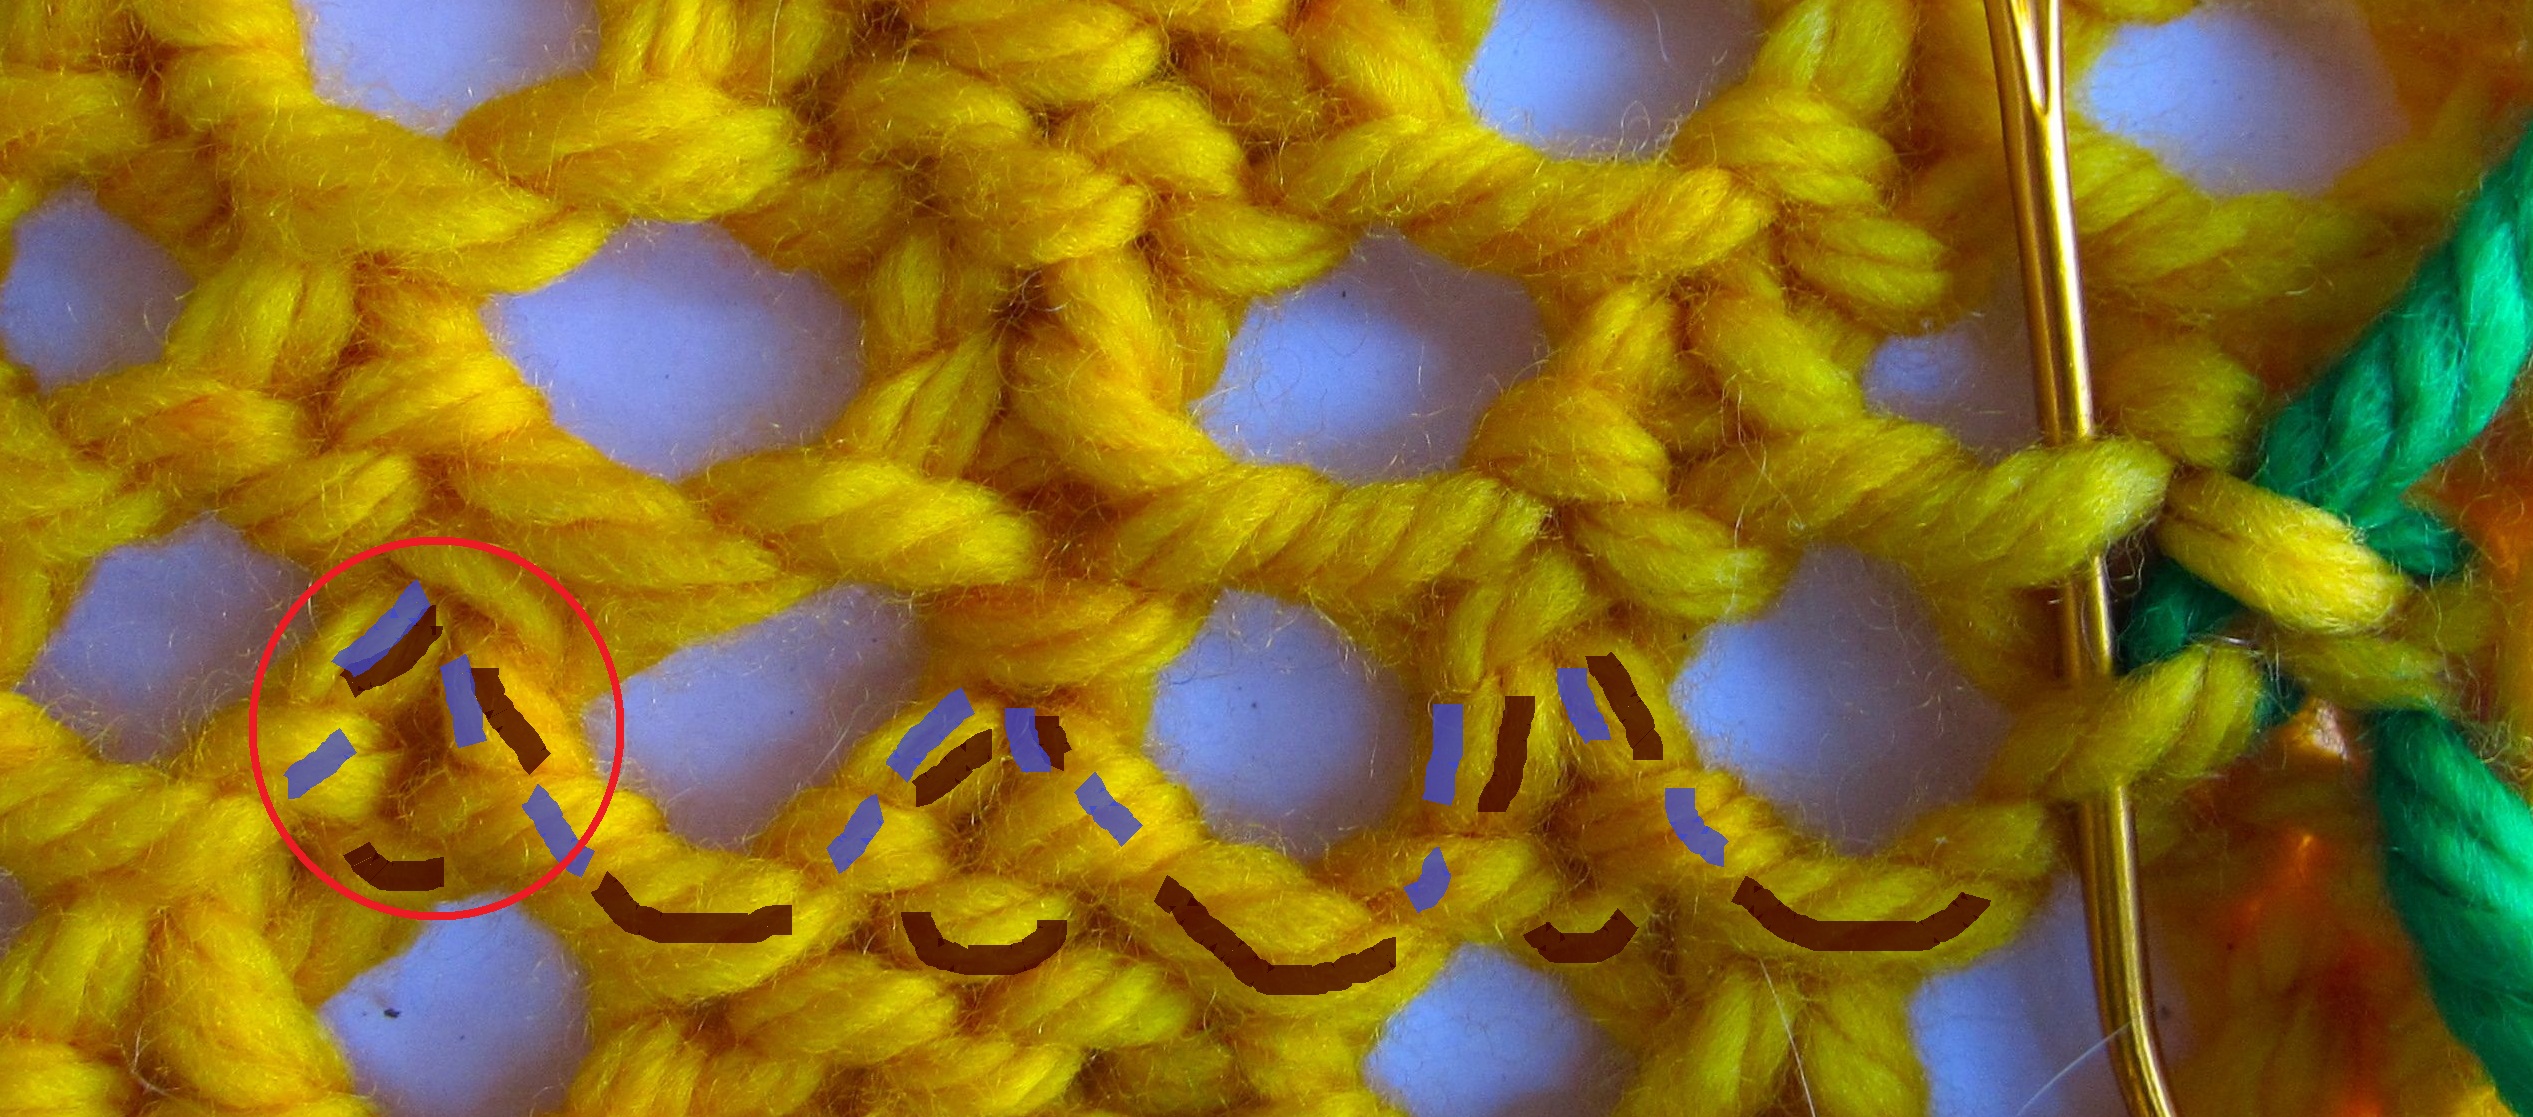
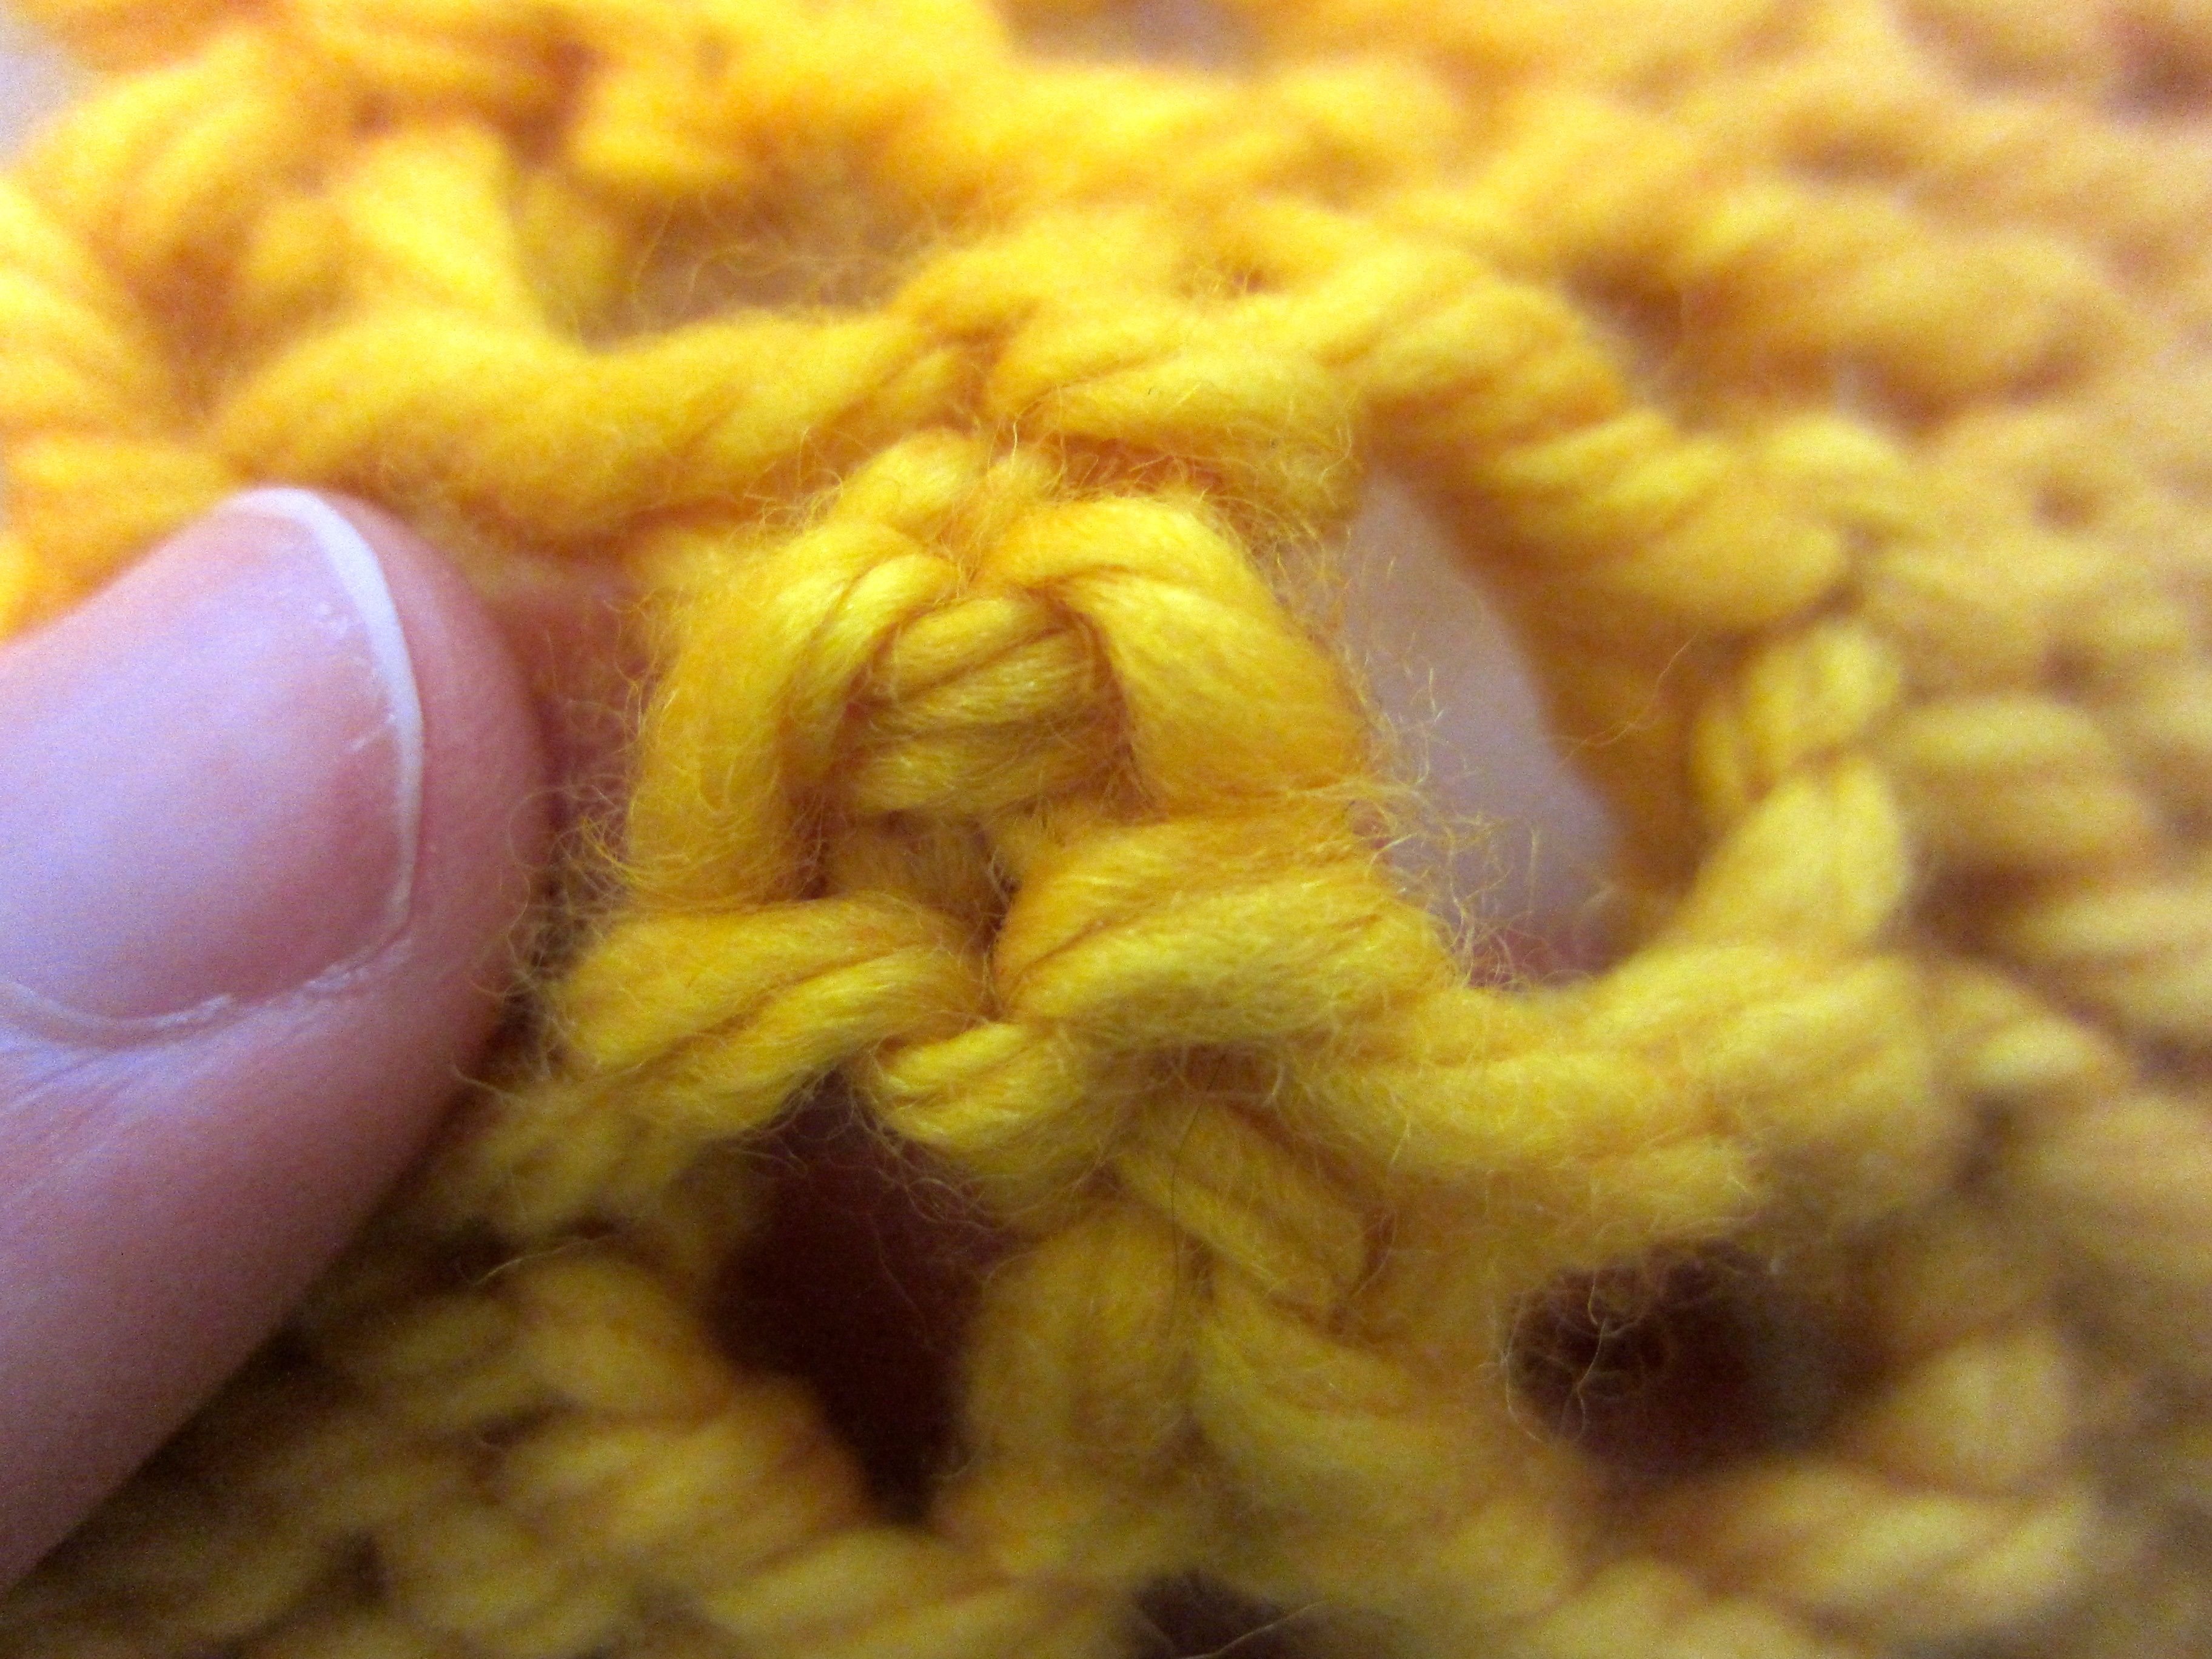
The brown lines show the visible stitches my yarn takes. The blue lines show where the yarn goes behind the visible stitches. If you pull the visible stitches apart a bit with your fingers, you’ll be able to see the entire yarn path. For example, here’s a closeup of the area circled in red on the photo above. You can see that the yarn makes two full loops in this section; you want to follow these loops when you reach this point.
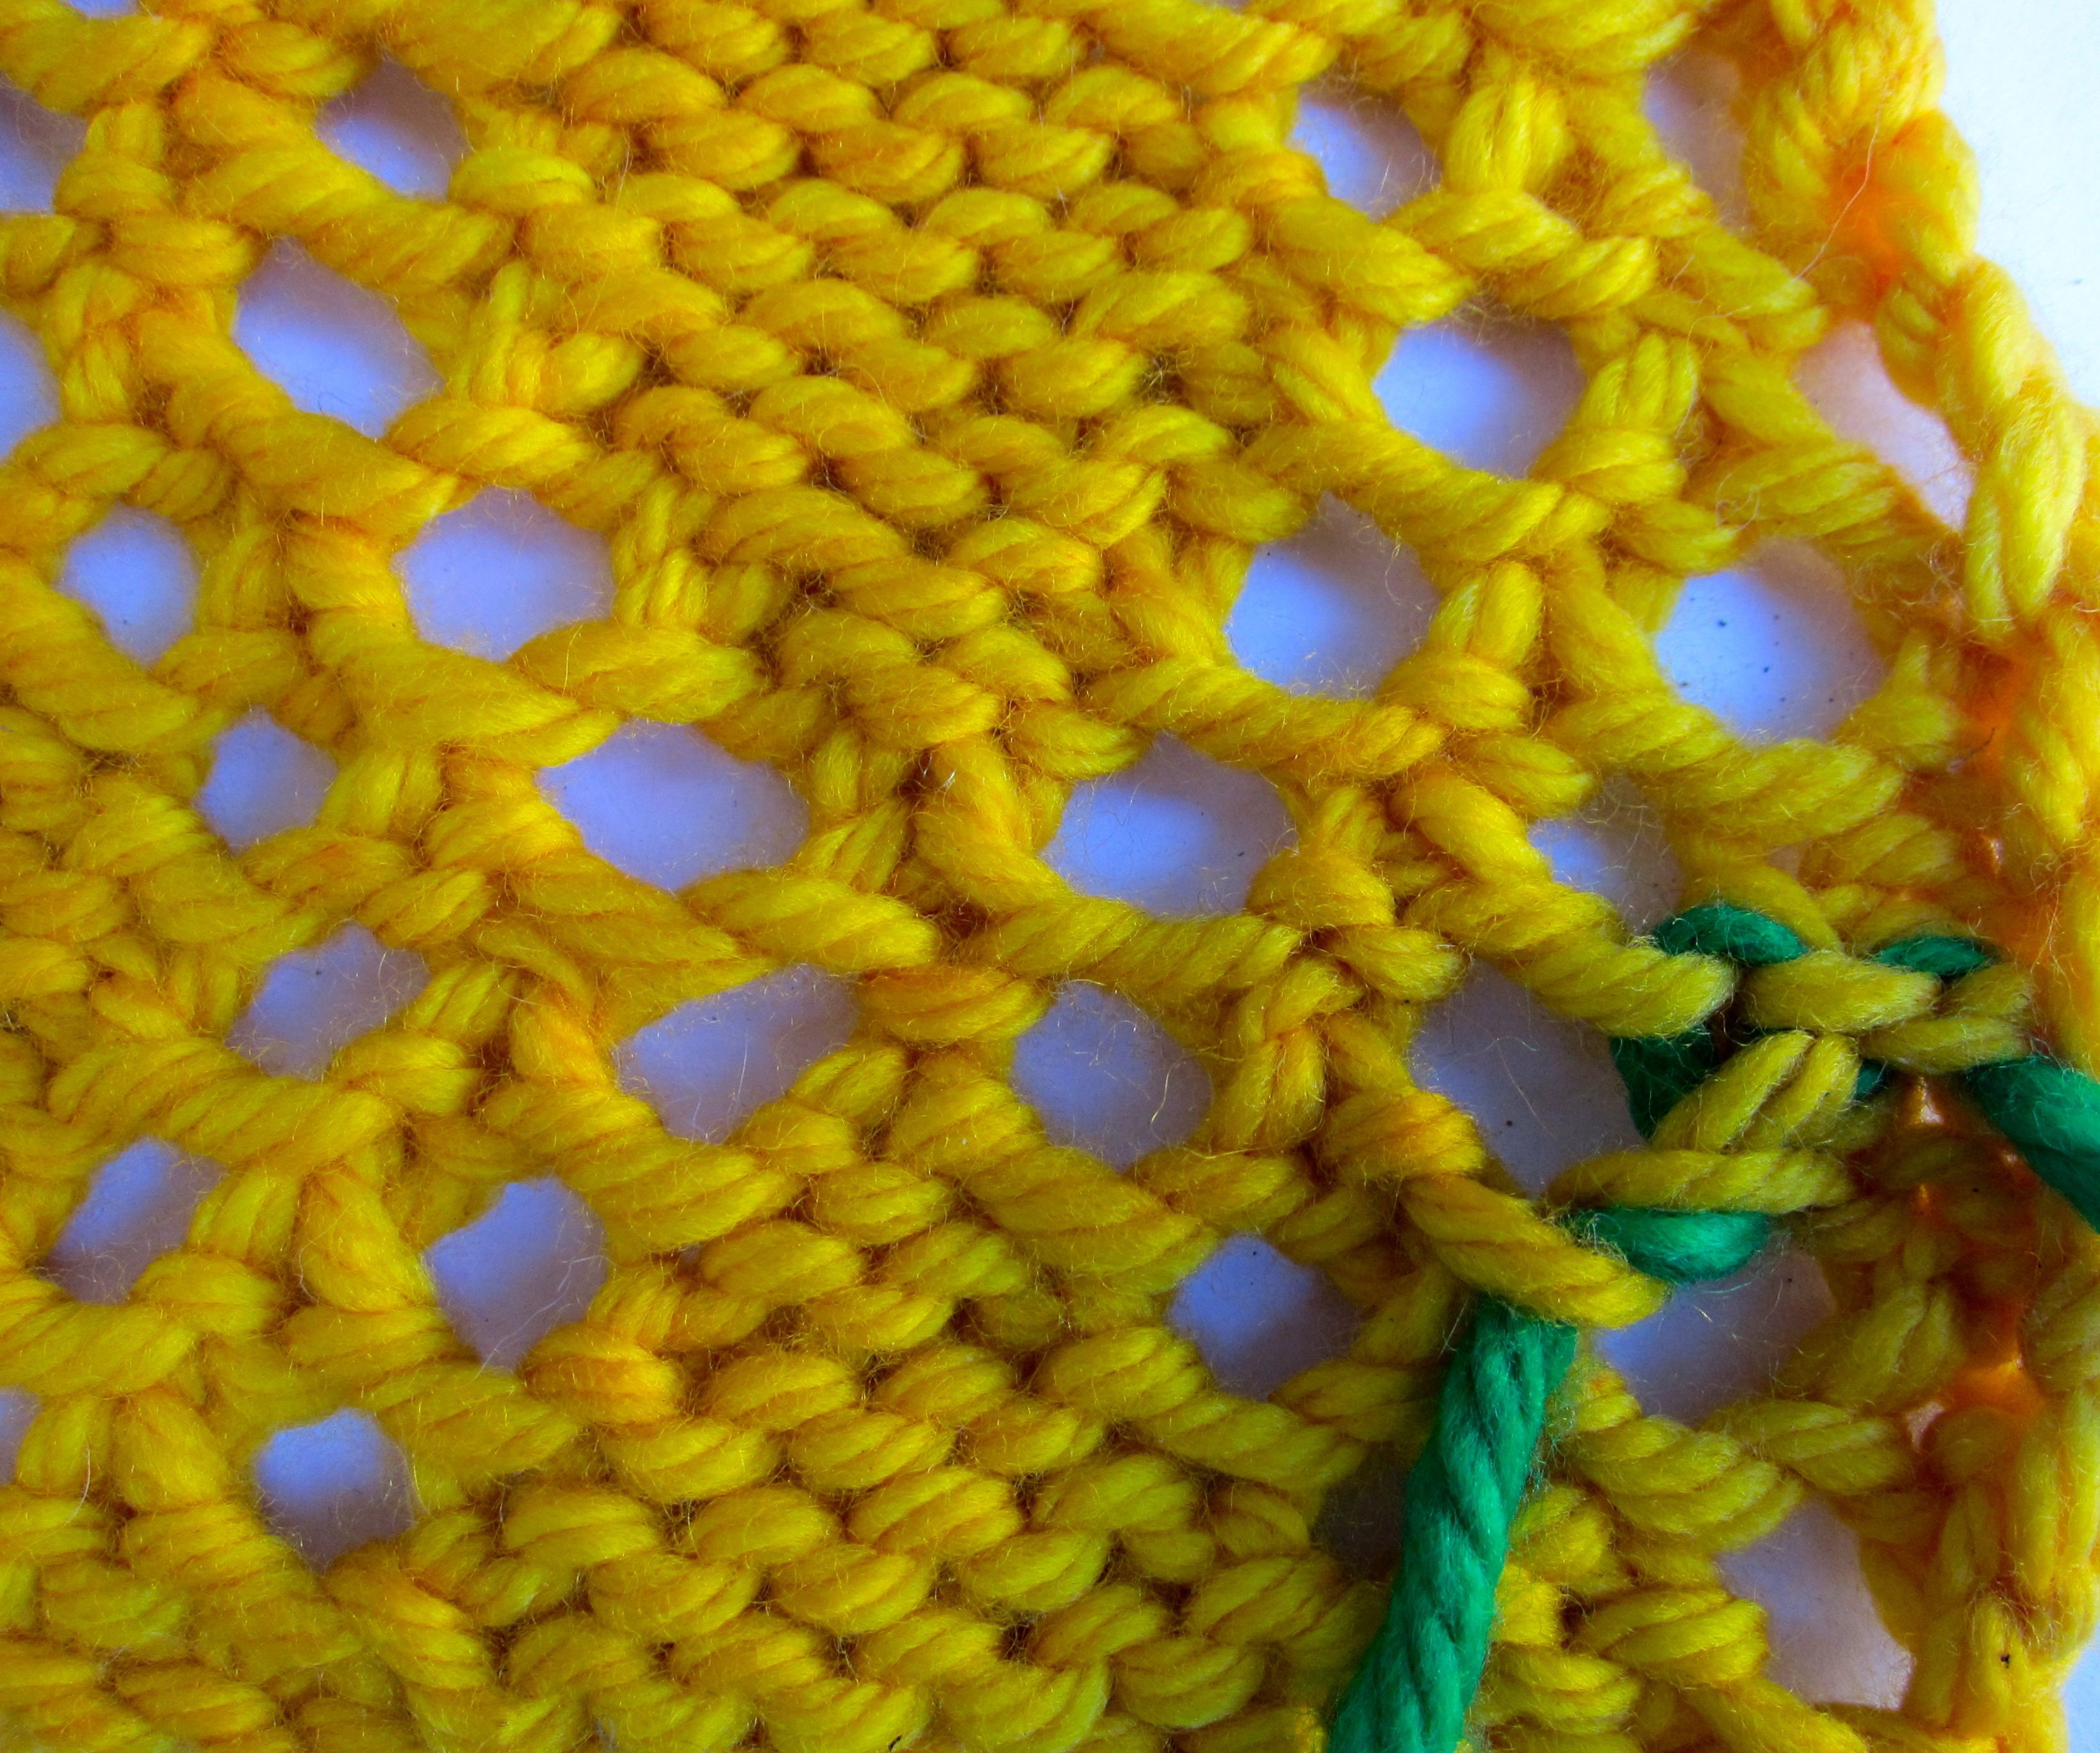

Here’s what my end looks like after following the path. It might look a little sloppy, but this is bulky yarn and I’m using a contrasting color for this demonstration. Yours will look much nicer.
I finish up my end-weaving in a patch of Stockinette stitch.

And now: Here’s the right side of my swatch.
If you want to learn these techniques hands-on, check out my finishing techniques class, coming in June!
