What is the provisional cast-on? It’s cool! It’s easy! And it’s great not only for round things that are knit flat (like cowls or those big long loop scaves) but also for situations where you have to pick up stitches, like the edge of a sweater. Imagine if, by unzipping the provisional cast-on, you could just have live stitches where you need to pick up! Awesome, right? Let’s go!
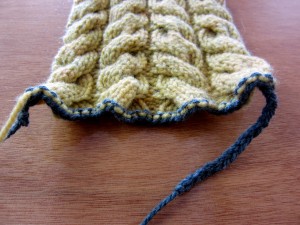
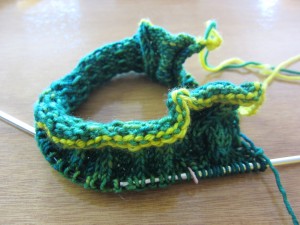
I’ve started a long loop scarf, the length of which will be determined by how far one skein of Neighborhood Fiber Co. Studio Worsted goes, which I’ll use for my demonstration. First, the materials:
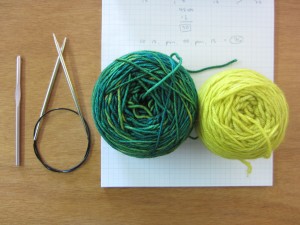
- Your needle and yarn (duh);
- A crochet hook about the same size as your needle (I like to use one that’s a size larger because it makes nice loose chain stitches that are easy to pick up; in this project, I used a US 8 (5.0mm) needle and a 6.0mm crochet hook)
- Scrap yarn in a weight similar to your project yarn for your provisional chain (I recommend a yarn in a very different color so it’s easy to see what you’re doing; I also recommend a nice smooth plied yarn that frogs easily)
Using your scrap yarn, LOOSELY crochet a chain about ten stitches longer than the number of stitches you need to cast on. Don’t know how to crochet a chain? Here’s a tutorial. Your stitches don’t have to be perfectly even, but they should be okay-ish. Be particularly careful to avoid splitting stitches, because this will make your cast-on difficult to unzip.
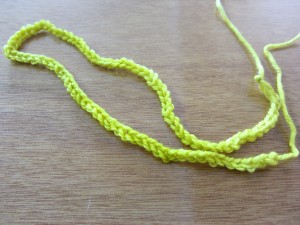
You’re going to pick up stitches in this chain. Your chain should have two sides: one that looks like a series of smooth Vs (>>>>>) and one that looks like a series of bumps (–––––). If your chain is so snarled that you can’t tell the two sides apart, I recommend redoing it at this point.
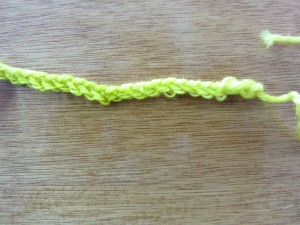
With the bumpy side facing you, insert your needle through a bump a few stitches in from the slipknot at the end of the chain. I like to leave my slipknot nice and loose and give myself a few extra chain stitches at each end of the cast on. I find it makes unzipping easier later.
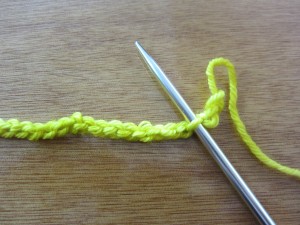
Wrap the yarn for your project around the needle and pull it through the bump to make a stitch.
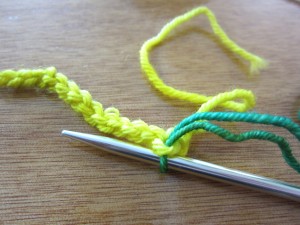
Make sure you don’t twist your chain; this will make things difficult later. It’s okay if you miss a stitch in the chain, though; if one of the bumps is tight or the yarn is split, just skip it and pick up in the next one. This is one of the reasons I recommend chaining more stitches than you need to pick up.
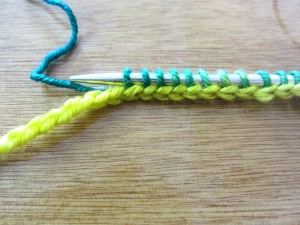
Stop when you’ve picked up the required number of stitches.
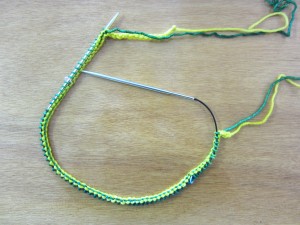
You’re ready to start your project!
But the provisional cast-on is, well, provisional. What do you do when it’s no longer needed, when you want to unravel it? Stay tuned for my next post: So You’ve Finished This Thing That Used the Provisional Cast-On.
