This is your first installment of what will be a weekly or bi-weekly guide to fixing mistakes, difficult stitches and other things “knit-related.” The Central Park Hoodie project should provide lots of opportunity for these!
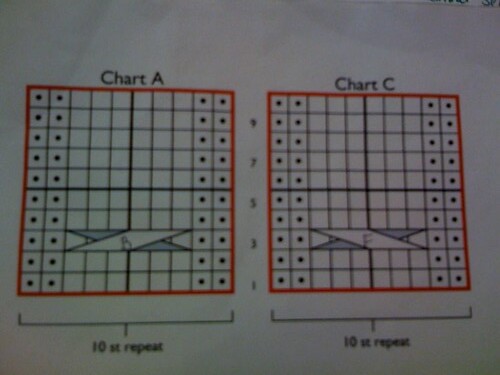 At least once in this project, I realized that I had twisted a cable the wrong way. My first word of advice with cables and charts is to label or color code the cables. I like to write a “B” or “F” on the chart to indicate whether I should bring the stitches to the front or the back when working the cable. For those of you who don’t know how to cable, that might be my next “knitting guide” post.
Anyways, since I often knit and watch television, knit and drive or even knit and read (the David Sedaris is just too good to put down), I often ignore charts and miss a cable entirely or find that I have been twisting it in the wrong direction. When this happens, the novice knitter would find the closest bottle of spirits and begin frogging inches, if not feet of work. Instead, learn to drop down and fix the cable!
Step one: Work the fabric until you reach the offending cable (I realize that none of my cables are wrong in this photo…but lets pretend)
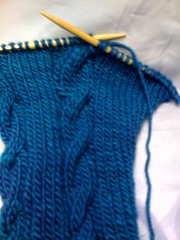
Step two: In the CPH pattern, the cable is six stitches wide. I then drop all six stitches off of my needle and begin to unravel them down to where the cable began to go off track. *Note, it is helpful to mark the row where the cables belong so that you don’t have to figure that out later when reworking these stitches. It is not necessary to use diamond earrings for this.
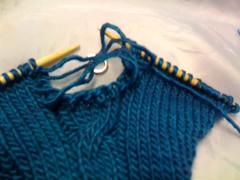
Step three: Catch the last row of stitches with a spare needle. I find that double pointed needles work best for this.
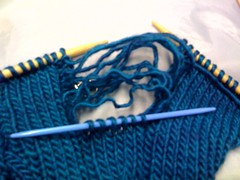
Step four: Treat these six stitches as if they are the only ones that exist right now. Use another double pointed needle as the “working needle” (thicker wood needle in the photo) and rework the cable the right way, placing the first three stitches on a cable needle (thin needle at the back in the photo), holding to the front or back (check the pattern this time, silly) and then knitting the next three and then the three from the cable needle. To work each stitch, put your working needle into the stitch and grab the horizontal bar, pulling it through the stitch and creating your new stitch.

What yarn do you use? Use the closest horizontal strand that was created when you dropped all of your stitches. Knitting continental style works better for this.
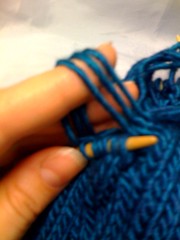
Step five: Transfer these stitches to the left hand and repeat for the next row. This row, in my photo below, is worked normally and doesn’t require the cable needle.

Continue to work each row up the ladder until you reach the next cable row (which was marked with a diamond earring). Work this cable correctly this time and move on. Eventually you will reach the top again. Put the live stitches back on the left needle and complete that row that you started awhile back, before you had some alcohol and decided to try my method of fixing mistakes…
Now if the thought of doing this makes you sweat, pick up the phone, dial 202-669-8282 and schedule a private lesson!


